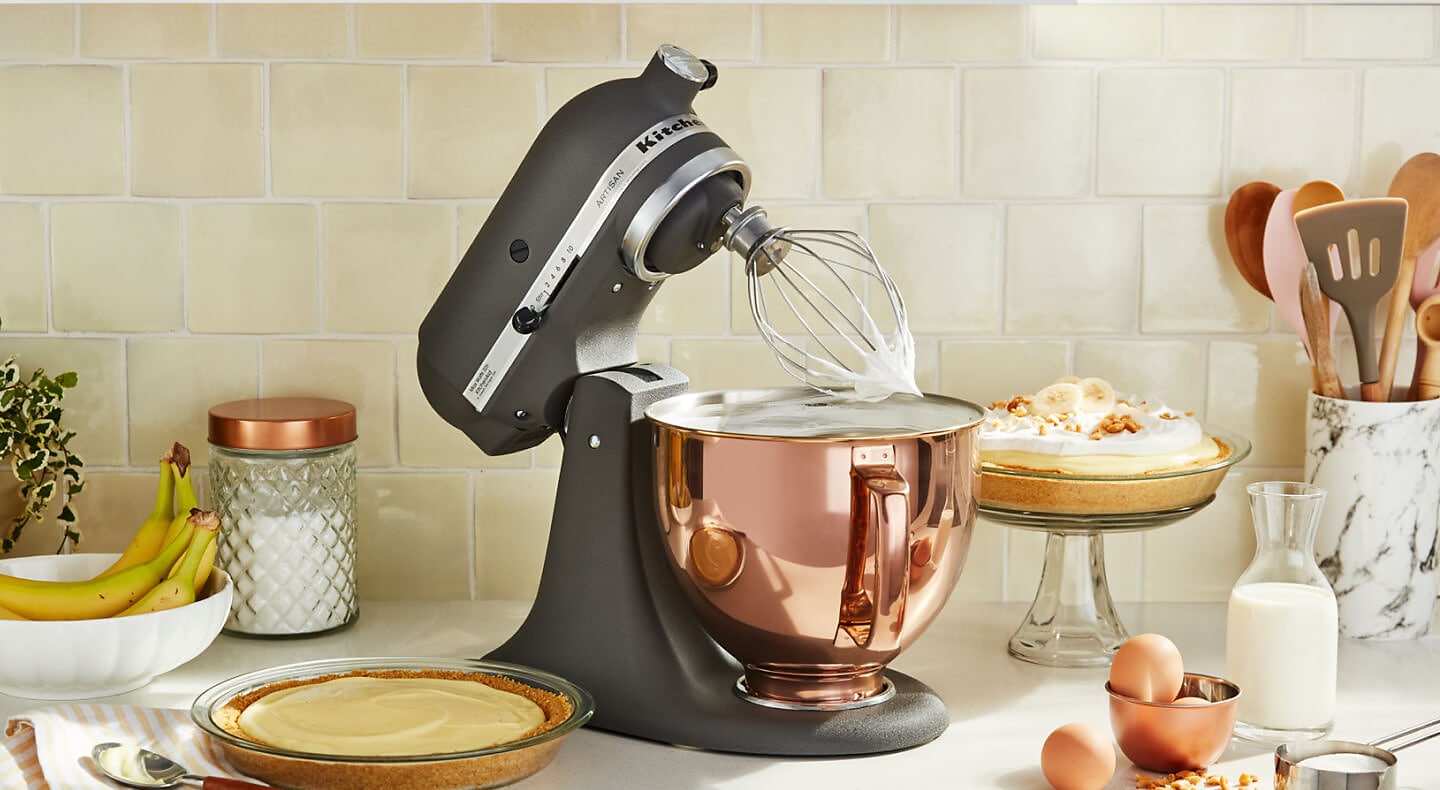
KitchenAid mixers are renowned for their versatility in the kitchen, largely due to the various attachments that come with these appliances. One of the essential tools in this lineup is the whisk attachment, officially known as the wire whip. Whether you’re whipping cream, beating egg whites, or making a light and airy frosting, the wire whip is your go-to attachment. Here at TheKitchenApplianceDad.com, we’re all about helping you make the most of your kitchen gear, so let’s delve into how to properly use the whisk attachment on your KitchenAid mixer.
The wire whip is designed with stainless steel wires that form a balloon shape, perfect for incorporating air into mixtures. This design allows it to create structure in ingredients that require aeration, such as meringues and whipped cream.
The wire whip attachment is best used for recipes that need to incorporate air, including:

Before attaching the wire whip, ensure that your KitchenAid mixer is turned off and unplugged. Tilt the mixer head up or remove the bowl, depending on your model. Slide the wire whip onto the beater shaft and press upward as far as possible. Then, turn it to the right, hooking it over the pin on the shaft. Lower the mixer head or place the bowl back, and you’re ready to go.
Add your ingredients to the mixing bowl. If you’re whipping cream or egg whites, make sure they’re cold to achieve the best volume. For dry ingredients like sugar, consider adding them gradually as you mix to prevent them from flying out of the bowl.
Start the mixer at a low speed to get the ingredients incorporated. This will help prevent splattering. Once the ingredients are partly mixed, you can gradually increase the speed to the desired level.
Different recipes will require different speeds:
Keep an eye on the consistency of your mixture. It’s crucial not to overbeat, as this can lead to a grainy texture in whipped cream or a dry, overworked meringue.
Once you’ve achieved the right consistency, turn off the mixer. Lift the mixer head and remove the bowl. Gently tap the wire whip against the bowl’s edge to remove excess mixture. Push the wire whip upward and twist to the left to release it from the beater shaft.
After using the wire whip, it’s important to clean it promptly to prevent any residue from hardening on the wires. The wire whip should be hand-washed in warm, soapy water and dried immediately to prevent any potential corrosion or rust. It’s generally not recommended to put the wire whip in the dishwasher, as the harsh environment can damage the metal.
Using the wire whip attachment on your KitchenAid mixer is a simple yet essential skill for creating delicious, airy textures in your culinary creations. With proper use and care, your wire whip can help you achieve professional-quality results in your home kitchen. Embrace the power of your KitchenAid and whip up something extraordinary today!

