using-your-oster-rice-cooker

Step-by-Step Guide to Using Your Oster Rice Cooker

Welcome back to TheKitchenApplianceDad.com, where we explore and demystify the wonderful world of kitchen gadgets and appliances. Today, we’re diving into the realm of perfect rice with an appliance that promises to make this culinary cornerstone simpler than ever: the Oster Rice Cooker.

Whether you’re a rice aficionado or a novice looking to expand your cooking repertoire, the Oster Rice Cooker is a fantastic tool to have in your kitchen arsenal. In this comprehensive guide, we’ll walk you through the ins and outs of using your Oster Rice Cooker to achieve fluffy, delicious rice every time.

Getting to Know Your Oster Rice Cooker

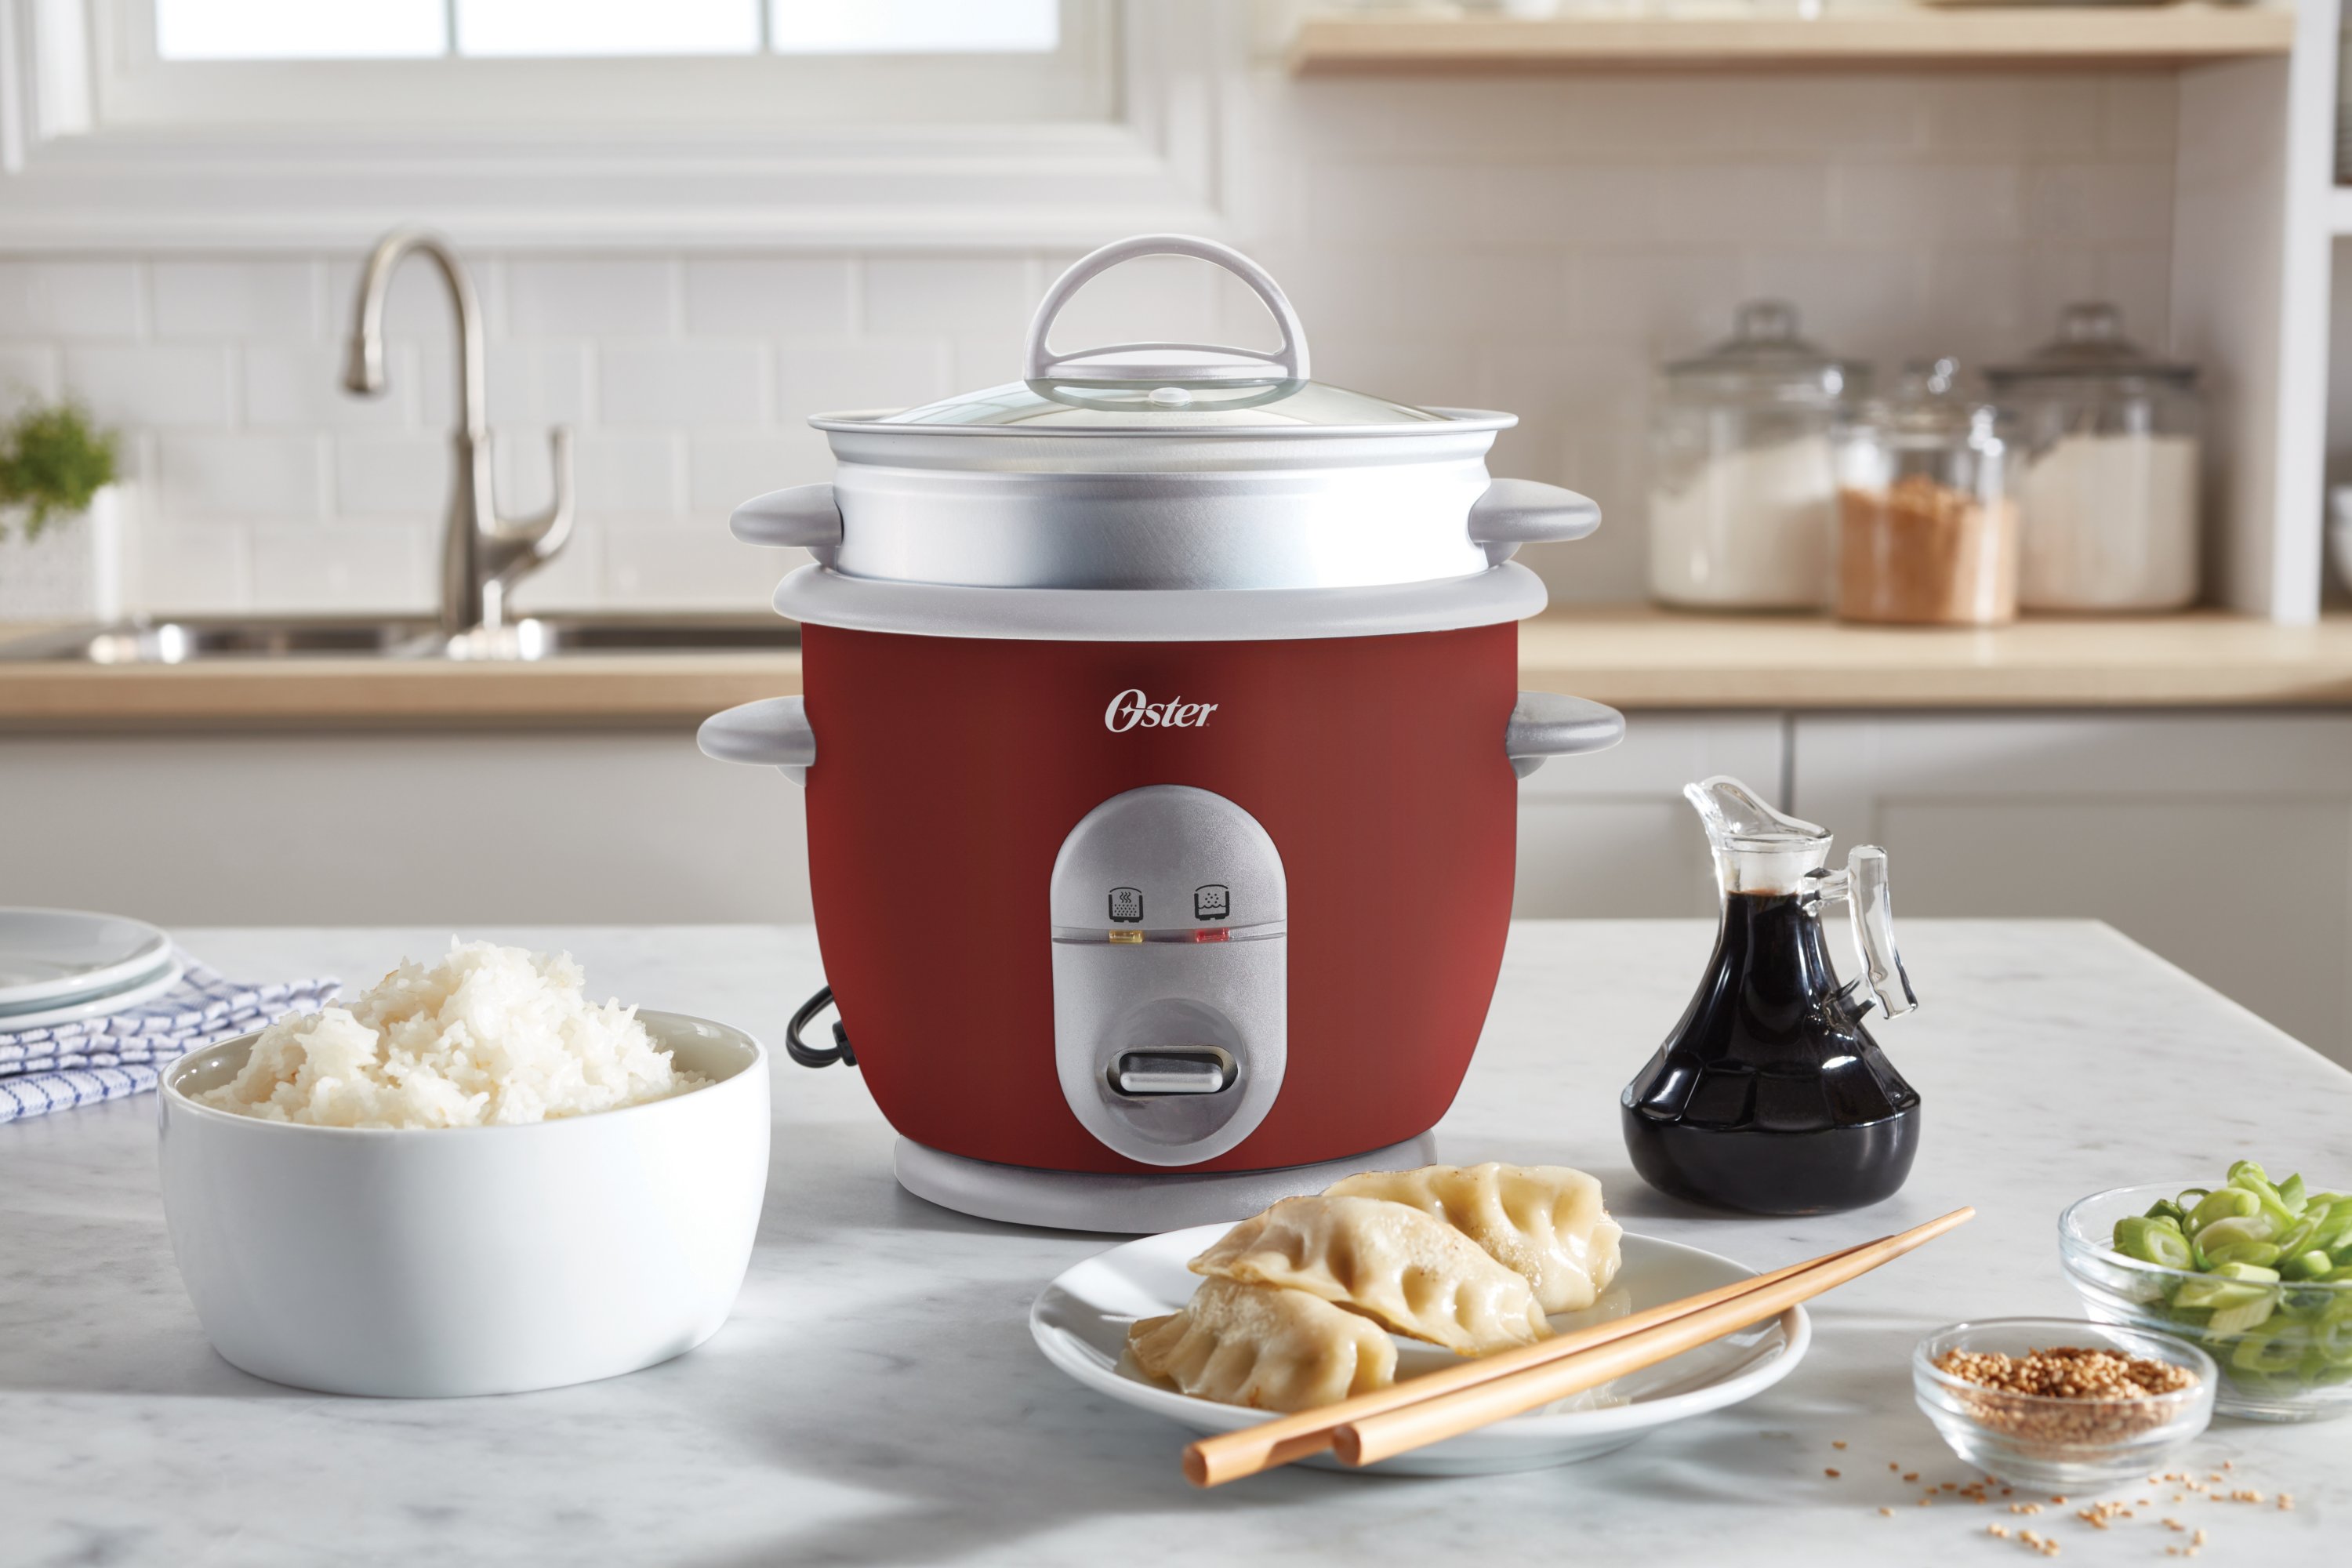
Before we start cooking, let’s become familiar with the basic components of your Oster Rice Cooker. Generally, an Oster Rice Cooker will consist of several key pieces:

  • The Main Body: This is the exterior part that houses the heating element and controls.
  • The Inner Cooking Pot: A removable pot where you place your rice and water.
  • The Lid: Usually a glass lid that allows you to check on your rice without releasing steam.
  • The Measuring Cup: Comes with the cooker for measuring rice.
  • The Rice Paddle: A utensil for fluffing and serving the rice without scratching the non-stick surface of the pot.

Oster® 6 Cup Rice Cooker | Oster

Preparing Your Oster Rice Cooker

Step 1: Measure Your Rice

The first step in using your Oster Rice Cooker is to measure out the amount of rice you want to cook. Use the measuring cup that came with your cooker to get the right proportions. Remember, the cup provided might not be a standard cup measurement, so always use the same cup for both rice and water to ensure the ratio is correct.

Step 2: Rinse Your Rice

It’s often recommended to rinse rice before cooking to remove excess starch, which can cause rice to be gummy. Place the rice in the inner cooking pot or a separate bowl and run cold water over it, gently swirling with your hand, then drain. Repeat this process until the water runs clear.

Step 3: Add Water

Once your rice is rinsed, add water to the pot. The general rule of thumb for white rice is a 1:2 ratio of rice to water. However, this can vary depending on the type of rice you’re cooking, so check the manual for specific recommendations.

Step 4: Place the Pot in the Cooker

Insert the inner cooking pot into the Oster Rice Cooker’s main body. Make sure it’s centered and seated properly to ensure even cooking.

Step 5: Set Up the Cooker

Secure the lid on top of the pot, plug in the cooker, and switch it to the ‘cook’ setting. Most Oster Rice Cookers have a simple one-touch operation, so it’s as easy as flipping a switch.

Cooking Your Rice

Step 6: Let the Rice Cook

Once you’ve set your Oster Rice Cooker to ‘cook,’ the appliance will do the rest of the work for you. It will bring the water to a boil, and then lower the temperature to simmer. The cooker will automatically switch to ‘keep warm’ once the rice is cooked. This usually takes about 20-30 minutes, depending on the amount and type of rice.

Step 7: Fluff and Serve

After the cooking cycle is complete, let the rice sit for about 10-15 minutes to finish absorbing any remaining water and to allow the grains to firm up a bit. Then, use the rice paddle to fluff the rice gently before serving. This will separate the grains and release excess steam, preventing the rice from becoming too dense or clumpy.

Tips and Tricks

  • Adding Flavor: Consider cooking your rice in broth instead of water or adding bay leaves, cardamom pods, or a cinnamon stick to the pot before cooking for an aromatic twist.
  • Steaming Vegetables: Many Oster Rice Cookers come with a steaming tray that can be used to steam vegetables or dumplings while your rice cooks. It’s a great way to make a complete meal in one appliance.
  • Cleaning: Always unplug the rice cooker and allow it to cool completely before cleaning. The inner pot and the lid (if detachable) are usually dishwasher safe, but check your model’s instructions to be sure.

Troubleshooting Common Issues

Occasionally, you might encounter some issues when using your Oster Rice Cooker. Here are a few common problems and their solutions:

  • Rice is too dry: Add a bit more water next time. Ratios can vary slightly depending on the type and brand of rice.
  • Rice is too wet or mushy: Use a little less water or let the rice sit in the ‘keep warm’ mode for longer to dry out before fluffing.
    Rice is undercooked: Ensure that the lid is properly sealed during cooking and that you’re using the correct water-to-rice ratio. If it’s still undercooked, try adding a small amount of water and starting a new cooking cycle.
  • Rice is burnt or sticking to the bottom: This could be a sign that there’s not enough water or the rice cooker is left on ‘keep warm’ for too long after cooking. Make sure to use the correct water-to-rice ratio and fluff the rice soon after the cooking cycle is complete.

Maintaining Your Oster Rice Cooker

To keep your Oster Rice Cooker in top shape, follow these maintenance tips:

  • Regular Cleaning: Always clean the inner pot, lid, and rice paddle after each use. If your model has a removable steam vent, make sure to clean that as well.
  • Check the Heating Element: Occasionally check the heating element and the area around it for any leftover grains of rice or debris that might affect its performance.
  • Store Properly: When not in use, store your Oster Rice Cooker in a dry place and avoid stacking heavy items on top of it to prevent damage.

Conclusion

Using an Oster Rice Cooker is a straightforward and effective way to cook rice. By following this step-by-step guide, you’ll be on your way to making perfectly cooked rice that can accompany a myriad of dishes or stand alone as a tasty, satisfying staple. With a little practice and experimentation, you’ll find the exact water-to-rice ratios and additional ingredients that work best for your tastes and your specific Oster model.

Remember, the key to getting the most out of any appliance is understanding how it works and taking good care of it. Now that you’re equipped with the knowledge and tips provided here at TheKitchenApplianceDad.com, you’re ready to make the most of your Oster Rice Cooker and enjoy delicious rice every time.

Key Takeaways

  • Understand Your Appliance: Familiarize yourself with the Oster Rice Cooker’s components and how they work together.
  • Measure and Rinse: Always measure your rice with the cup provided and rinse it until the water runs clear to remove excess starch.
  • Water-to-Rice Ratios: Follow the 1:2 rice-to-water ratio for white rice, adjusting accordingly for different types of rice.
  • One-Touch Operation: The Oster Rice Cooker is designed for simplicity—set it to ‘cook’ and let the appliance do the rest.
  • Fluffing is Fundamental: Always fluff the rice after cooking to ensure the grains are separate and not clumpy.
  • Troubleshoot Wisely: Adjust water ratios or cooking times if you encounter issues with the texture of your rice.
  • Maintenance Matters: Clean and maintain your Oster Rice Cooker regularly for best performance and longevity.

By following these steps and tips, you’ll be well on your way to perfect rice and more with your Oster Rice Cooker. Happy cooking!

Meet

Dale

Hi, I'm Dale! With over ten years in high volume restaurants, my journey has taken me through the ins and outs of using, maintaining, and even repairing virtually every kitchen appliance imaginable.

I'm here to share simple, straightforward advice to help you choose and use your kitchen tools effectively. No fluff, just the essential info you need to cook up a storm.