Welcome to another detailed guide from TheKitchenApplianceDad.com. Today, we’re diving into a simple yet important task that can sometimes be a bit puzzling for Frigidaire upright freezer owners: removing the kickplate. Whether you’re aiming to clean, troubleshoot, or simply satisfy your curiosity about what lies beneath, this step-by-step guide will ensure you can safely and easily remove the kickplate from your Frigidaire upright freezer.
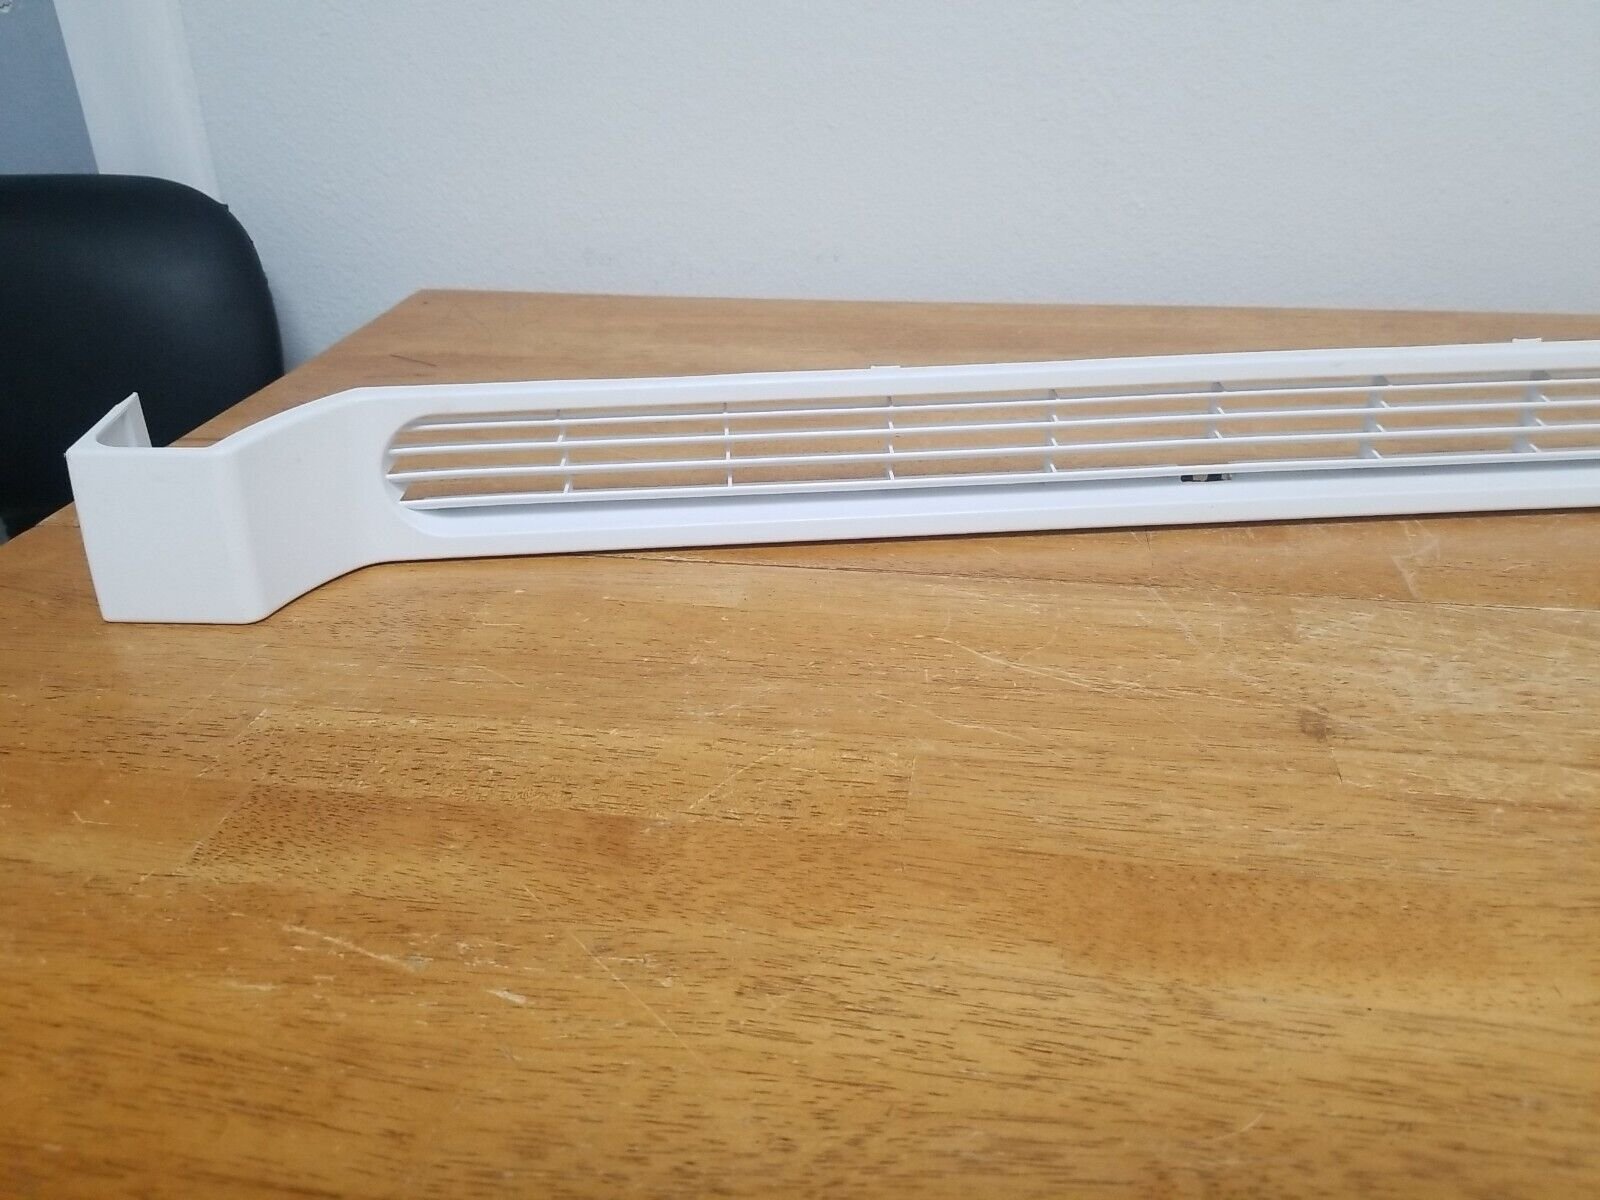
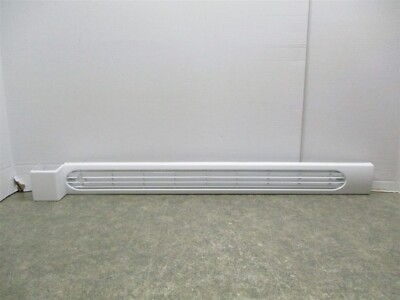
Before we proceed, let’s clarify what a kickplate is. The kickplate, also known as a toe grille, is located at the bottom front of your freezer. This component primarily serves to protect the condenser coils and help in the circulation of air. It also prevents debris from going under the appliance. Removing the kickplate is a common step in routine maintenance, allowing access for cleaning or servicing.
To remove the kickplate from your Frigidaire upright freezer, you generally need the following:
Safety first! Always unplug the appliance before starting any form of maintenance. This prevents any electrical accidents and ensures your safety.
Identify where the kickplate is on your Frigidaire upright freezer. It is typically at the very bottom front section of the freezer.
Take a moment to inspect how the kickplate is attached to the freezer. Use your flashlight to look for any screws or clips holding it in place. The attachment method can vary slightly between different models.
If there are screws:
If there are clips:
With the kickplate removed, it’s a good opportunity to clean it if necessary. Use a soft brush or cloth to remove any dust and debris. This is also a good time to inspect the exposed area for any issues like accumulated dust on the condenser coils or other visible problems.
Once everything is clean and inspected, reattach the kickplate to your freezer. If it had screws, line them up correctly and screw them back in. If it was held by clips, make sure it snaps back into place securely.
While removing the kickplate and performing basic maintenance is generally a DIY task, there are times when it’s best to call a professional. If you notice any significant issues like damaged coils, leaks, or electrical problems, it’s advisable to consult a technician. You can find certified Frigidaire service providers through their official website: Frigidaire Support.
Removing the kickplate from your Frigidaire upright freezer is a straightforward process that can significantly contribute to the appliance’s maintenance and efficiency. By following these steps, you can ensure that your freezer remains in top working condition. Remember, regular checks and cleaning can extend the life of your appliance significantly. Stay tuned to TheKitchenApplianceDad.com for more insightful guides and tips on managing your home appliances effectively.