set-the-clock-on-your-hamilton-beach-microwave-in-3-seconds

Set the Clock on Your Hamilton Beach Microwave in 3 Seconds

Welcome to another practical guide from TheKitchenApplianceDad.com! Today, we’re focusing on a simple yet essential task that often stumps many users: setting the clock on a Hamilton Beach microwave. Whether you’ve just purchased your microwave or experienced a power outage, setting the clock accurately ensures you keep track of cooking times and manage meal preparations effectively.

Understanding Your Hamilton Beach Microwave Model

Before diving into the steps, it’s crucial to identify your Hamilton Beach microwave model. Hamilton Beach offers a variety of models, each with potentially different interfaces. You can typically find the model number on the back of the microwave or inside the door panel. Once you have your model number, you can visit the Hamilton Beach official website or consult your user manual for specific instructions related to your model.

Hamilton Beach 0.9 Cu. ft. 900W Red Microwave Oven Philippines | Ubuy

Step-by-Step Guide to Setting the Clock

Step 1: Locate the ‘Clock’ Button

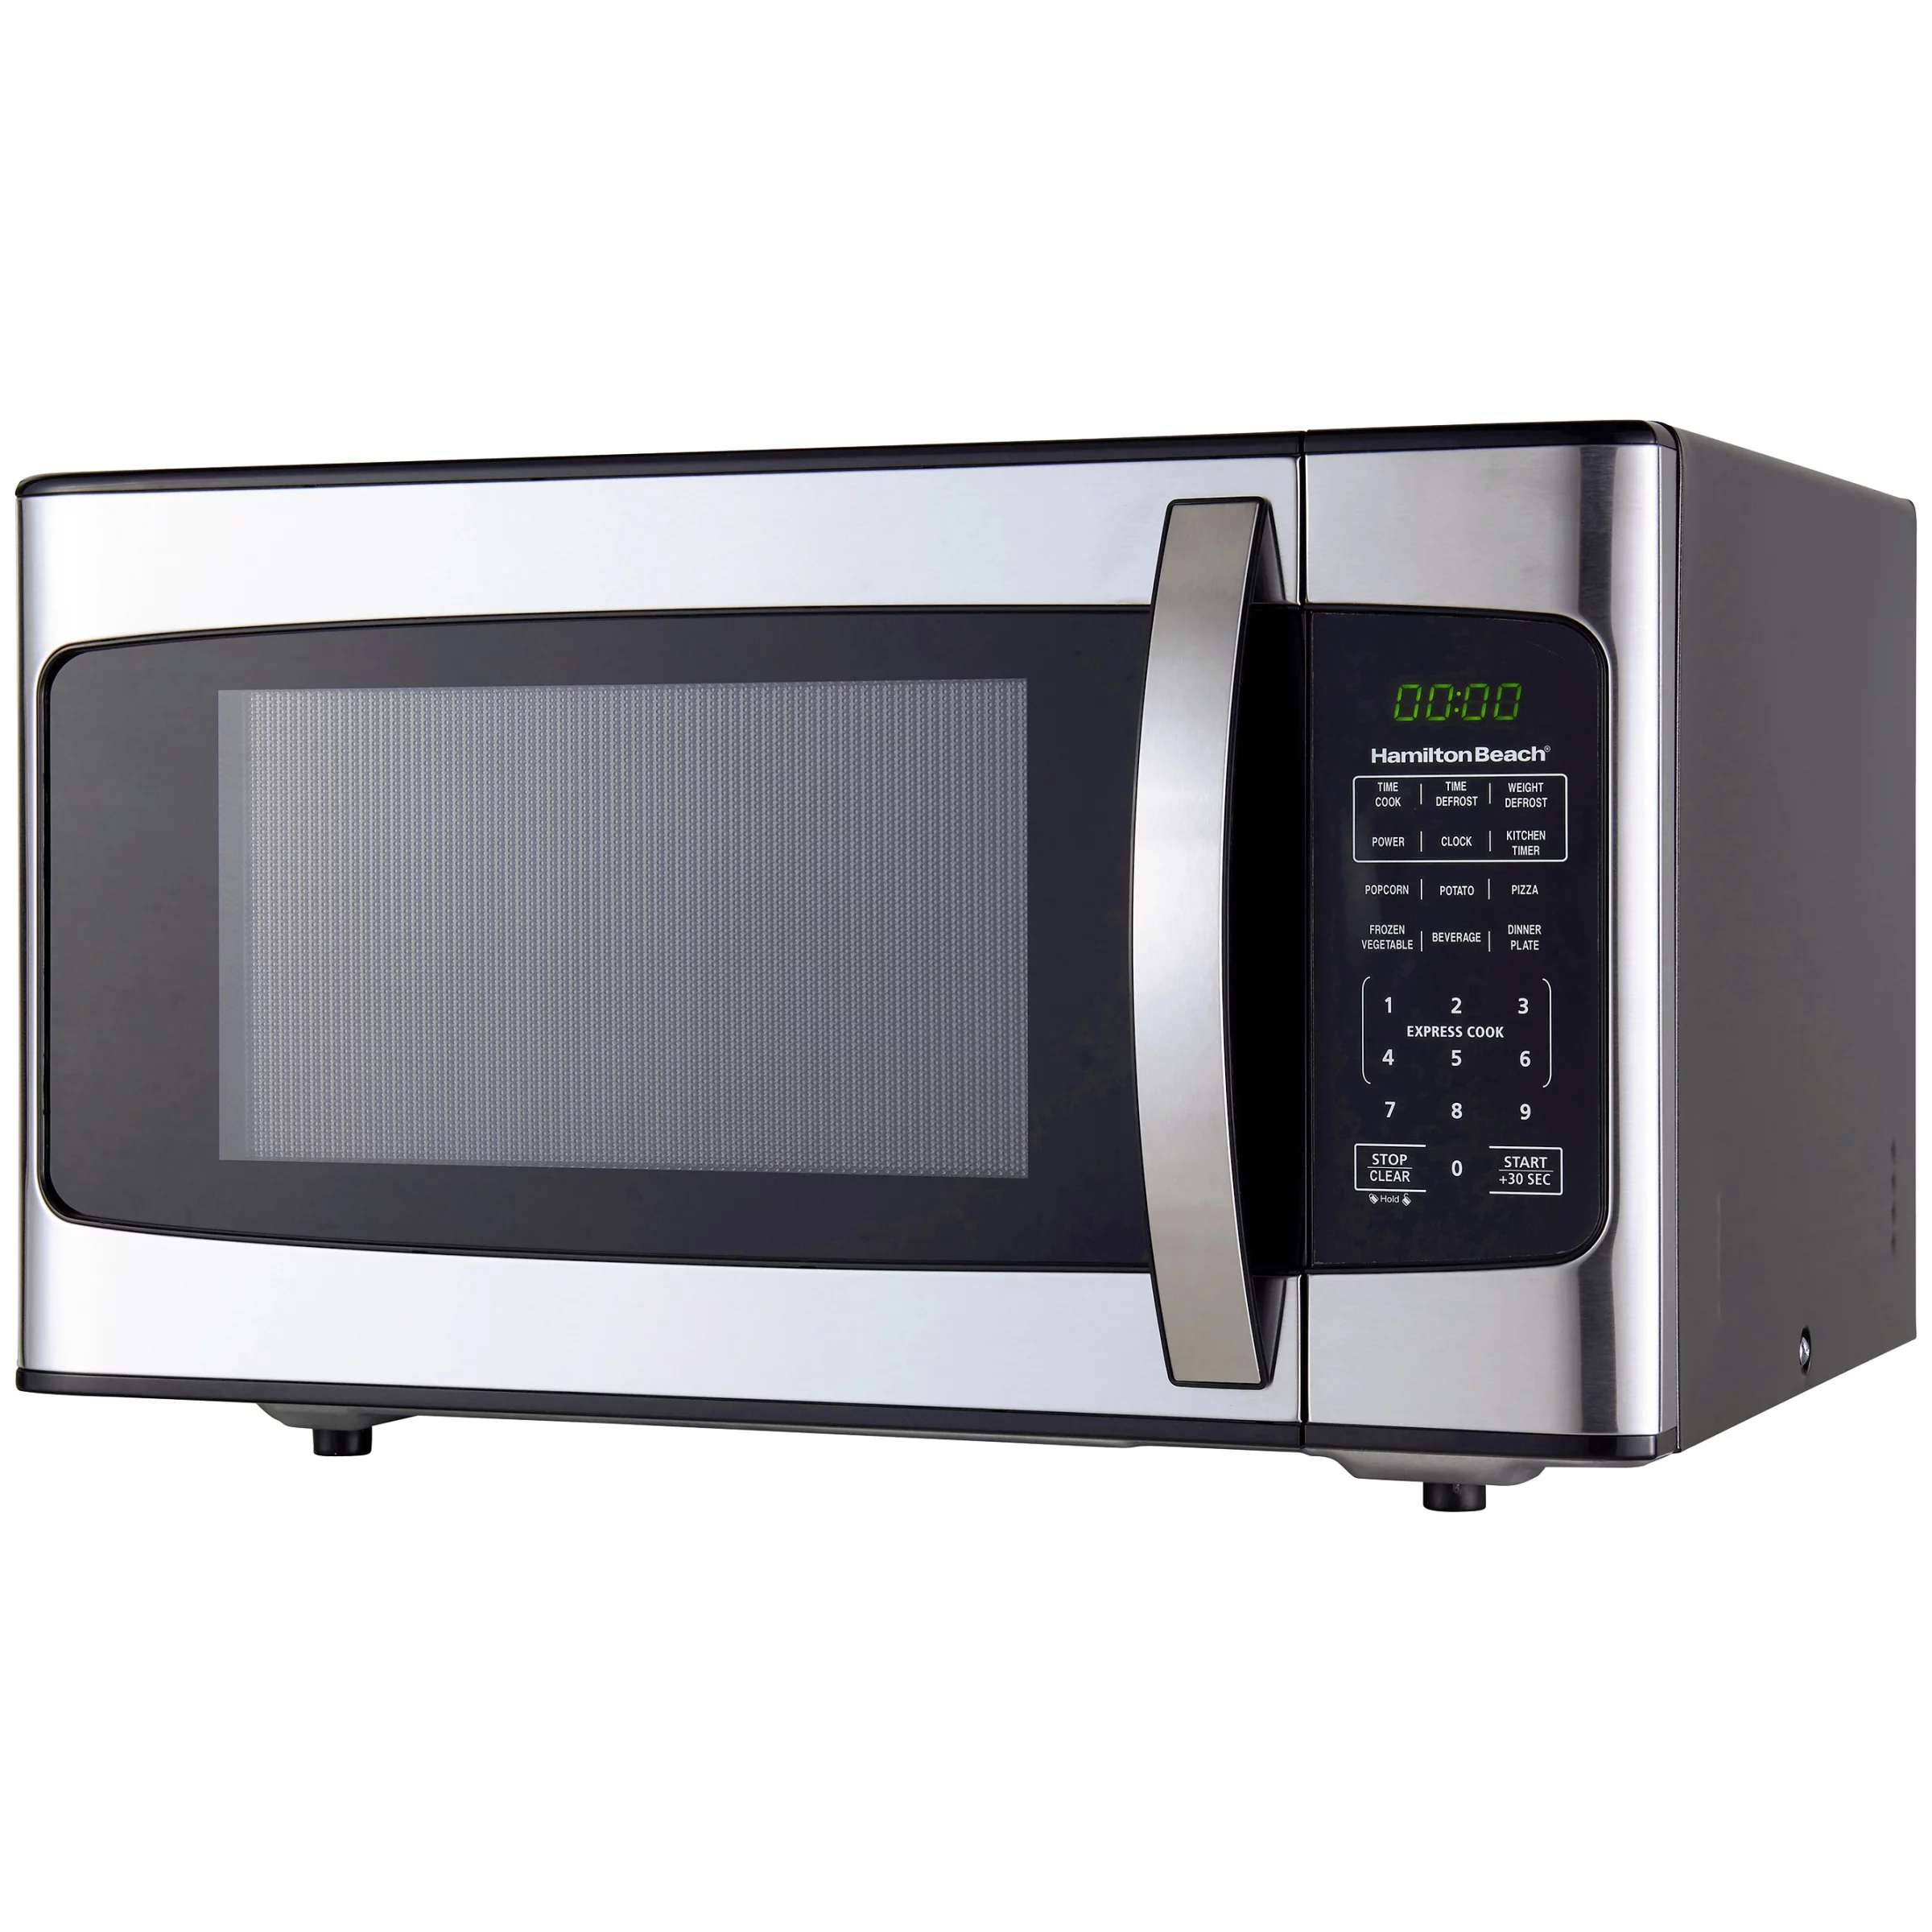
Start by plugging in your microwave and making sure it’s operational. On the microwave’s control panel, look for a button labeled ‘Clock’, ‘Set Clock’, or something similar. This button is usually positioned near the numeric keypad.

Step 2: Enter the Time

After pressing the ‘Clock’ button, the display should blink, indicating that it’s ready for you to set the time. Using the numeric keypad, enter the current time. For instance, if the current time is 2:30, you should press the buttons ‘2’, ‘3’, ‘0’ consecutively. If your microwave operates on a 24-hour clock (military time), ensure you adjust your input accordingly, e.g., 14:30 for 2:30 PM.

Step 3: Confirm the Time

Once the correct time is displayed on the screen, you’ll need to finalize the setting. This is usually done by pressing the ‘Clock’ button again or, in some models, the ‘Start’ or ‘Enter’ button. This action will stop the display from blinking, and the time should now be set.

Troubleshooting Common Issues

Even with these straightforward steps, sometimes things don’t go as planned. Here are a few tips if you find yourself facing issues:

  • Double-check your model’s manual: As models can vary, some microwaves may have different methods or additional steps.
  • Reset the microwave: If the display isn’t responding as expected, try unplugging the microwave for a few minutes and then plug it back in to reset it.
  • Check for lock settings: Some microwaves have a child lock that might prevent the buttons from working. Make sure this setting is off by consulting your manual.

Why It’s Important to Set Your Microwave Clock

Setting the clock on your Hamilton Beach microwave isn’t just about knowing the time. Here are a few reasons why this simple function is crucial:

  • Cooking accuracy: Many microwave cooking instructions depend on precise timing. Having the correct time displayed helps in following these instructions accurately.
  • Using delayed start functions: Some advanced models come with delay start features, which rely on the microwave’s clock to function correctly.
  • Energy savings: If your microwave displays the wrong time, you might end up using it at peak energy hours without realizing it, leading to higher energy bills.

Maintaining Your Hamilton Beach Microwave

To keep your Hamilton Beach microwave in top working condition, regular maintenance is necessary. Here are a few tips:

  • Keep it clean: Ensure the interior and exterior of the microwave are clean from food splatters and dust.
  • Turntable maintenance: Make sure the turntable is correctly placed and spins freely. Clean it regularly to avoid any residue build-up.
  • Door seal check: Regularly inspect the door seal for any food particles or damages to ensure optimal efficiency.

Key Takeaways

  • Know your model: Always start by confirming your Hamilton Beach microwave model to follow the most accurate instructions.
  • Simple steps: Locate the ‘Clock’ button, enter the time, and confirm by pressing ‘Clock’ again or ‘Start/Enter’.
  • Troubleshooting: If issues arise, consult the manual, reset the microwave, or check for a child lock.
  • Importance of setting the clock: Ensures cooking accuracy, allows for the use of delay start functions, and helps manage energy costs.

By following these steps, you should have no trouble setting the clock on your Hamilton Beach microwave, ensuring that you make the most out of your appliance. Remember, a well-maintained microwave is a lasting one, so take good care of your Hamilton Beach model. For more tips and guides, keep visiting us at TheKitchenApplianceDad.com!

Meet

Dale

Hi, I'm Dale! With over ten years in high volume restaurants, my journey has taken me through the ins and outs of using, maintaining, and even repairing virtually every kitchen appliance imaginable.

I'm here to share simple, straightforward advice to help you choose and use your kitchen tools effectively. No fluff, just the essential info you need to cook up a storm.