Having a freezer that isn’t functioning correctly can be a major inconvenience, especially when it affects the freshness and preservation of your food. If you own a GE freezer and are facing temperature regulation issues, it’s crucial to address these problems promptly to avoid food spoilage and ensure your appliance operates efficiently. In this post from TheKitchenApplianceDad.com, we’ll dive into common GE freezer temperature issues and provide step-by-step solutions to help you resolve them quickly and efficiently.
Understanding the Basics of Your GE Freezer
Before we tackle the troubleshooting steps, it’s essential to understand the basics of how your GE freezer operates. GE freezers, like most modern freezers, use a combination of compressors, evaporator coils, and several electronic controls to maintain the desired temperature. The freezer’s thermostat monitors the temperature and signals the compressor to start or stop to maintain the set temperature.
Common Signs of Temperature Issues in GE Freezers:
- Freezer not cold enough or too cold
- Frost buildup
- Fluctuating temperatures
- Unusual noises

Step-by-Step Troubleshooting Guide
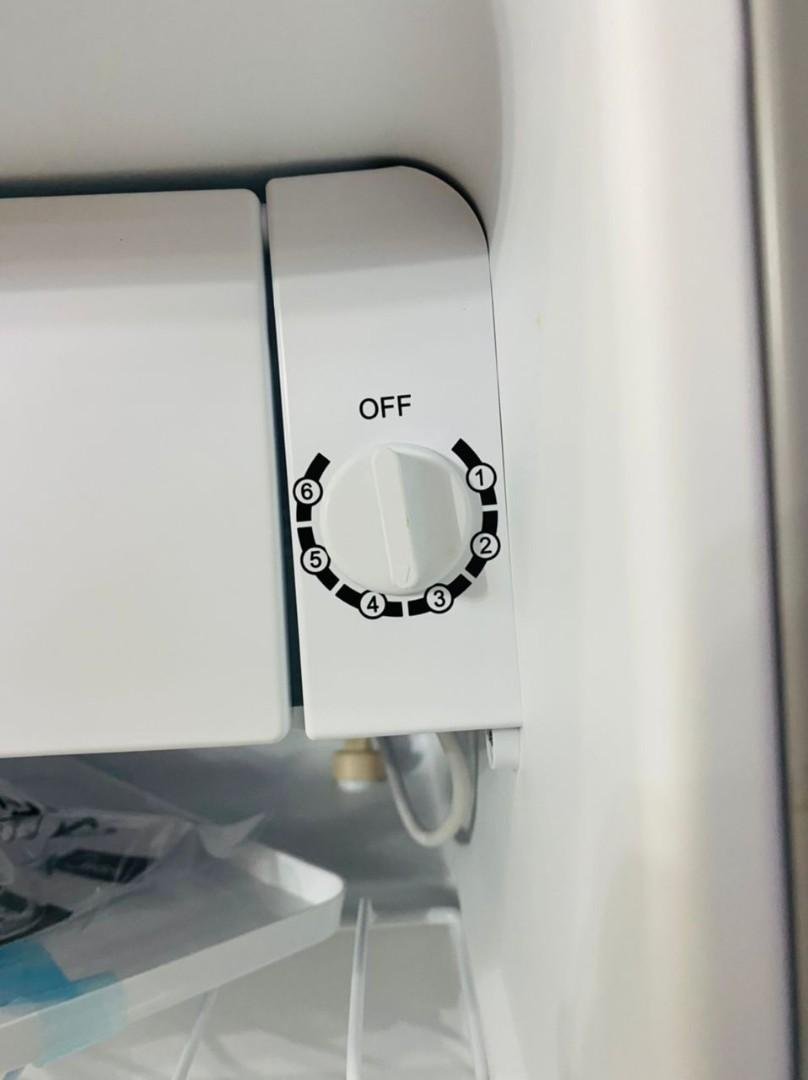
Step 1: Check the Thermostat Settings
Sometimes, the issue might be as simple as incorrect temperature settings. GE freezers should typically be set to 0°F (-18°C).
- Ensure that the thermostat is set to the recommended temperature.
- If your model has a digital panel, check for any error codes that might indicate specific problems.
Step 2: Inspect the Door Seals
A loose or damaged door seal might be the culprit, allowing cold air to escape and warm air to enter.
- Inspect the door seals for any signs of wear or tear.
- Clean the seals with a mild detergent and warm water.
- Check if the door closes properly. If not, adjust the hinges or replace the seals if necessary.
Step 3: Clear the Vents and Coils
Blocked air vents or dirty condenser coils can restrict airflow, causing the freezer to work harder and affecting its cooling efficiency.
- Ensure that nothing is blocking the air vents inside the freezer. Rearrange items if necessary.
- Clean the condenser coils located at the back or beneath your freezer. Use a refrigerator coil brush and vacuum to remove dust and debris.
Step 4: Defrost the Freezer
Excessive frost buildup can also lead to temperature issues.
- If your GE freezer is not a frost-free model, manually defrost it by turning it off and letting the ice melt. Ensure to protect your floor against water spillage.
- For frost-free models, if you notice heavy frost buildup, it might indicate a problem with the defrost system (heater, timer, or thermostat).
Step 5: Check the Evaporator Fan
The evaporator fan circulates cold air throughout the freezer. If this fan is not working correctly, it can result in poor cooling.
- Listen for the fan operation; you should be able to hear it when the freezer door is closed.
- If you suspect the fan is not running, consult your GE manual for guidance on accessing and checking the fan, or contact a professional.
Step 6: Examine the Compressor and Start Relay
The compressor is the heart of your freezer’s cooling system. Issues with the compressor or start relay can lead to significant cooling problems.
- Listen for the compressor; it should run smoothly with a consistent humming sound.
- If the compressor clicks on and off frequently or makes unusual noises, the start relay might be defective. Replacing the start relay or the compressor requires professional help.
When to Call a Professional
While many issues can be resolved with basic troubleshooting, some problems require the expertise of a professional. If you’ve gone through all the steps above and your freezer still isn’t working correctly, or if you need to replace a part like the compressor, it’s best to contact a certified GE repair technician. You can schedule a service visit through the GE Appliances website.
Maintenance Tips to Prevent Future Issues
To keep your GE freezer running smoothly and prevent future temperature issues, here are some maintenance tips:
- Regularly check and clean the door seals.
- Keep the condenser coils clean.
- Avoid overloading the freezer to ensure adequate air circulation.
- Defrost manually if you do not have a frost-free model.
- Check the temperature settings periodically to ensure they are at the recommended levels.
Key Takeaways
- Check Settings and Seals: Always start troubleshooting by checking the thermostat settings and inspecting the door seals.
- Maintain Cleanliness and Airflow: Regularly clean the vents, air circulation spaces, and condenser coils to maintain optimal performance.
- Manual Checks: Perform manual checks on the evaporator fan and consider professional help for compressor issues.
- Professional Help: Don’t hesitate to calla professional for complex issues like compressor problems or when DIY solutions don’t resolve the temperature issues.
- Preventive Maintenance: Engaging in regular maintenance activities can help prevent future issues and extend the lifespan of your GE freezer.
By following these troubleshooting steps and maintenance tips, you should be able to resolve most common temperature issues with your GE freezer. Remember, timely intervention not only saves your food from spoiling but also ensures that your freezer operates efficiently for years to come. For more insightful tips and appliance advice, keep following TheKitchenApplianceDad.com.