repairing-ge-freezer-that-isnt-sealing-properly

Repairing a GE Freezer That Isn’t Sealing Properly

Solving the Mystery: Repairing a GE Freezer That Isn’t Sealing Properly

Hello, fellow appliance enthusiasts! Today at TheKitchenApplianceDad.com, we’re diving into a common issue that many of our readers have encountered: a GE freezer that isn’t sealing properly. A faulty seal can lead to increased energy bills, reduced efficiency, and spoilage of your frozen goods. Let’s tackle this problem together with a step-by-step guide to diagnosing and fixing the seal on your GE freezer.

Understanding the Importance of a Good Seal

The seal around your freezer door, also known as a gasket, is crucial for maintaining the correct temperature and humidity levels inside your appliance. A seal that doesn’t function properly allows warm air to enter the freezer, forcing it to work harder to keep the contents frozen. This not only leads to energy waste but can also shorten the lifespan of your freezer.

How To Fix Refrigerator Door Seal - YouTube

Step 1: Diagnose the Problem

Inspect the Gasket

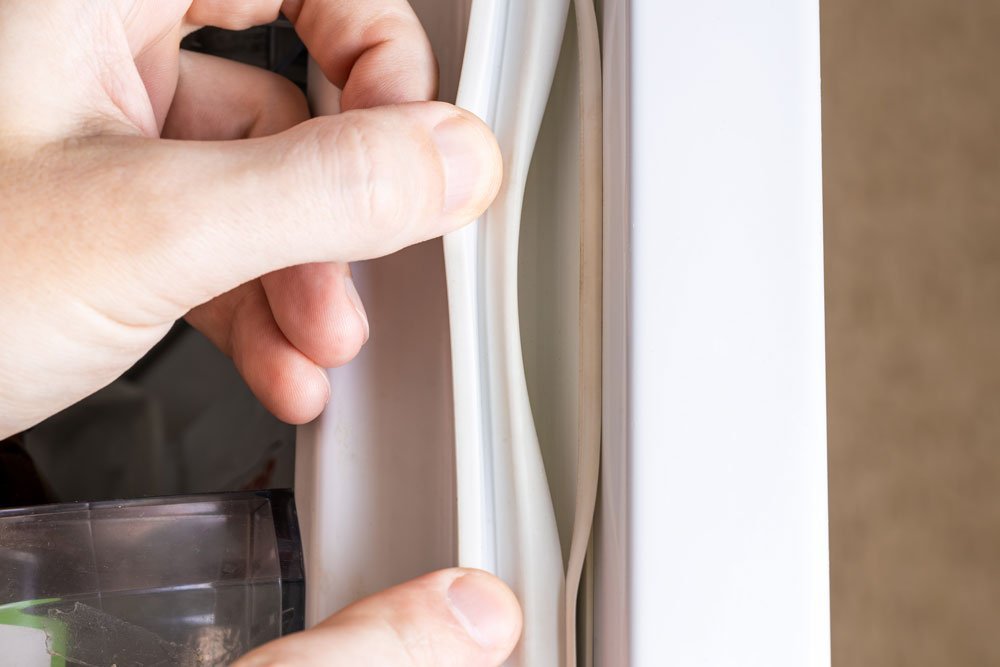
Start by visually examining the entire length of the freezer gasket. Look for any signs of wear, tear, or deformities. Common issues include cracks, stiffness, and areas where the gasket has become flat or compressed.

Check for Gaps

Close the freezer door on a piece of paper or a dollar bill, then pull it out. If the paper slides out easily without resistance, you have a gap. Perform this test at several points around the door to ensure the entire gasket needs attention.

Step 2: Clean the Gasket

Before you decide to replace the gasket, a good cleaning might solve the problem, especially if the issue is related to dirt and grime that accumulate over time and prevent a tight seal.

Materials Needed

  • Warm water
  • Mild soap
  • Soft cloth or sponge
  • Dry towel

Cleaning Process

  1. Make a Cleaning Solution: Mix mild soap with warm water.
  2. Wipe Down the Gasket: Dip the cloth or sponge into the solution and gently clean the gasket.
  3. Dry the Gasket: Use a dry towel to remove any moisture that remains after cleaning.

Step 3: Adjust or Realign the Door

Sometimes, the issue isn’t with the gasket itself but with how the freezer door is aligned. If the door is not properly aligned, it won’t seal correctly.

How to Adjust the Freezer Door

  1. Loosen the Hinges: Use the appropriate screwdriver to slightly loosen the screws on the door’s hinges.
  2. Reposition the Door: Adjust the door so that it is level and has an even gap across the top and sides.
  3. Tighten the Screws: Once the door is properly aligned, tighten the screws back into place.

Step 4: Replace the Gasket

If cleaning and adjusting the door don’t fix the sealing issue, you might need to replace the gasket.

Materials Needed

  • Replacement gasket (make sure it is the correct model for your GE freezer)
  • Screwdriver or nut driver

Replacement Process

  1. Remove the Old Gasket: Loosen the screws or fasteners that hold the gasket in place and gently pull it off.
  2. Install the New Gasket: Align the new gasket with the door groove and press it into place. Make sure it is flat and even all around the door.
  3. Secure the Gasket: Replace the screws or fasteners to secure the new gasket.
  4. Check the Seal: Perform the dollar bill test again to ensure the new gasket is sealing properly.

Where to Buy a Replacement Gasket

Replacement gaskets can be found at most appliance repair shops or online. Ensure you purchase the correct model specific to your GE freezer. GE Appliances Parts is a reliable source to find the exact match.

Conclusion

Dealing with a GE freezer that isn’t sealing can be frustrating, but with the right approach, it’s a fixable issue. Whether it’s a simple clean-up job, an adjustment, or a full gasket replacement, you can do it yourself with a little bit of patience and the right tools.

Key Takeaways

  • Inspect and Test: Regularly check the condition of your freezer’s gasket and test it by using the paper/dollar bill method to identify gaps.
  • Clean Regularly: Keep the gasket clean from dirt and debris to ensure a proper seal.
  • Adjust the Door: Sometimes the solution is as simple as realigning the freezer door.
  • Replace if Necessary: If other fixes don’t work, replace the gasket using the correct model-specific part.

By following these steps, you should be able to fix the sealing issue with your GE freezer, ensuring it runs efficiently and keeps your frozen goods preserved. Remember, TheKitchenApplianceDad.com is here to help you with practical tips and advice to keep your kitchen appliances running smoothly!
Meet

Dale

Hi, I'm Dale! With over ten years in high volume restaurants, my journey has taken me through the ins and outs of using, maintaining, and even repairing virtually every kitchen appliance imaginable.

I'm here to share simple, straightforward advice to help you choose and use your kitchen tools effectively. No fluff, just the essential info you need to cook up a storm.