At TheKitchenApplianceDad.com, we understand that maintaining and managing your kitchen appliances can sometimes be a tricky task. Today, we’re focusing on a common issue that many of our readers have come across: removing the top freezer drawer from a Whirlpool refrigerator. Whether you need to clean it, fix a malfunction, or simply want to understand your appliance better, this guide is here to help you every step of the way.
Before diving into the removal process, it’s important to understand the type of Whirlpool refrigerator model you own. Whirlpool manufactures several refrigerator models, each with slightly different drawer designs and mechanisms. Typically, the freezer drawer in a top freezer model is designed for easy removal, but always refer to your specific model’s user manual for instructions tailored to your appliance. You can usually find this manual online at Whirlpool’s official website or by entering your model number on Whirlpool’s user manual download page.
In most cases, removing the freezer drawer from a Whirlpool refrigerator is straightforward and doesn’t require any specialized tools. However, it’s always good to be prepared. Here are a few tools that might come in handy:
Safety first! Ensure that your refrigerator is unplugged from the power source. Remove all items from your freezer to prevent any damage or inconvenience during the removal process.
If your freezer has an ice maker, you will need to remove it before you can take out the drawer. Most ice makers are held by a few screws and connected by a wiring harness. Use your Phillips head screwdriver to remove the screws and gently disconnect the harness.
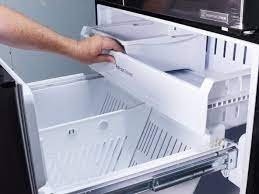
In most Whirlpool models, the freezer drawer slides on tracks. These tracks are equipped with screws on both sides of the drawer. Using your screwdriver, remove these screws, or if your model has release levers, simply lift the levers to free the drawer.
Once the drawer is free from the tracks, the next step is to remove the drawer front. This is usually secured by screws inside the drawer. Use your screwdriver to remove these screws, then gently pull the drawer front off.
With the front off, you should be able to lift the drawer itself out of the frame. It might be a bit heavy, especially if it’s a larger drawer, so be careful and use both hands.
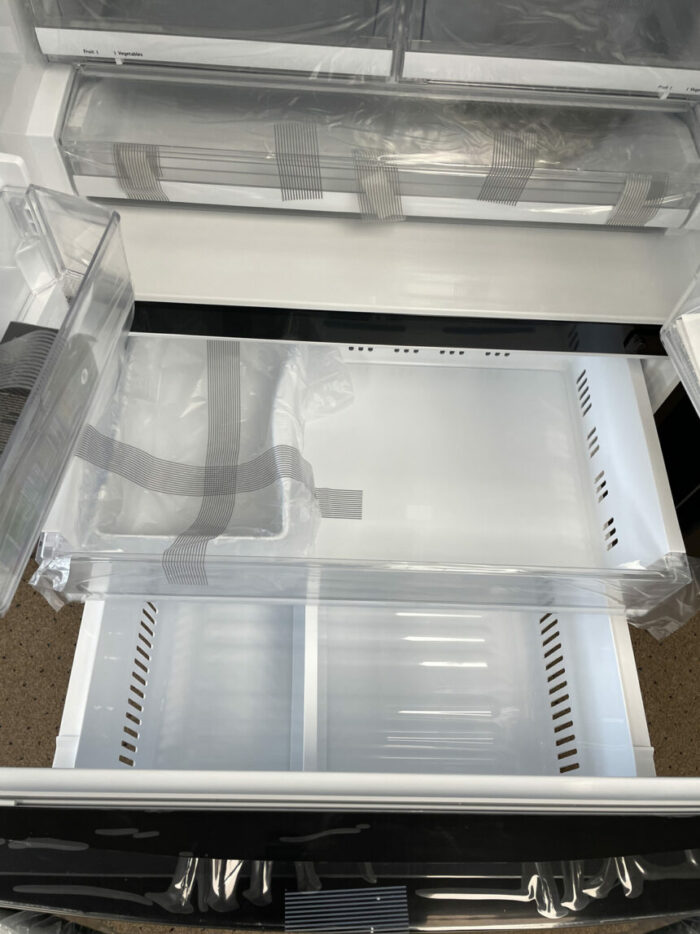
With the drawer removed, it’s a good opportunity to check the condition of the tracks and interior of the freezer. Use this time to clean areas that are usually hard to reach when the drawer is in place.
To put the drawer back, simply reverse the steps:
By following these detailed steps, you should be able to remove the top freezer drawer from your Whirlpool refrigerator without any hassle. Regular maintenance and cleaning can extendthe life of your appliance and ensure it operates at peak efficiency. Remember, if you have any doubts or concerns during the process, it’s always wise to consult a professional or refer back to the user manual specific to your model. At TheKitchenApplianceDad.com, we’re here to help you manage your kitchen appliances effectively, ensuring they serve you well for years to come.