Welcome to another practical guide from TheKitchenApplianceDad.com! Today, we’re diving into a common yet sometimes puzzling task for many homeowners: removing the freezer drawer from a Whirlpool Gold Series refrigerator. Whether you’re undertaking a thorough cleaning, dealing with a blockage, or simply curious about the inner workings of your appliance, this step-by-step guide will help you safely and efficiently remove the freezer drawer.
Understanding Your Whirlpool Gold Series Refrigerator
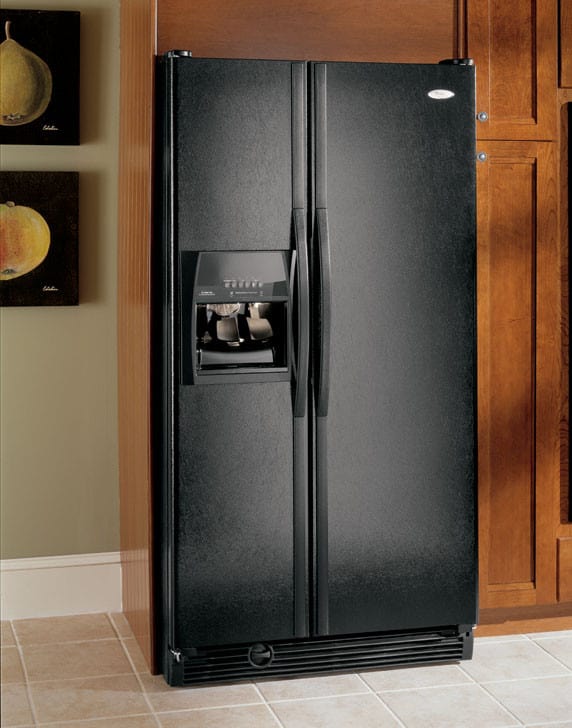
The Whirlpool Gold Series encompasses a variety of refrigerator models, many of which include a pull-out bottom freezer drawer. These models are popular due to their efficiency and spacious design. However, the process of removing the freezer drawer can seem daunting if you’ve never attempted it before.
Before you begin, it’s crucial to identify your specific model number to follow the most accurate instructions. You can typically find this number inside the refrigerator, on the upper walls, or near the crisper drawers.
Safety First
Before we get into the nitty-gritty, let’s talk safety:
- Power Down: Always start by unplugging your refrigerator. This prevents any electrical accidents and ensures your safety.
- Tool Check: Ensure you have all necessary tools on hand. Typically, a Philips head screwdriver and a flat-blade screwdriver are sufficient.
- Protect Your Floors: If you need to pull the refrigerator out or move it, consider laying down floor protectors to avoid scratches and damage.

Step-by-Step Guide to Removing the Freezer Drawer
Step 1: Empty the Freezer
Clear out all items in your freezer. Remove any baskets or separators if they aren’t integrated into the drawer system. This reduces weight and prevents any damage to your frozen goods.
Step 2: Remove the Ice Maker (if applicable)
If your model has an ice maker:
- Locate the cover panel. This is usually on the upper left side.
- Remove the cover panel. Use a screwdriver if necessary.
- Disconnect the wiring harness. There should be a plug that connects the ice maker to the freezer’s electrical system. Disconnect this carefully.
- Unscrew and remove the ice maker. Set it aside safely.
Step 3: Detach the Drawer Slides
- Extend the drawer fully. Pull the drawer out to its full extension to expose the slides.
- Locate the screws holding the slides. There are usually screws or clips on the side tracks that need to be loosened.
- Unscrew and gently detach the slides. Keep all screws and small parts in a container so they don’t get lost.
Step 4: Remove the Drawer Front
- Locate the screws securing the drawer front to the drawer box. These are typically found inside the drawer.
- Remove these screws. Once loose, the front panel should come off easily.
Step 5: Lift Out the Drawer
With the front panel and slides detached, you should be able to lift the whole drawer out. Be cautious and steady as the drawer might be heavier than expected.
Step 6: Check and Clean
With the drawer removed, it’s a good opportunity to:
- Check the empty space for any obstructions or debris. Clean out any dust, food particles, or ice buildup.
- Inspect the drawer slides and rollers for damage. Apply a silicone-based lubricant if they seem stiff or squeaky.
Reassembling the Freezer Drawer
To put everything back together, simply reverse the steps:
- Place the drawer back on the slides.
- Reattach the drawer front.
- Screw the slides back in place.
- Reinstall the ice maker if you have one.
- Reload your frozen goods.
Key Takeaways
- Preparation is Key: Knowing your specific refrigerator model and having the right tools at hand are crucial for a smooth process.
- Safety Cannot be Overstressed: Always unplug your appliance before attempting any maintenance.
- Opportunity for Maintenance: Use this as an opportunity to clean and inspect your freezer.
Removing the freezer drawer from a Whirlpool Gold Series refrigerator is a straightforward process once you understand the steps involved. By following this guide from TheKitchenApplianceDad.com, you can ensure that your appliance continues to function efficiently and remains clean, extending its lifespan and performance.