how-to-remove-burnt-popcorn-smell-from-a-microwave

How to Remove Burnt Popcorn Smell From A Microwave

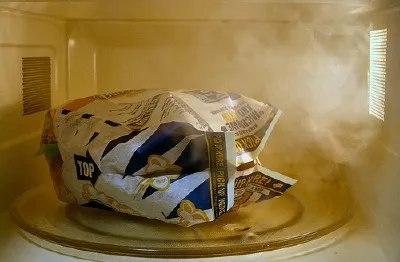
Ah, the unmistakable aroma of popcorn is a delight—until it’s not. We’ve all been there: you set a bag of popcorn in the microwave and get distracted, only to be reminded by an unpleasant burnt smell that permeates the kitchen. If you’re struggling with lingering odors from a popcorn mishap, you’ve come to the right place. At TheKitchenApplianceDad.com, we understand the importance of maintaining a fresh-smelling kitchen, and we’re here to help you banish those stubborn scents from your microwave.

Understanding the Challenge

When popcorn burns, the oils and fats within the kernels undergo a chemical change that produces that strong, acrid odor. The smoke from the burnt popcorn can also coat the interior of the microwave, making the smell linger even after the initial mess is removed.

How to Get Burnt Smell Out of a Microwave, According to Pros | Apartment Therapy

Initial Clean-Up

Step 1: Remove Burnt Popcorn and Wipe Down

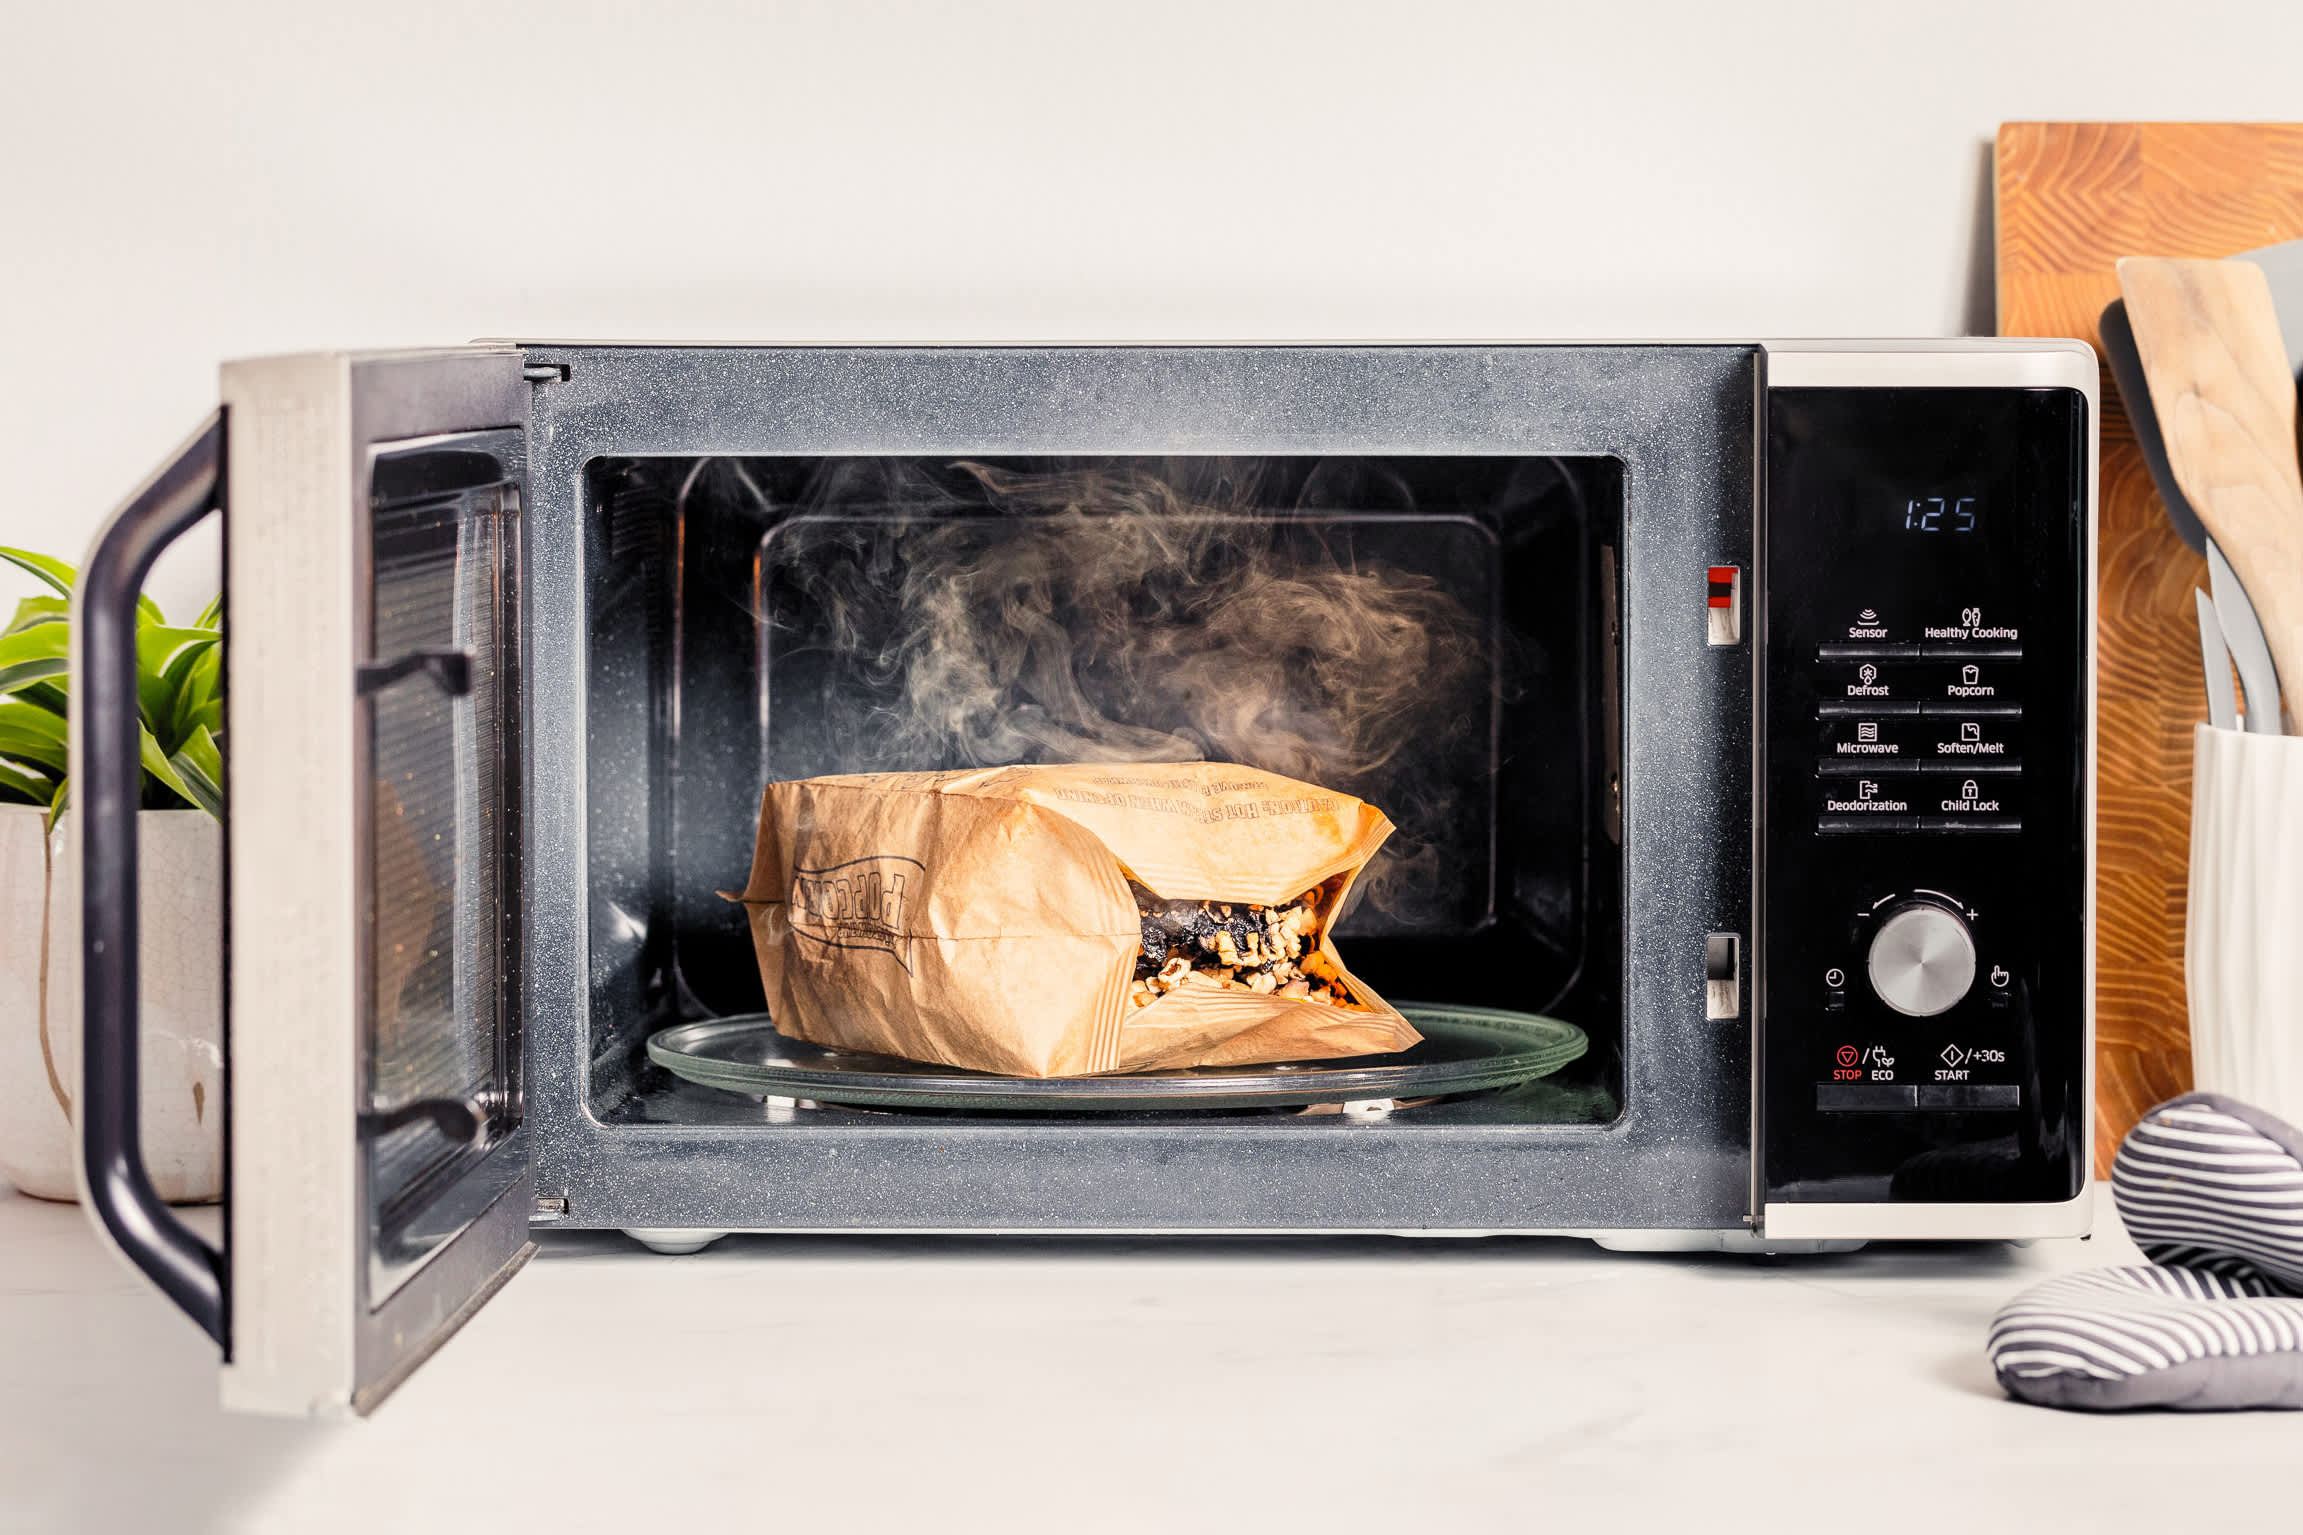
Firstly, carefully remove the burnt popcorn bag and any remaining kernels or debris from the microwave. Wipe down the interior with a damp cloth to remove any residue.

Step 2: Air Out the Microwave

Leave the microwave door open for a while to allow fresh air to circulate and help dissipate some of the smell.

Deodorizing the Microwave

Step 1: Steam Clean with Vinegar

Materials Needed:

  • 1 cup of water
  • 2 tablespoons of white vinegar
  • Microwave-safe bowl
  • Microwave-safe measuring cup or bowl

Procedure:

  1. Combine Water and Vinegar: Mix the water and vinegar in a microwave-safe bowl.
  2. Microwave the Solution: Place the bowl in the microwave and heat it on high power until the solution boils and the window steams up.
  3. Let it Sit: After the microwave stops, don’t open the door immediately. Let the bowl sit for 5-10 minutes to allow the steam to loosen any residue and absorb odors.
  4. Wipe Down: Open the door and carefully remove the hot bowl. Wipe down the inside of the microwave with a clean cloth.

Step 2: Absorb Odors with Baking Soda

Materials Needed:

  • Baking soda
  • Small dish

Procedure:

  1. Place Baking Soda in Dish: Pour some baking soda into a small open dish.
  2. Leave in Microwave: Place the dish in the microwave and close the door. Leave it overnight to absorb residual odors.

Step 3: Freshen with Lemon

Materials Needed:

  • 1 lemon
  • 1 cup of water
  • Microwave-safe bowl

Procedure:

  1. Prepare Lemon Water: Squeeze a lemon into a cup of water and drop the lemon halves into the bowl.
  2. Microwave Lemon Water: Place the bowl in the microwave and heat until the water boils.
  3. Let it Sit and Wipe: Allow the lemon water to sit in the microwave for a few minutes before wiping the interior with a sponge or cloth.

Preventative Measures

Regular Cleaning

Keeping your microwave clean on a regular basis is the best way to prevent odors from settling in. Wipe spills immediately and do a thorough cleaning at least once a week.

Proper Popcorn Popping

Always follow the instructions on the popcorn packaging to avoid overcooking. Use the microwave’s preset popcorn setting if available, and stay close by to monitor the popping process.

Key Takeaways

  • Immediately remove burnt popcorn and wipe down the microwave to get rid of debris.
  • Steam clean with a vinegar solution to neutralize odors and loosen residue.
  • Absorb leftover smells with baking soda left in the microwave overnight.
  • Freshen up the microwave with lemon water steam after the vinegar treatment.
  • Prevent future incidents by regularly cleaning your microwave and following popcorn instructions carefully.

Burnt popcorn smell doesn’t have to be a lingering reminder of a snacking mishap. With these simple and effective methods from TheKitchenApplianceDad.com, you can quickly restore your microwave to a fresh, odor-free state. Remember, consistent cleaning and attention during cooking can help avoid these issues altogether, so you can enjoy your popcorn without any unwanted side effects.

Meet

Dale

Hi, I'm Dale! With over ten years in high volume restaurants, my journey has taken me through the ins and outs of using, maintaining, and even repairing virtually every kitchen appliance imaginable.

I'm here to share simple, straightforward advice to help you choose and use your kitchen tools effectively. No fluff, just the essential info you need to cook up a storm.