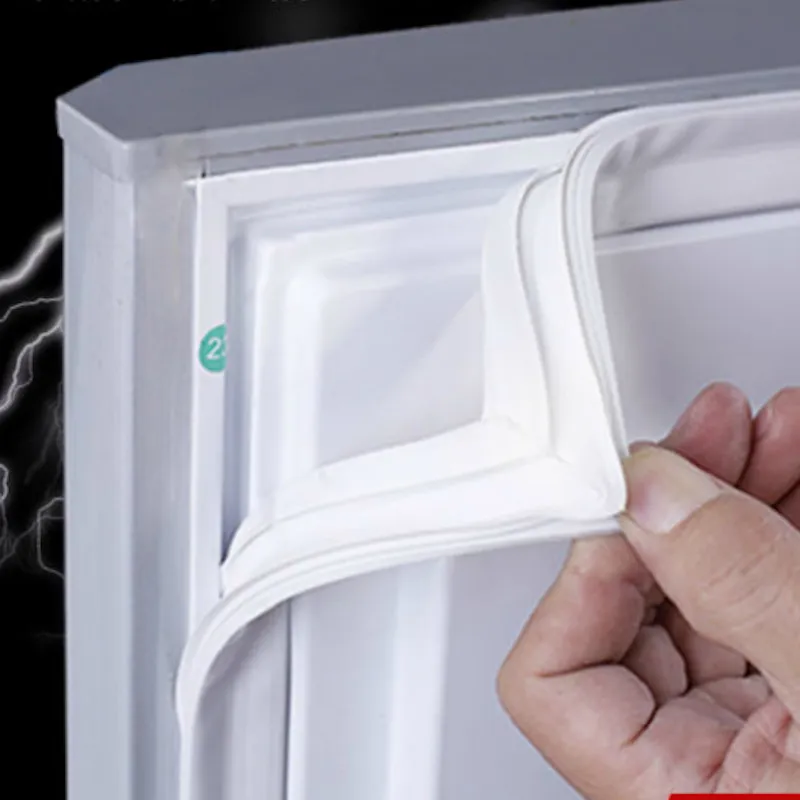
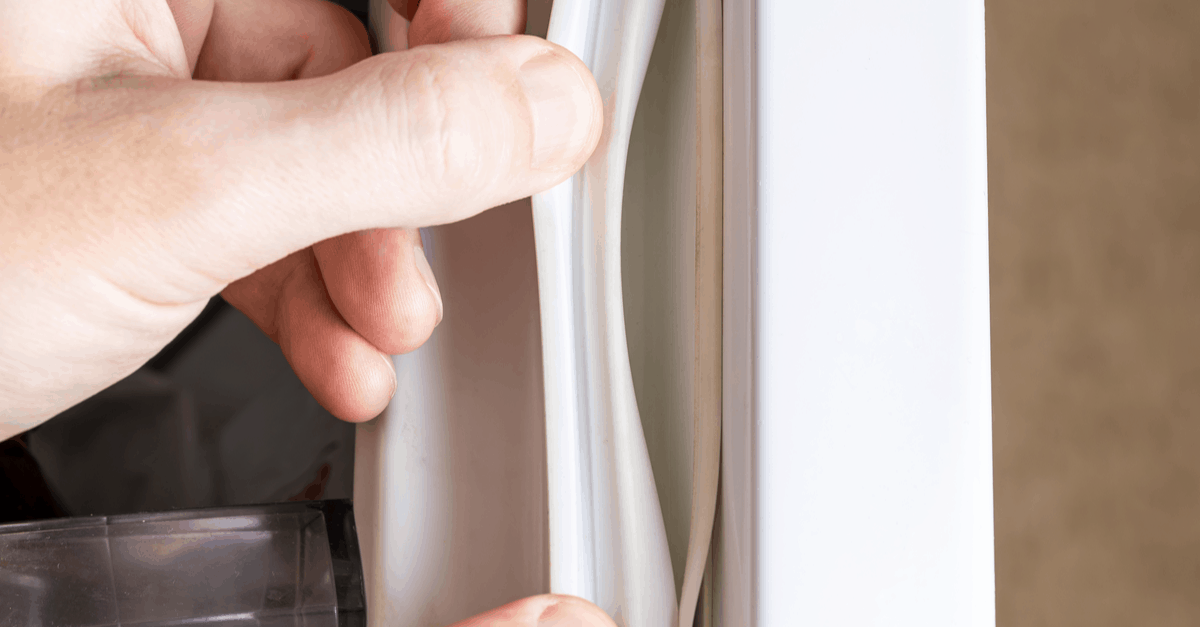
Keeping your freezer running efficiently is critical to both food safety and energy conservation. One common issue that can compromise the efficiency of your freezer is a weak or faulty door seal. Over time, the magnetic strips that help seal the door can lose their effectiveness. Fortunately, remagnetizing your freezer door seal is a straightforward process that can restore its sealing power. In this detailed guide from TheKitchenApplianceDad.com, we’ll walk you through the steps to ensure your freezer door seals tightly once again.
Before diving into the remagnetizing process, it’s crucial to understand why a good seal is imperative. The seal around your freezer door, often referred to as a gasket, is designed to prevent warm air from entering the freezer. This not only helps in maintaining the desired temperature but also prevents the compressor from working overtime, which could lead to increased energy consumption and reduced lifespan of the appliance.

Signs of a Weak Freezer Door Seal:
If you notice any of these signs, it might be time to check the seal’s integrity and possibly remagnetize it.
To remagnetize your freezer door seal, you will need a few basic tools and materials:
These tools can be found at most hardware stores or purchased online. Ensure that the external magnet is strong enough to affect the magnetic strip in the freezer gasket.
Before you begin the remagnetizing process, thoroughly inspect the seal for any cracks, tears, or debris. Use a soft cloth dampened with warm, soapy water to clean the gasket. Remove any food particles or residues that might prevent the door from sealing properly. Dry the gasket thoroughly with a clean cloth.
Using the magnetic field viewer card, check the current state of the magnetic field along the door seal. This card will help you identify the areas where the magnetic force is weak or non-existent.
Starting from the top of the door, hold the external magnet close to the gasket and slowly move it along the length of the seal. The external magnet will realign the magnetic particles in the gasket, enhancing its ability to bond with the metal door frame. Repeat this process several times, ensuring to cover all areas of the gasket.
Caution: Be gentle when applying the magnet to avoid damaging the seal.
After remagnetizing, close the freezer door and use the magnetic field viewer card again to check the strength of the magnetic field. You should notice a stronger magnetic pull. Additionally, try the dollar bill test—close the door on a dollar bill and try to pull it out. If the bill comes out too easily, the seal might still need attention.
Over the next few days, keep an eye on the freezer’s performance. Check for signs of frost build-up or excessive running. If the issues persist, it might be necessary to replace the gasket entirely.
While remagnetizing the door seal can extend its life and improve performance, it’s not always a permanent solution. If the gasket is visibly damaged or continues to fail in maintaining a tight seal, it’s wise to consider replacement. Modern freezer gaskets are relatively affordable and can be a more effective solution for older freezers.
By following these steps, you can ensure your freezer runs efficiently, keeping your food safe and your energy bills in check. Remember, a little maintenance can go a long way in extending the life of your kitchen appliances. For more tips and guides on appliance care, keep following TheKitchenApplianceDad.com.

