When it comes to microwaves, Proctor Silex is a name that resonates with reliability and convenience. Whether you’ve just purchased your microwave or have been using it for a while, one task that often seems trivial but can be surprisingly pesky is setting the clock. Here at TheKitchenApplianceDad.com, we understand that your time is precious. That’s why we’re here to guide you through the quickest way to set the clock on your Proctor Silex microwave, ensuring you can get back to your culinary adventures with minimal fuss.
Before we delve into the steps, it’s important to understand that while Proctor Silex microwaves may have similar features, the specific steps could vary slightly depending on your model. Generally, the process is intuitive and won’t take up much of your time.

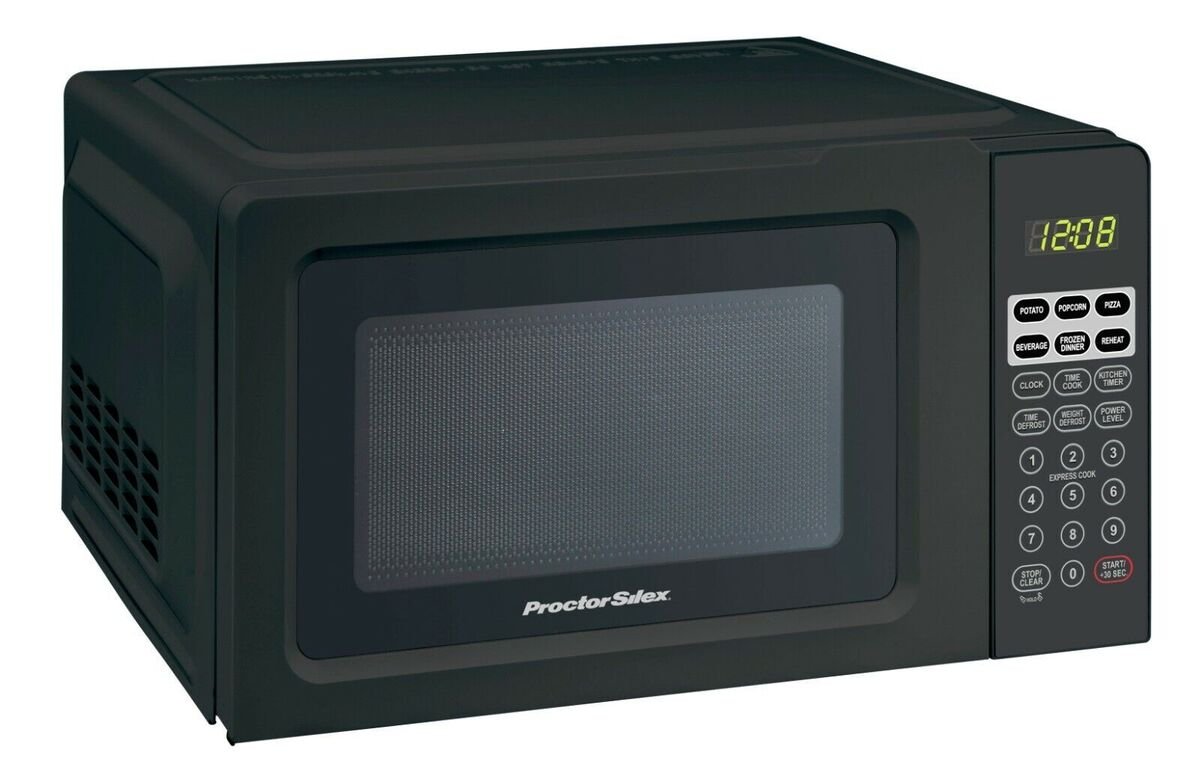
The clock function on a Proctor Silex microwave is typically accessed through a button labeled ‘Clock’ or sometimes a combination of buttons if the microwave uses multi-functional keys. If you’ve misplaced your user manual, you can often find a copy online on the Proctor Silex official website.
It’s worth noting that after a power outage, your microwave clock will need to be reset. This is a common feature in most microwaves, as they don’t have a battery backup for the clock. Having the knowledge to quickly reset the clock will save you from the blinking “00:00” every time you go to heat your coffee or cook a meal.
Now, let’s get down to business. Here’s a straightforward step-by-step guide to setting the clock on your Proctor Silex microwave:
Ensure your microwave is plugged in and has power. You should see the digital display light up, often with a clear indication that the clock is not set, such as a blinking “00:00” or a similar prompt.
Press the ‘Clock’ button on your microwave. If your microwave doesn’t have a dedicated clock button, look for a ‘Time’ or ‘Settings’ button. In some cases, you might need to press and hold or press the button twice quickly. Refer to your user manual for specific instructions if needed.
Using the number pad, enter the current time. Be sure to include the correct hour and minute. If your microwave operates on a 12-hour clock, you may need to set AM or PM as well.
After entering the time, press the ‘Clock’ button again to set it. Some models may require you to press ‘Start’ or ‘Enter’ instead.
Once you’ve confirmed the time, the display should show the time you’ve entered, and it should no longer be blinking. This indicates that the clock is set.
If the clock doesn’t set, repeat the process or consult your user manual. Sometimes, the clock might be set in military time (24-hour format), which may be confusing if you’re not used to it.
While setting the clock is generally straightforward, here are some additional tips that might come in handy:
When it comes to microwaves, Proctor Silex is a name that resonates with reliability and convenience. Whether you’ve just purchased your microwave or have been using it for a while, one task that often seems trivial but can be surprisingly pesky is setting the clock. Here at TheKitchenApplianceDad.com, we understand that your time is precious. That’s why we’re here to guide you through the quickest way to set the clock on your Proctor Silex microwave, ensuring you can get back to your culinary adventures with minimal fuss.
Before we delve into the steps, it’s important to understand that while Proctor Silex microwaves may have similar features, the specific steps could vary slightly depending on your model. Generally, the process is intuitive and won’t take up much of your time.
The clock function on a Proctor Silex microwave is typically accessed through a button labeled ‘Clock’ or sometimes a combination of buttons if the microwave uses multi-functional keys. If you’ve misplaced your user manual, you can often find a copy online on the Proctor Silex official website.
It’s worth noting that after a power outage, your microwave clock will need to be reset. This is a common feature in most microwaves, as they don’t have a battery backup for the clock. Having the knowledge to quickly reset the clock will save you from the blinking “00:00” every time you go to heat your coffee or cook a meal.
Now, let’s get down to business. Here’s a straightforward step-by-step guide to setting the clock on your Proctor Silex microwave:
Ensure your microwave is plugged in and has power. You should see the digital display light up, often with a clear indication that the clock is not set, such as a blinking “00:00” or a similar prompt.
Press the ‘Clock’ button on your microwave. If your microwave doesn’t have a dedicated clock button, look for a ‘Time’ or ‘Settings’ button. In some cases, you might need to press and hold or press the button twice quickly. Refer to your user manual for specific instructions if needed.
Using the number pad, enter the current time. Be sure to include the correct hour and minute. If your microwave operates on a 12-hour clock, you may need to set AM or PM as well.
After entering the time, press the ‘Clock’ button again to set it. Some models may require you to press ‘Start’ or ‘Enter’ instead.
Once you’ve confirmed the time, the display should show the time you’ve entered, and it should no longer be blinking. This indicates that the clock is set.
If the clock doesn’t set, repeat the process or consult your user manual. Sometimes, the clock might be set in military time (24-hour format), which may be confusing if you’re not used to it.
While setting the clock is generally straightforward, here are some additional tips that might come in handy: