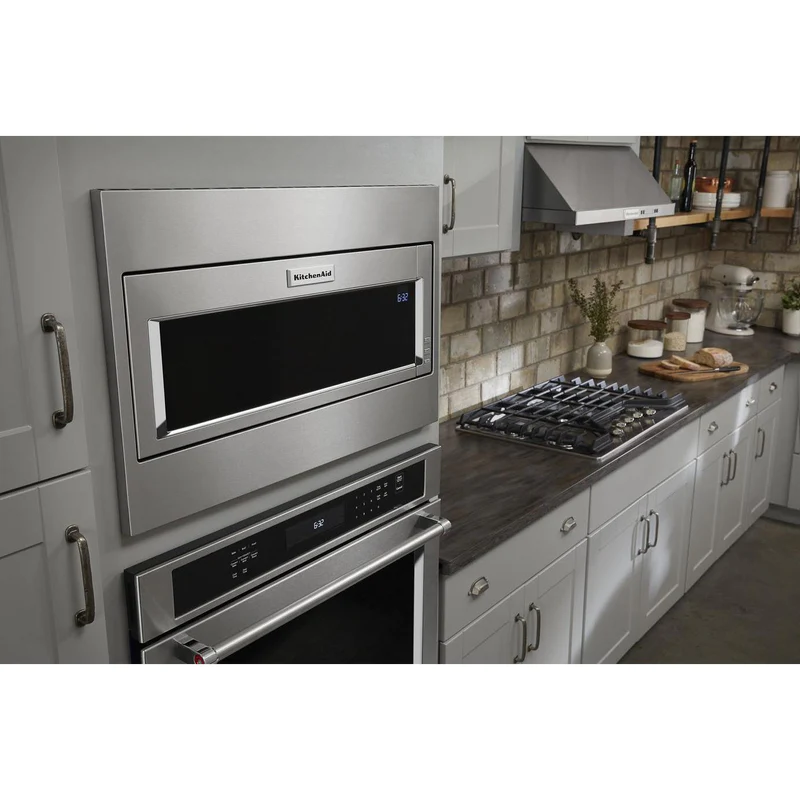
For many of us, the kitchen is the heart of the home, where appliances like the trusty KitchenAid microwave make life a little easier. Whether you’re reheating leftovers or melting butter for a recipe, chances are you rely on your microwave daily. But there’s one small feature that’s easy to overlook until it’s blinking 12:00 at you: the clock. At TheKitchenApplianceDad.com, we understand the importance of having a fully functional kitchen, right down to the correct time on your appliances. So, let’s dive into the simple steps to set the clock on your KitchenAid microwave and ensure your kitchen’s heartbeat keeps the right time.
Before we get into the nitty-gritty of setting the time, it’s crucial to familiarize yourself with the control panel of your KitchenAid microwave. Models may vary, but most KitchenAid microwaves have a similar layout when it comes to the clock setting. Look for buttons labeled ‘Clock’, ‘Time’, or sometimes an icon of a clock. If your model has a touch screen, you will likely find the clock settings in the options or settings menu.

Identify the ‘Clock’ or ‘Time’ button on your microwave. In some cases, you might need to press a ‘Settings’ or ‘Options’ button first to access the clock function.
After pressing the ‘Clock’ button, the display should start blinking. This is your cue to enter the current time. Use the number pad to enter the time. For example, if it’s 3:45, you will press ‘3’, ‘4’, ‘5’. If your microwave operates in a 24-hour format, adjust your input accordingly.
Once the correct time is displayed, you will need to confirm or save it. This could require you to press the ‘Clock’ button again or perhaps a ‘Start’, ‘Enter’, or ‘Yes’ button. Refer to your specific model’s manual if you’re unsure which button finalizes the setting.
If your model differentiates between AM and PM, make sure you’ve set it to the correct one. Some models automatically revert to AM if you’re setting the time before noon and PM for after. Others may have a toggle feature where you can switch between AM and PM during the setting process.
Even a seemingly simple task like setting the clock can sometimes hit a snag. If you’re having trouble, here are a few potential issues and their solutions:
If you’ve experienced a power outage, your microwave clock will need to be reset. Follow the same steps as above to re-establish the correct time. It’s a good practice to check all your kitchen appliances after a power outage to ensure they’re all working correctly and displaying the right time.
Aside from the aesthetic annoyance of a blinking ’12:00′, there are practical reasons to ensure your microwave clock is set:
Keeping the clock set is just one small part of maintaining your KitchenAid microwave. It’s also important to keep it clean, both inside and out, and to promptly address any functional issues that might arise. Regular maintenance ensures your appliance will serve you well for years to come.
Setting the clock on your KitchenAid microwave is a quick and painless process once you know the steps. Just like any other appliance feature, it’s about understanding your specific model’s controls and options. Remember, when in doubt, the user manual is your best friend. It’s tailored to your microwave andwill provide detailed instructions for all functions, including the clock setting.
If you’ve lost your manual, don’t worry. KitchenAid offers downloadable manuals on their official website. Simply search for your model number, and you’ll have access to all the guidance you need.
Remember, a well-maintained kitchen is a happy kitchen, and at TheKitchenApplianceDad.com, we’re here to help you make the most of your beloved appliances. Keep these tips in mind, and setting the clock on your KitchenAid microwave will be as easy as pie—or reheating it, at least!