Welcome to TheKitchenApplianceDad.com! Today, we’re focusing on a common yet sometimes frustrating task: setting the clock on your KitchenAid microwave. Whether you’ve just experienced a power outage, daylight saving time changes, or simply need to correct the time, it’s essential to know how to swiftly adjust your microwave’s clock to keep your kitchen routine running smoothly. Let’s dive in and get that clock ticking correctly.
Before we start pressing buttons, it’s crucial to understand that KitchenAid microwaves come in various models, each with slightly different interfaces. However, the process for setting the clock is relatively similar across most models. If you find that your model has a unique interface, refer to the user manual for specific instructions tailored to your appliance.

Setting the clock on your KitchenAid microwave should be a breeze once you get the hang of it. Follow these steps, and you’ll have the correct time displayed in no time.
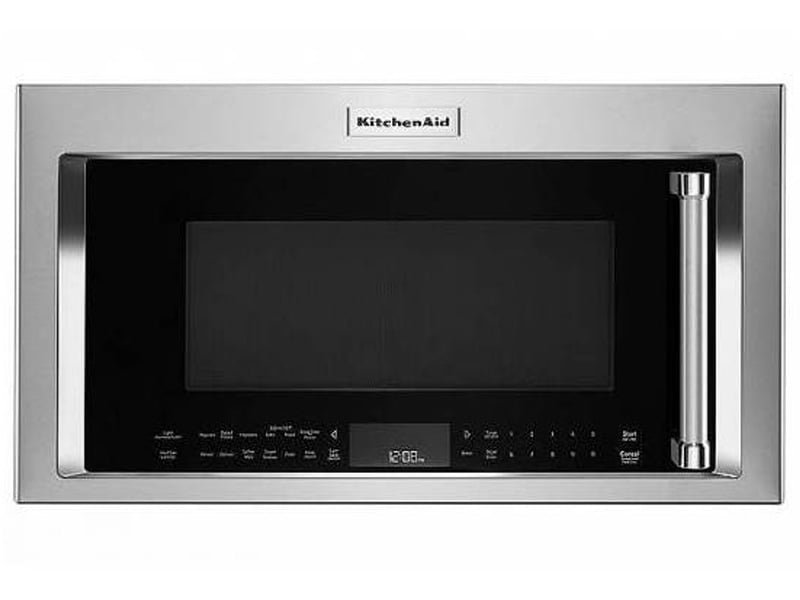
Firstly, locate the ‘Clock’ or ‘Clock Set’ button on your microwave’s control panel. In some models, this may be a direct button, while in others, it might be a secondary function of another button, requiring you to press it in conjunction with another key such as ‘Start’ or ‘Options.’
After pressing the ‘Clock’ button, the display should blink or otherwise indicate that it’s ready for you to set the time. Using the number pad, enter the current time. If your microwave uses a 12-hour clock, you’ll also need to set AM or PM, which is usually done by continuing to press the number pad until the correct time of day appears.
Once you’ve entered the time, you’ll need to lock it in. This is typically done by pressing the ‘Clock’ button again or the ‘Start’ button, depending on your model. Some microwaves may require you to press ‘Enter’ or ‘Set.’
After setting the clock, it’s always a good practice to ensure that the time is correct and that it starts advancing. If the time doesn’t change, repeat the process to ensure that you’ve set it correctly.
What if you’ve followed the steps above and the clock on your KitchenAid microwave still isn’t showing the correct time? Here are a few common issues and potential solutions:
If the ‘Clock’ or ‘Clock Set’ button doesn’t seem to be working, it could be that the child lock is activated, or the microwave is not in ‘Standby’ mode. Make sure that your microwave is plugged in and that all doors are securely closed. If the control panel still isn’t responding, refer to the manual to troubleshoot or consider contacting KitchenAid’s customer support.
If the time reverts to blinking zeros or another incorrect time after you’ve set it, there could be an issue with the internal memory. This might occur after a power outage or if the microwave has been unplugged for an extended period. If this happens repeatedly, it may be worth consulting a professional technician, as the microwave might have a faulty component.
If your microwave’s display is blank, ensure that the microwave is plugged in and that there hasn’t been a tripped circuit breaker or blown fuse. If power isn’t the issue, the display itself might be faulty and require professional repair.
Some KitchenAid microwaves come with additional features that relate to the clock and time settings:
Many modern microwaves include an option to automatically adjust for daylight saving time. If your model has this feature, ensure it’s activated if you want the microwave to update the time automatically.
While setting the clock, you might also come across the kitchen timer feature, which is different from the microwave timer. The kitchen timer counts down time and beeps when finished but doesn’t start the microwave. Additionally, the control lock feature might be useful if you have curious kids around. This feature locks the control panel to prevent accidental use or changes to the microwave settings.
To recap, here’s a quick guide on how to quickly set the clock on your KitchenAid microwave:
Remember, if the process outlined doesn’t work for your specific model, refer to your user manual for tailored instructions. Understanding how to set the clock on your KitchenAid microwave is a simple yet crucial skill that ensures your kitchen’s activities stay on schedule.
If you run into persistent problems or your microwave isn’t operating as it should, don’t hesitate to reach out to KitchenAid customer support or a professional technician. Proper maintenance and operation are key to the longevity and performance of your kitchen appliances.
Thank you for following along with TheKitchenApplianceDad.com. We hope this guide has been helpful in setting the clock on your KitchenAid microwave and that you’ll return for more appliance tips and tricks. Your kitchen routine is important, and we’re here to help you keep it ticking like clockwork!