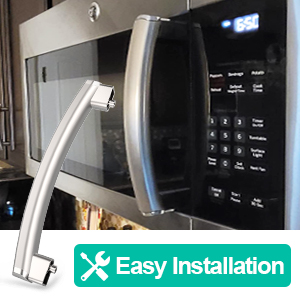
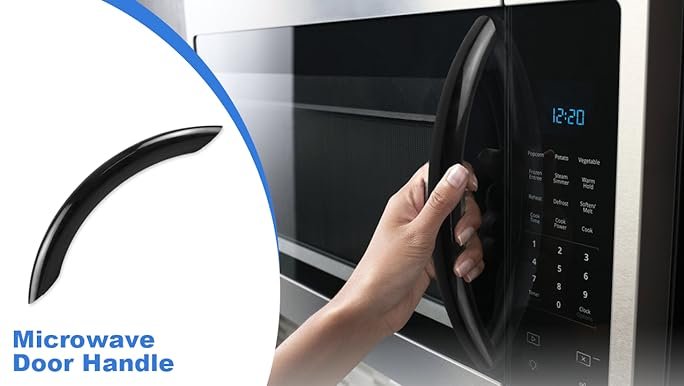
Your Whirlpool microwave has been a trusty sidekick in your culinary adventures, helping you warm up your morning coffee, defrost ingredients, and even cook a quick meal. But after years of reliable service, the door handle has finally given out. It may seem like a daunting task to replace it, but worry not! This guide from TheKitchenApplianceDad.com will walk you through the process of replacing the door handle on your Whirlpool microwave, ensuring you can get back to your kitchen routine in no time.
Safety First
Before we dive into the replacement process, it’s crucial to prioritize safety. Microwaves contain components that can retain a charge even when unplugged, so exercise caution throughout the process. Here’s how you can prepare:
- Unplug the Microwave: Always unplug your appliance to prevent any electrical hazards.
- Safety Gear: Wear protective gloves to shield your hands from sharp edges.
Tools You’ll Need
To replace your Whirlpool microwave door handle, you’ll need a few basic tools. Ensure you have these on hand before you start:
- Phillips screwdriver
- Putty knife or a flat-blade screwdriver
- Replacement door handle (compatible with your Whirlpool microwave model)

Identifying the Right Replacement Handle
It’s essential to find the correct replacement handle for your Whirlpool microwave model. Check the user manual or look up the model number (usually found on the inside of the microwave door or on the back of the appliance) online at the Whirlpool parts store or a trusted retailer. Ensure the handle you purchase is compatible with your model to avoid any fitting issues.
Step-by-Step Handle Replacement Guide
Step 1: Remove the Door from the Microwave
For easier access and to prevent damage to the microwave, it’s best to remove the door.
- Open the microwave door fully.
- Locate the hinge pins or brackets that attach the door to the body of the microwave.
- Lift the door up and out to detach it from the hinges.
- Place the door on a flat, stable surface with the interior side facing up.
Step 2: Disassemble the Door
The door of your microwave is made up of several layers. You’ll need to access the screws that hold the handle in place.
- Carefully pry off the plastic frame or choke that borders the door glass using a putty knife or flat-blade screwdriver. Start at the bottom corner and work your way around gently to avoid breaking it.
- Once removed, you should see the screws that secure the handle.
Step 3: Remove the Old Handle
Now that you have access:
- Use your Phillips screwdriver to remove the screws attaching the handle to the door.
- Keep the screws in case they’re needed for the new handle.
- Remove the broken handle.
Step 4: Attach the New Handle
Take your new handle and:
- Align it with the mounting holes on the door.
- Use the previously removed screws to secure the new handle. Do not overtighten, as this may crack the plastic.
- Ensure the handle is firm and properly aligned.
Step 5: Reassemble the Door
With the new handle in place:
- Carefully reattach the plastic frame or choke around the door. Make sure it snaps back into place correctly, with no gaps.
- Press firmly around the edges to ensure a secure fit.
Step 6: Reattach the Door to the Microwave
- Guide the door back onto the hinge pins or fit it back into the brackets.
- Make sure the door is correctly aligned and securely attached to the microwave.
- Open and close the door a few times to check for proper operation.
Testing the New Handle
Before you consider the job done, it’s important to test the new handle to ensure it’s securely attached and functioning as expected. Open and close the microwave door several times, checking for any movement or looseness in the handle. If everything feels solid, you’ve successfully replaced your Whirlpool microwave door handle!
Final Thoughts
While replacing a microwave door handle might seem intimidating initially, it’s a manageable task that you can complete with a little patience and the right tools. Following these steps will help you restore full functionality to your Whirlool microwave, ensuring it’s ready for your next kitchen task.
Key Takeaways
- Safety is Paramount: Always unplug the microwave and wear protective gloves.
- Gather the Necessary Tools: A Phillips screwdriver and a putty knife will be required.
- Find the Correct Replacement Handle: Make sure to get a handle that fits your specific Whirlpool microwave model.
- Careful Disassembly: Remove the door and carefully disassemble it to access the handle screws.
- Secure the New Handle: Attach the new handle using the original screws and avoidover-tightening them.
- Reassemble with Care: Snap the door frame back in place and reattach the door to the microwave.
- Test the Handle: Ensure the new handle is secure and the door operates smoothly.
Whether you’re a seasoned DIYer or trying your hand at appliance repair for the first time, replacing a Whirlpool microwave door handle is a straightforward process that can save you both time and money. And remember, TheKitchenApplianceDad.com is here to guide you through all your kitchen appliance fixes and upgrades. Happy repairing!


