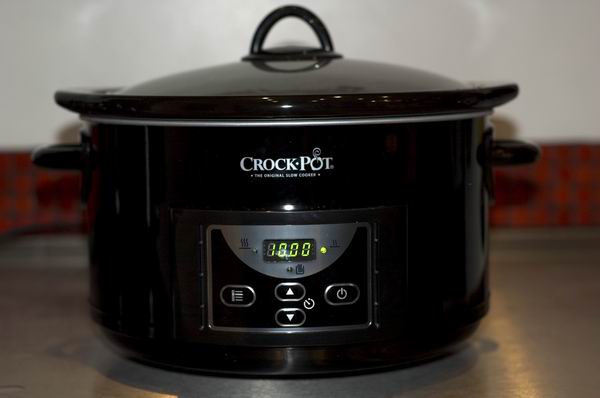
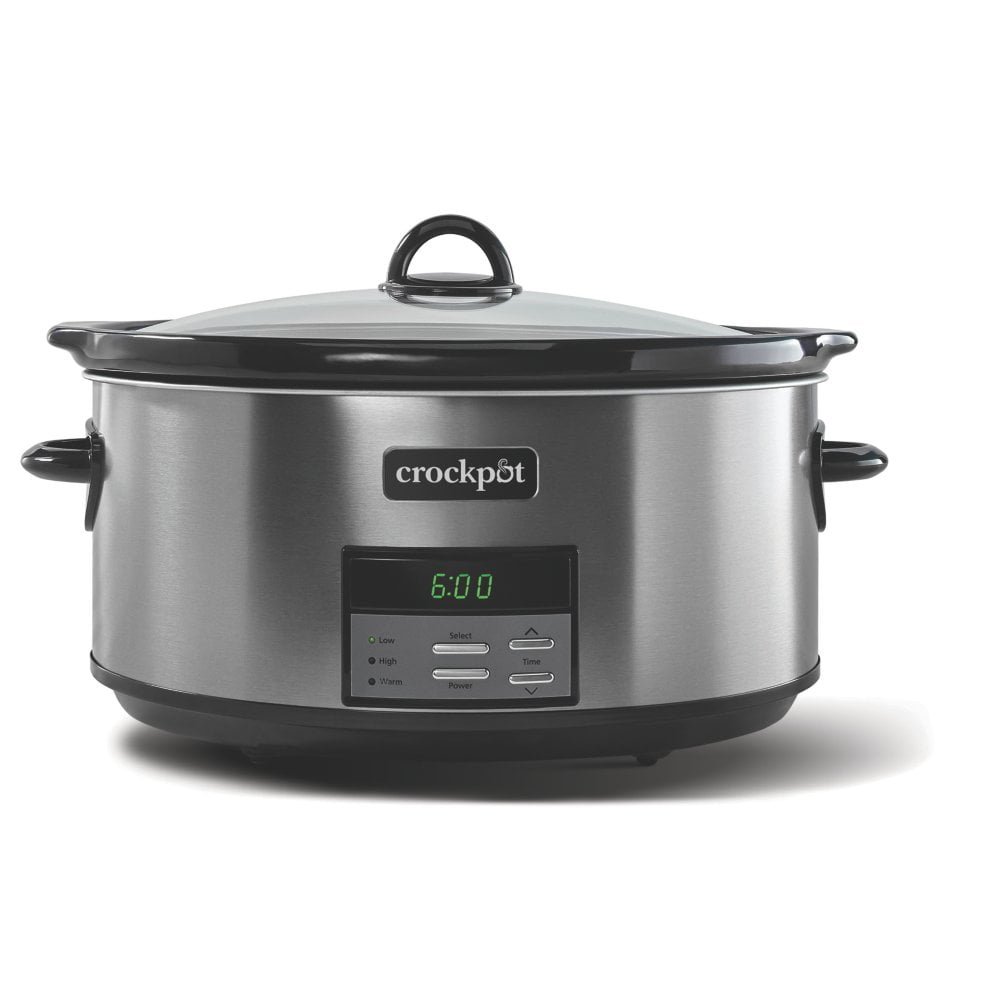
CrockPots and slow cookers have become indispensable appliances in many kitchens, including those of our avid readers here at TheKitchenApplianceDad.com. They cook our meals to perfection with minimal effort, but like all kitchen appliances, they can run into issues. One common problem is the development of hairline cracks. While a cracked CrockPot might seem like the end of its life, don’t be so quick to throw it out. With a few simple steps, you can repair those cracks and get your CrockPot back in working order.
Before we dive into the repair process, it’s important to understand why these cracks occur. CrockPots are typically made from ceramic or porcelain, materials that are prone to cracking when exposed to sudden temperature changes or if they’ve been mishandled. The severity of a crack can vary, but hairline cracks are often just surface-level and can be repaired at home.

Before attempting any repairs, ensure that the CrockPot is turned off, unplugged, and completely cool to the touch. You don’t want to risk electrical shock or burns.
Inspect the CrockPot to determine the extent of the damage. If the crack is just a hairline without any pieces missing, it’s a good candidate for repair. However, if the crack is deep, causing leaking, or if there are pieces of the ceramic that have come off, it may be beyond a simple home repair.
To repair a hairline crack in a CrockPot, you’ll need a few key materials:
Using warm soapy water, thoroughly clean the area around the crack. Make sure to remove any food residue, as this can prevent the adhesive from bonding correctly. Dry the area completely with a clean cloth.
Following the instructions on the product, prepare the food-safe adhesive. In most cases, this will involve mixing two components together until they’re fully blended.
With your gloves on, apply the adhesive carefully into the crack. You want to fill the crack completely, but be careful not to use too much adhesive, as this can create a bulge that will need to be sanded down.
Use a clean cloth to wipe away any excess adhesive from the surface of the CrockPot. It’s crucial to do this step before the adhesive dries to ensure a smooth finish.
Let the adhesive cure for the time specified by the manufacturer. This is usually 24 hours, but can vary depending on the product. Do not use the CrockPot during this time.
Once the adhesive is fully cured, gently sand the area with fine sandpaper to ensure that the surface is smooth and even with the rest of the CrockPot.
After sanding, there will be fine dust on the surface of the CrockPot. Clean the area again with a damp cloth and let it dry completely.
To make sure the crack is fully sealed, conduct a water test. Fill the CrockPot with water and leave it for a few hours. If there are no leaks, the repair has been successful.
There comes a time when a repair might not be enough. If the crack is too large, if the CrockPot is leaking even after repair, or if there are multiple cracks, it may be time to considera replacement. Continuing to use a severely damaged CrockPot can be unsafe, as it may lead to malfunctions or even pose a fire risk. When in doubt, consult the manufacturer or a professional before attempting a repair.
Repairing a hairline crack in a CrockPot is a straightforward process that can extend the life of your beloved kitchen appliance. By following the steps outlined above, you can fix minor damages and get back to cooking your favorite slow-cooked meals. However, always prioritize safety and recognize when a repair might not be sufficient.
At TheKitchenApplianceDad.com, we understand that your kitchen appliances are an investment in your culinary adventures, and we’re here to help you keep them running smoothly. Whether you’re repairing, maintaining, or replacing, we’ve got you covered with expert advice and tips.
Remember, a hairline crack doesn’t have to mean the end of your CrockPot’s life. With a little time and effort, you can repair it and continue to enjoy the convenience of slow cooking. Happy cooking, and stay safe!

