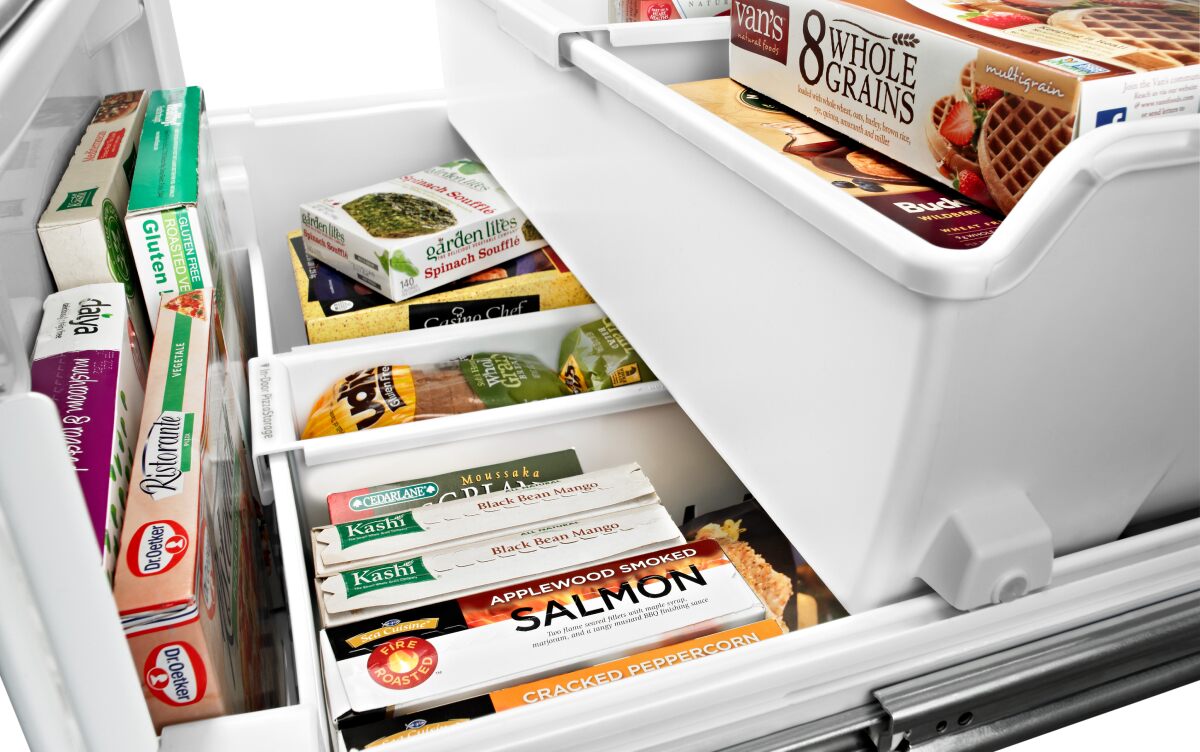
Welcome to another practical guide from TheKitchenApplianceDad.com. Today, we’re diving into a common but sometimes perplexing task—removing the freezer drawer from a Whirlpool refrigerator. Whether you’re undertaking a thorough cleaning, trying to solve a frost buildup issue, or need to make repairs, knowing how to properly pull out the freezer drawer is essential. In this step-by-step guide, I’ll walk you through the process, ensuring you can do it safely and efficiently.
Why You Might Need to Remove the Freezer Drawer
Before we get into the how-to, let’s look at some reasons why you might need to remove the freezer drawer:
- Deep Cleaning: Over time, your freezer can accumulate ice and debris, which can affect its efficiency.
- De-icing: Excessive frost might require you to manually defrost your freezer.
- Maintenance and Repairs: Accessing the inner components of the freezer often requires removing the drawer.
- Reorganization: Sometimes, you need to remove the drawer to better organize or accommodate items.

Preparation Steps
Tools You Might Need
Although removing the freezer drawer is generally a straightforward process and doesn’t typically require tools, it’s good to have the following on hand just in case:
- Screwdriver: For some models, you might need a Phillips head screwdriver to remove screws.
- Towels: Useful for laying down on the floor to prevent scratches and manage any ice or water that falls out.
- Owner’s Manual: Always handy for reference, as it will have model-specific instructions.
Safety Precautions
- Power Down: Always unplug your refrigerator before attempting to remove the freezer drawer to avoid any electrical hazards.
- Secure Your Surroundings: Make sure the area around your refrigerator is clear of obstacles, and the floor is dry to prevent slipping.
Step-By-Step Guide to Removing the Freezer Drawer
Step 1: Open the Freezer and Remove Contents
Firstly, open your freezer drawer and remove all items inside. This decreases the weight and minimizes the risk of anything falling out and getting damaged during the removal process.
Step 2: Detach the Ice Maker (if applicable)
If your Whirlpool model features an ice maker within the freezer drawer, you’ll need to disconnect it. Typically, this involves:
- Locating the wiring harness—usually found at one side of the freezer.
- Disconnecting the harness—gently pull it apart or release the locking mechanism.
- Removing any mounting screws—using a screwdriver, if necessary.
Step 3: Remove the Drawer Front
Most Whirlpool freezer drawers are secured by clips or screws at the sides:
- Locate the screws or clips that hold the front panel.
- Use a screwdriver to remove screws (if present).
- Unclip the front panel by gently lifting and pulling it off (if clips are used).
Step 4: Slide Out the Drawer
After the front panel has been removed, you should be able to pull the drawer out. However, some models have a rail or track system:
- Extend the rails by pulling the drawer toward you until it stops.
- Lift the drawer slightly and pull it the rest of the way out. Some models may require you to release a lever or tab to fully detach the drawer.
Step 5: Clean and Inspect
With the drawer removed, it’s a good opportunity to clean the inside of your freezer compartment and inspect for any signs of wear or damage on the rails or drawer itself.
Reassembling the Freezer Drawer
To put the drawer back into place, simply reverse the removal steps:
- Slide the drawer back on the rails—make sure it’s properly aligned and slides in smoothly.
- Reattach the drawer front—clip or screw it back into place.
- Reconnect the ice maker (if applicable)—make sure the wiring harness is securely connected and the ice maker is firmly mounted.
- Refill the freezer with your previously removed items.
Key Takeaways
- Safety First: Always unplug your refrigerator before starting the removal process.
- Remove All Items: Clearing out the freezer drawer lightens the load and prevents accidental damages.
- Follow Model-Specific Instructions: Refer to your owner’s manual for any specific instructions related to your Whirlpool model.
- Be Gentle: When handling the wiring and mechanical parts, always be gentle to avoid damaging sensitive components.
Removing the freezer drawer from a Whirlpool refrigerator is a task that can be done at home with little to no tools. By following these steps, you can manage your appliance maintenance and ensure it continues to function efficiently. Whether you’re cleaning, defrosting, or just reorganizing, knowing how to properly remove andreinstall the freezer drawer is an invaluable skill for any DIY enthusiast or home maintenance guru. For more tips, tricks, and appliance wisdom, keep tuning into TheKitchenApplianceDad.com. We’re here to make every kitchen task as easy and efficient as possible!