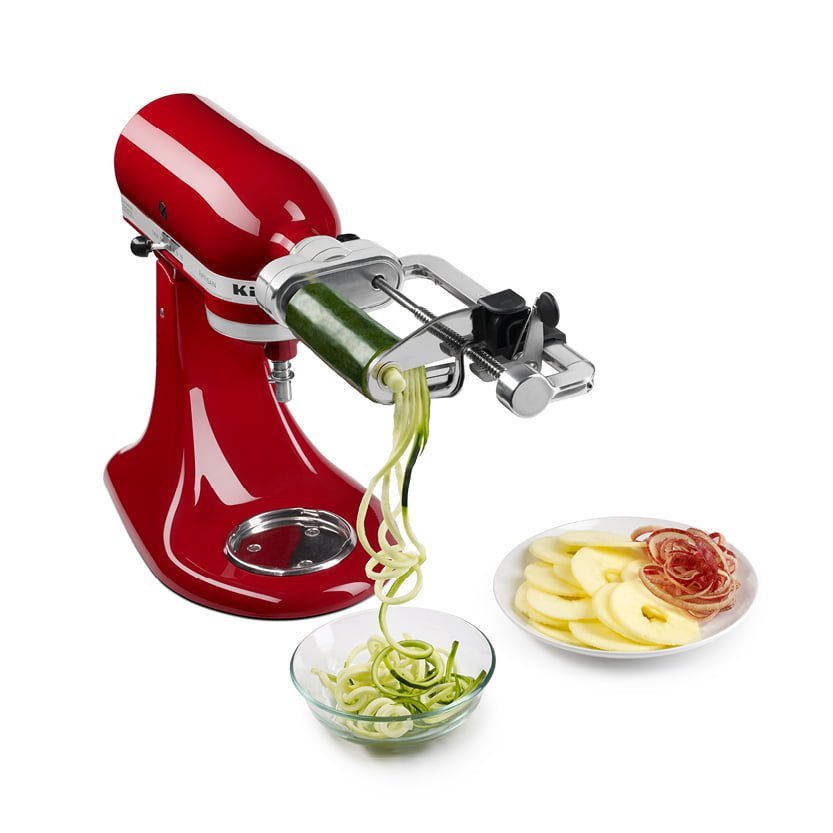
Spiralizing vegetables can add a fun twist to your meals, both literally and figuratively. With the KitchenAid Spiralizer attachment, you can transform vegetables into noodles, ribbons, and curls, making your dishes more exciting and often healthier. At TheKitchenApplianceDad.com, we’re all about getting the most out of your kitchen gadgets. Let’s dive into how to properly use your KitchenAid Spiralizer for vegetables, ensuring you get the best results every time.
The KitchenAid Spiralizer is an attachment that fits onto the power hub of any KitchenAid stand mixer. It comes with several blades, each designed for a specific type of spiral cut:
Make sure you’re familiar with each blade and its purpose before you start.
Before you attach the spiralizer to your mixer, your vegetables will need a little prep work. They should be:
Follow these steps to attach the Spiralizer to your KitchenAid stand mixer:
Remove the hub cover from the front of your mixer and attach the spiralizer body. Tighten the attachment knob to secure it in place.
Choose the blade you want to use based on the desired outcome and slide it onto the spiralizer’s arm until it clicks into place.
Lift the mixer head into the raised position and slide the skewer into the center of the spiralizer.
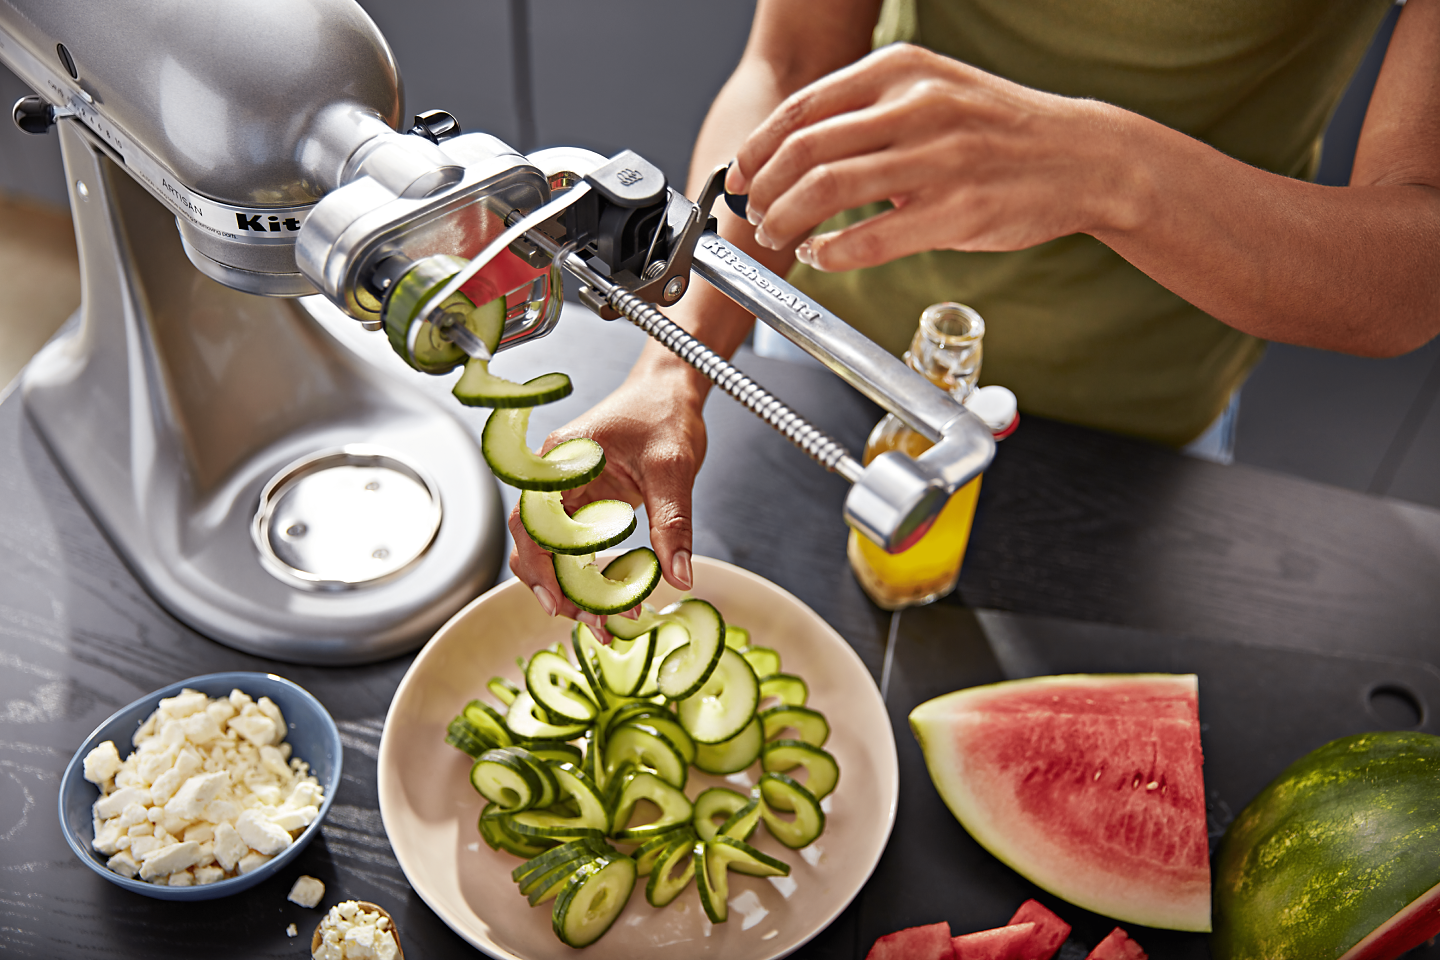
Place the end of your prepped vegetable onto the skewer and push the other end against the blade. The teeth of the blade should hold the vegetable in place.
Lower the mixer head so the blade touches the vegetable. Turn the mixer to Speed 4, which is usually the recommended speed for spiralizing.
Once your vegetable is secured and the mixer is set, you’re ready to spiralize:
Turn on the stand mixer to Speed 4 and gently guide the vegetable through the blade. The spiralizer will automatically move the vegetable toward the blade.
Use the provided food pusher to guide the vegetable if necessary, making sure to keep your fingers away from the moving parts.
Watch the spiralizing process to ensure the vegetable is moving properly and the noodles or slices are coming out as expected.
Once the vegetable is fully spiralized, or you have enough product, turn off the mixer.
Carefully remove the vegetable noodles or slices and prepare them for cooking or serving as desired.
After use, it’s important to clean the KitchenAid Spiralizer properly:
The KitchenAid Spiralizer attachment is a fantastic tool for adding a creative and healthy twist to your meals. With this guide from TheKitchenApplianceDad.com, you’re now equipped to use this attachment like a pro. So grab those veggies and let your culinary imagination spiral away!