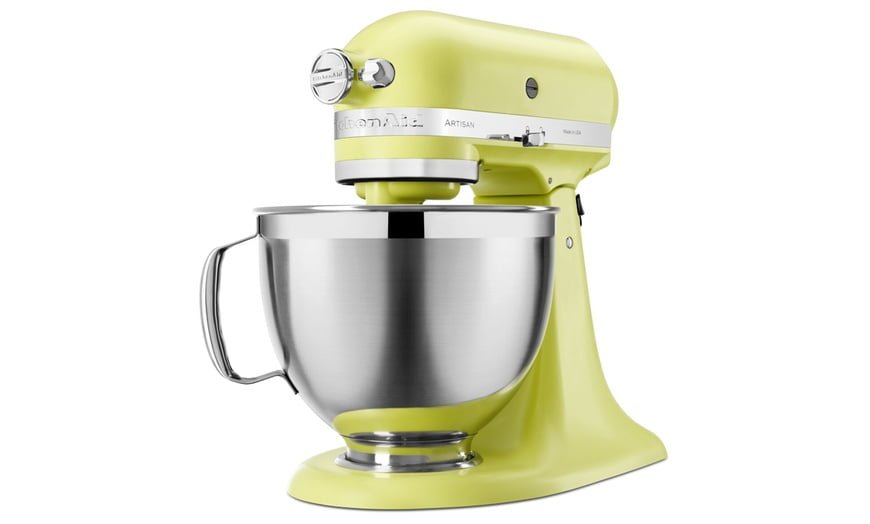
Welcome back to TheKitchenApplianceDad.com, your go-to source for all things kitchen appliances. Today, we’re focusing on an essential maintenance routine for one of the most beloved and widely used appliances in the kitchen – the KitchenAid Mixer. For those of us who love to bake and cook, our mixers are more than just a tool; they’re a part of the family. And just like with any family member, a little TLC goes a long way. That’s why we’re going to discuss how often and where to oil your KitchenAid Mixer to keep it running smoothly for years to come.
Understanding Your KitchenAid Mixer
Before we dive into the greasing process, it’s important to understand that the KitchenAid Mixer is a well-built machine designed to last. These mixers are equipped with a powerful motor that drives a series of gears to provide the torque needed for mixing heavy batters and doughs. As with any machine with moving parts, lubrication is crucial to prevent wear and ensure longevity.

How Often Should You Oil Your KitchenAid Mixer?
KitchenAid recommends that you don’t need to oil their mixers under normal use conditions. However, if you are a heavy user or you start to notice your mixer is straining, making unusual noises, or the gears seem to be sticking, it’s probably time for a little maintenance.
For most users, inspecting and potentially oiling your mixer once a year is a good rule of thumb. If you’re a professional baker or someone who uses the mixer almost daily, you might want to consider doing this bi-annually.
Signs That Your Mixer Needs Oil
Here are a few signs that your KitchenAid Mixer could use some oil:
- Noise: If your mixer is making more noise than usual, it might be time to check the lubrication.
- Movement: If the head of the mixer is bouncing or shaking more than normal during use, the gears may need lubrication.
- Strain: If the mixer seems to be straining while mixing standard recipes, this could indicate that the gears are not moving as freely as they should be.
The Right Oil for Your KitchenAid Mixer
Before you start, it’s crucial to use the right kind of lubricant. KitchenAid recommends using a food-grade grease. Super Lube is a commonly recommended brand that is food safe and can withstand the high temperatures your mixer might reach.
Where to Oil Your KitchenAid Mixer
Accessing the Gearbox
To oil your mixer, you need to get to the gears, which are housed in the top part of the mixer. Here’s how to access them:
- Unplug the mixer: Safety first! Always unplug your mixer before starting any maintenance.
- Remove the back cover: Use a screwdriver to remove the screw that holds the back cover in place.
- Remove the top cover: After removing the back cover, you’ll find another screw that secures the top cover. Remove this screw and gently lift the top cover off. This will expose the gearbox.
Applying the Grease
Now that you have access to the gears, it’s time to apply the grease:
- Clean the old grease: Over time, the original grease can become contaminated with food particles or simply break down. Use a putty knife or a similar tool to remove the old grease.
- Apply new grease: Using gloves, apply a generous amount of the food-grade grease to the gears. Make sure the gears are well-coated but not drowning in grease.
- Reassemble the mixer: Once you’ve applied the new grease, it’s time to put everything back together. Replace the top cover and screw it back in place, followed by the back cover.
Tips for Oiling Your KitchenAid Mixer
- Be thorough but not excessive: You want to ensure that all the gears are coated in grease, but overdoing it can cause leaks and other issues.
- Use gloves: Greasing can be a messy job. Wearing gloves will make cleanup much easier.
- Dispose of old grease properly: Do not pour grease down the drain. Instead, wipe it with paper towels and dispose of it in the trash.
Maintaining Your Mixer Beyond Greasing
Lubricating your mixer’s gears is an important maintenance step, but it’s not the only one. Here are a few other maintenance tips to keep your KitchenAid Mixer in top shape:
- Keep it clean: Wipe down the mixer after each use, and clean any spills or drips before they harden.
- Inspect the power cord: Make sure the power cord is not frayed or damaged.
- Check attachments: Regularly inspect your attachments for any signs of wear or damage.
Professional Service
If you’re uncomfortable with the idea of opening up your mixer and applying grease yourself, you can always take it to a professional. KitchenAid offers a service and repair program. It might cost more than doing it yourself, but you’ll have the peace of mind that comes with knowing the job was done by an expert.
Key Takeaways
- Maintenance Frequency: Aim to inspect your KitchenAid Mixer for potential greasing once a year, or bi-annually if you’re a heavy user.
- Signs to Watch For: Listen for increased noise, look for abnormal movement, and be aware of any straining during use.
- Proper Grease: Use a food-grade grease like Super Lube to ensure safety and performance.
- Application Process: Access the gearbox by removing the back and top covers, clean out old grease, apply new grease, and reassemble.
- Maintenance Tips: Beyond greasing, keep the mixer clean, inspect the power cord, and check attachments for wear.
- Professional Service: If DIY isn’t for you, consider using KitchenAid’s professional service and repair.
Thank you for tuning into TheKitchenApplianceDad.com. Remember that with a little bit of love and care, your KitchenAid Mixer will continue to be a reliable partner in your culinary adventures for many years to come. Happy mixing!

