Welcome, kitchen enthusiasts, to TheKitchenApplianceDad.com! Are you ready to embark on a journey with your new Ninja Auto-IQ Blender? This powerful kitchen tool is designed to make your blending experience as efficient and effortless as possible. Today, we’re here with a full beginner’s guide to help you harness the full potential of your latest culinary ally. Let’s blend with confidence!
Introduction to Your Ninja Auto-IQ Blender
The Ninja Auto-IQ Blender isn’t just another kitchen appliance; it’s a smart, innovative solution for your daily blending needs. With its Auto-IQ technology, it offers a series of pre-programmed settings that automatically adjust the speed, power, and duration of the blending cycle. Whether you’re aiming for a silky smoothie, a hearty soup, or finely crushed ice, the Auto-IQ system delivers consistent results every time.

Unboxing and Getting Acquainted
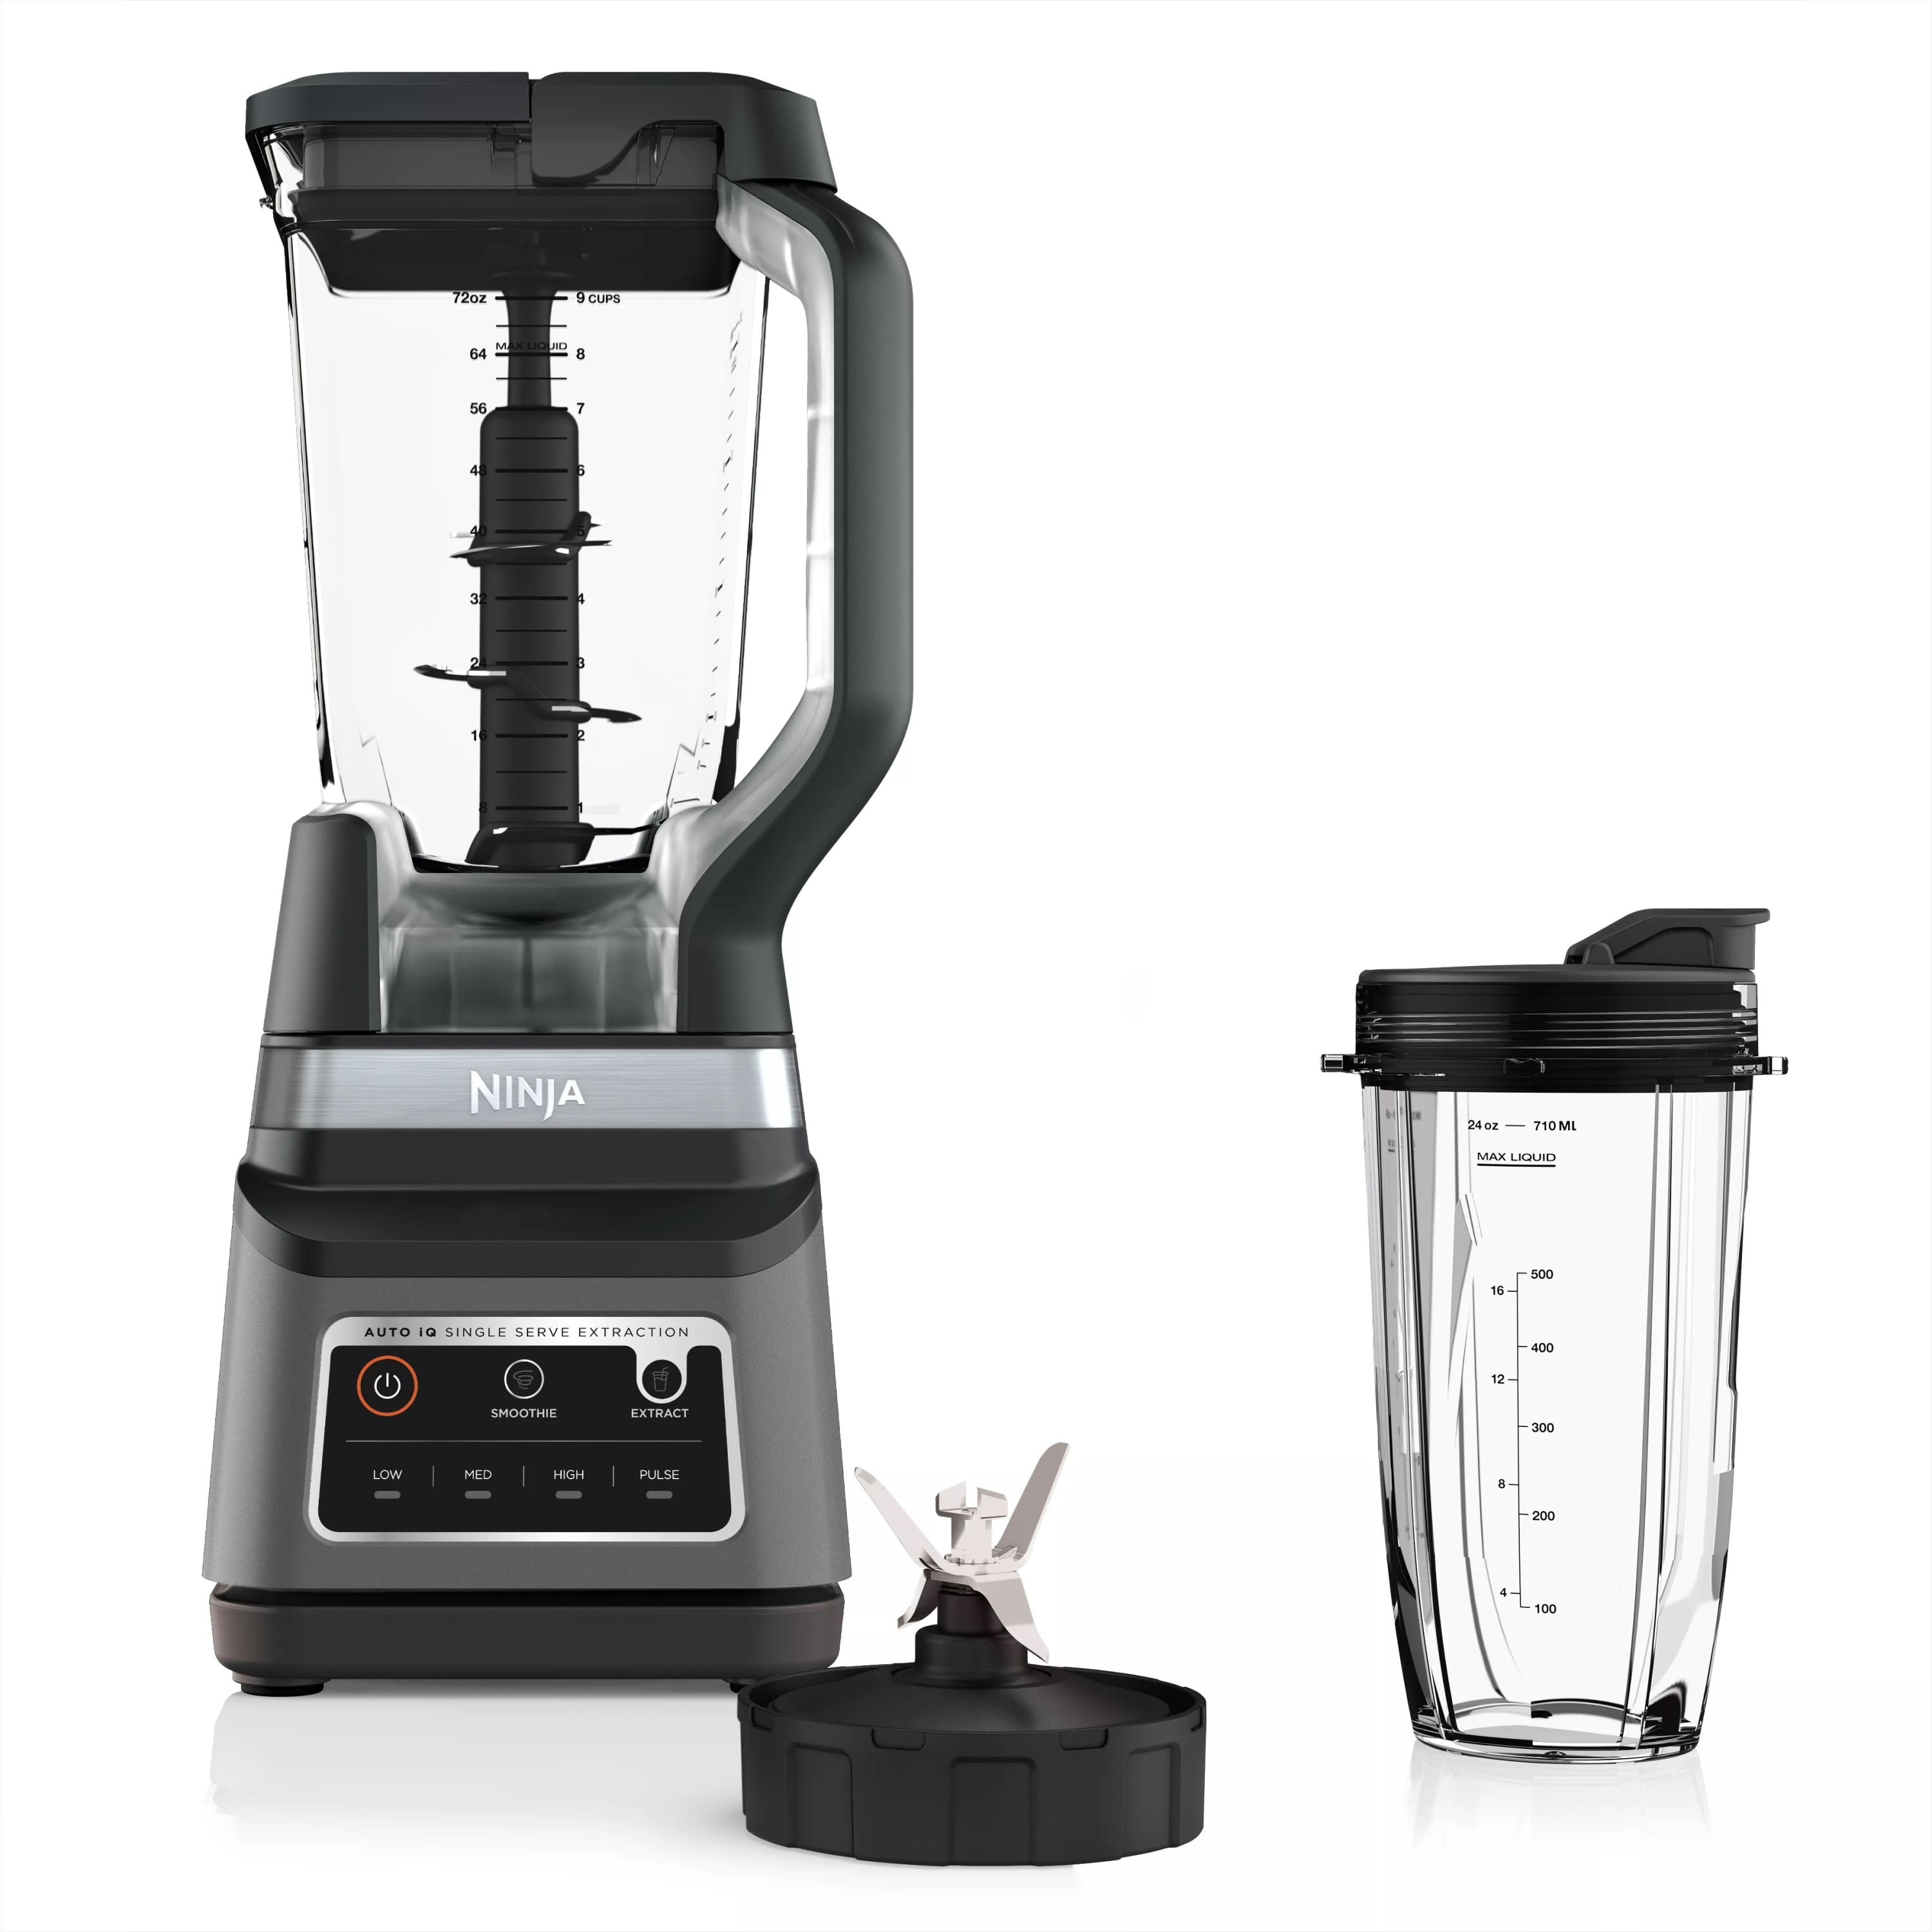
Upon unboxing your Ninja Auto-IQ Blender, you will typically find the following items:
- Motor Base: The foundation of your blender with Auto-IQ intelligence.
- Blender Pitcher: A large container for big blending jobs.
- Nutri Ninja Cups: Smaller cups for personal-sized creations.
- Blade Assemblies: Precision-engineered for maximum efficiency.
- Lids: To cover your pitcher and cups during and after blending.
- Instruction Manual: Your go-to guide for all things related to your new blender.
First Glance at the Control Panel
Before you get started, take a moment to familiarize yourself with the control panel. You’ll find power, pulse, start/stop, and a variety of preset program buttons, each designed for a specific blending task.
Setting Up for the First Use
Step 1: Assembling the Blender
- Make sure the motor base is positioned on a clean, dry, and flat surface.
- Select either the blender pitcher or a Nutri Ninja cup for your blending needs.
- Attach the appropriate blade assembly to your chosen container.
- Place the container onto the motor base and twist to lock it into position.
Step 2: Preparing the Ingredients
- Cut any larger ingredients into manageable pieces to ensure smooth blending.
- Add the ingredients to your container, starting with liquids or softer items.
- Be mindful of the ‘Max Fill’ lines to avoid overfilling.
Step 3: Selecting the Right Auto-IQ Program
- Plug in the blender and press the power button to turn it on.
- Choose one of the Auto-IQ programs based on what you’re making. For instance, use the ‘Smoothie’ button for a creamy drink or ‘Frozen Drinks’ for a cold, icy treat.
- Press the selected button, and the blender will start its pre-programmed cycle. It will stop automatically once the cycle is complete.
Step 4: Manual Blending (If Preferred)
- For more control, you can use the manual settings.
- Adjust the speed manually using the designated buttons, starting low and increasing as needed.
- Utilize the ‘Pulse’ function to chop or mix ingredients with short bursts of power.
Step 5: Enjoying Your Creation
- Once your blend is ready, turn the blender off by pressing the power button.
- Carefully remove the pitcher or Nutri Ninja cup from the base.
- If using the pitcher, pour your blend into a glass or storage container. With a Nutri Ninja cup, you can simply attach a lid and enjoy your drink on the go.
Step 6: Clean-Up Process
- Disassemble the blade from the pitcher or cups and rinse immediately to prevent residue build-up.
- The blade assembly, pitcher, and cups are all dishwasher safe, or you can opt for handwashing in warm, soapy water.
- For the motor base, use a damp cloth to wipe down any spills or splatters.
Tips for Optimal Blending
- Always start with liquids: This helps create a vortex that pulls solid ingredients towards the blades for even blending.
- Layer wisely: Soft ingredients and liquids at the bottom, followed by greens, fruits, and ice or frozen ingredients on top.
- Do not exceed the ‘Max Fill’ line: This ensures the ingredients blend properly and prevents leaks.
- Secure lids tightly: Always check that lids are secure before starting the blender to avoid messes.
Conclusion
Your Ninja Auto-IQ Blender is set to become one of the most used appliances in your kitchen. With its intuitive design and smart technology, you’ll find that making healthy and delicious blends has never been easier.
Key Takeaways
- Familiarize yourself with your Ninja Auto-IQ Blender’s components and control panel.
- Utilize Auto-IQ programs for hassle-free blending.
- Manual options give you control over texture and consistency.
- Proper setup, usage,and cleaning ensure longevity and performance.
Stay tuned to TheKitchenApplianceDad.com for more tips, tricks, and guides to help you navigate the world of kitchen appliances with ease. Now go on and blend, mix, and purée your way to delicious creations with your new Ninja Auto-IQ Blender. Happy blending!