Creating homemade mayonnaise is a culinary delight that not only allows you to customize flavor profiles but also ensures you know exactly what’s going into your condiments. While whisking by hand can be quite the workout, using a KitchenAid Stand Mixer makes the process much more manageable and efficient. In this post, we’ll guide you through the steps of making mayonnaise with this versatile kitchen appliance.
Before we dive into the process, it’s essential to understand what mayonnaise is. At its core, mayonnaise is an emulsion—a combination of two liquids that don’t naturally mix. The main ingredients are oil, egg yolks, an acid (usually vinegar or lemon juice), and seasonings. The magic of mayonnaise is in its texture, which results from the emulsification process.

For making mayonnaise, the whisk attachment is your best bet. It’s designed to incorporate air into your mixtures, which is perfect for achieving the light, airy consistency of mayonnaise.
Before you start, make sure all your ingredients are at room temperature. This is crucial for emulsification. Set up your KitchenAid Stand Mixer with the whisk attachment, and have your oil in a container that will make it easy to pour in a thin, steady stream.
Add the egg yolks and your choice of acid to the mixer’s bowl. Begin whisking on a low speed until the yolks are well mixed and slightly pale.
This is the most critical step. Start the mixer on a medium-low speed and begin to add the oil very slowly. Begin with just a few drops at a time. This will ensure that the mixture starts to emulsify properly. As you continue, you can start to pour the oil in a thin, steady stream. Patience is key here; if you add the oil too quickly, the mixture may break and not emulsify.
Once all the oil is incorporated, you should have a thick, creamy texture. At this point, you can add your seasonings. Salt is essential, and you can also add a teaspoon of mustard for flavor and additional emulsifying power. If the mayonnaise is too thick, you can thin it out with a teaspoon of water.
Taste your mayonnaise and adjust the seasonings if necessary. If it’s too tangy, add a bit more oil. If it’s too thick, a touch more acid or water can help.
Transfer your mayonnaise to a storage container and keep it refrigerated. Homemade mayonnaise doesn’t have the same shelf-life as store-bought varieties, so use it within a week.
If your mayonnaise breaks (meaning it doesn’t emulsify and remains liquidy), don’t panic. You can often fix it by starting with a new egg yolk in a clean bowl and slowly whisking your broken mayonnaise into it.
One of the joys of making mayonnaise at home is the ability to customize it to your taste. Here are a few ideas:
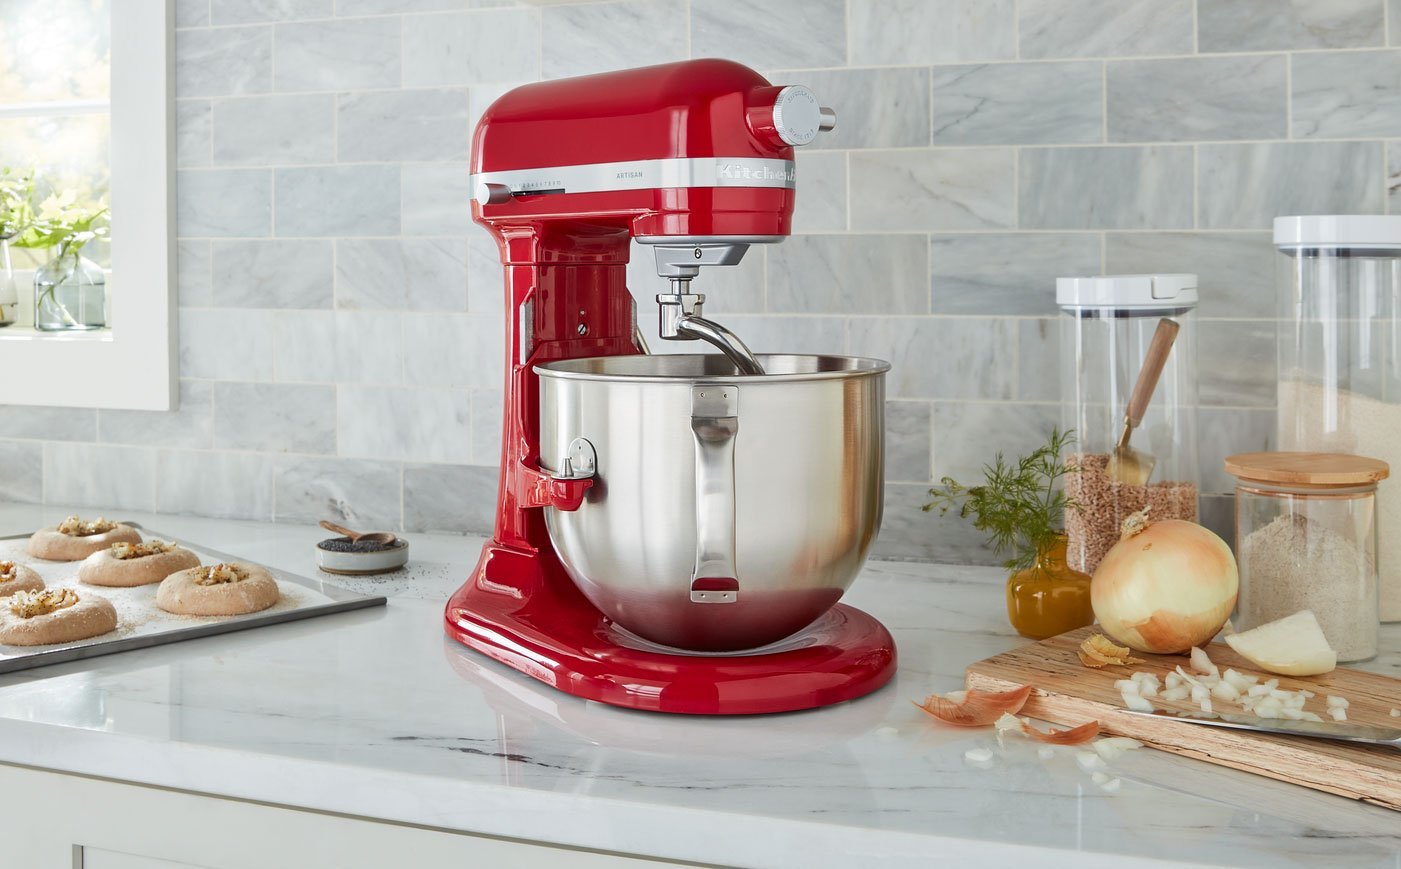
The KitchenAid Stand Mixer isn’t just a pretty countertop accessory; it’s a powerful tool that can make tasks like making mayonnaise much easier. Its consistent speed and hands-free operation allow you to focus on adding ingredients gradually and achieving the perfect emulsion. Plus, the KitchenAid’s versatility means you can use it for countless other recipes, making it a valuable investment for both novice cooks and seasoned chefs alike.
Once you’ve finished making your mayonnaise, it’s essential to clean your KitchenAid Stand Mixer properly. Remove the whisk attachment and wash it with warm, soapy water. Wipe down the mixer itself to remove any splatters and ensure it’s clean for your next culinary adventure.
Making mayonnaise with a KitchenAid Stand Mixer is a simple process that yields delicious results. By following the steps outlined above, you’ll be able to create a fresh, flavorful condiment that can elevate any dish. Remember, the key to perfect mayonnaise is patience and a steady hand when adding the oil.
At TheKitchenApplianceDad.com, we believe that with the right tools and a bit of know-how, anyone can become a whiz in the kitchen. The KitchenAid Stand Mixer, with its multitude of attachments and steady power, is a fantastic assistant for all your culinary creations, including the humble yet versatile mayonnaise.
Key Takeaways
Making your own mayonnaise is just the beginning. Explore what else you can create with your KitchenAid Stand Mixer and share your culinary achievements with us here at TheKitchenApplianceDad.com!