Welcome to TheKitchenApplianceDad.com! Today, we’re going to dive into the sweet and delightful process of making homemade ice cream using a KitchenAid stand mixer. If you’ve ever dreamed of churning up your own frosty creations, you’re in the right place. Let’s get started!
Understanding the KitchenAid Ice Cream Maker Attachment
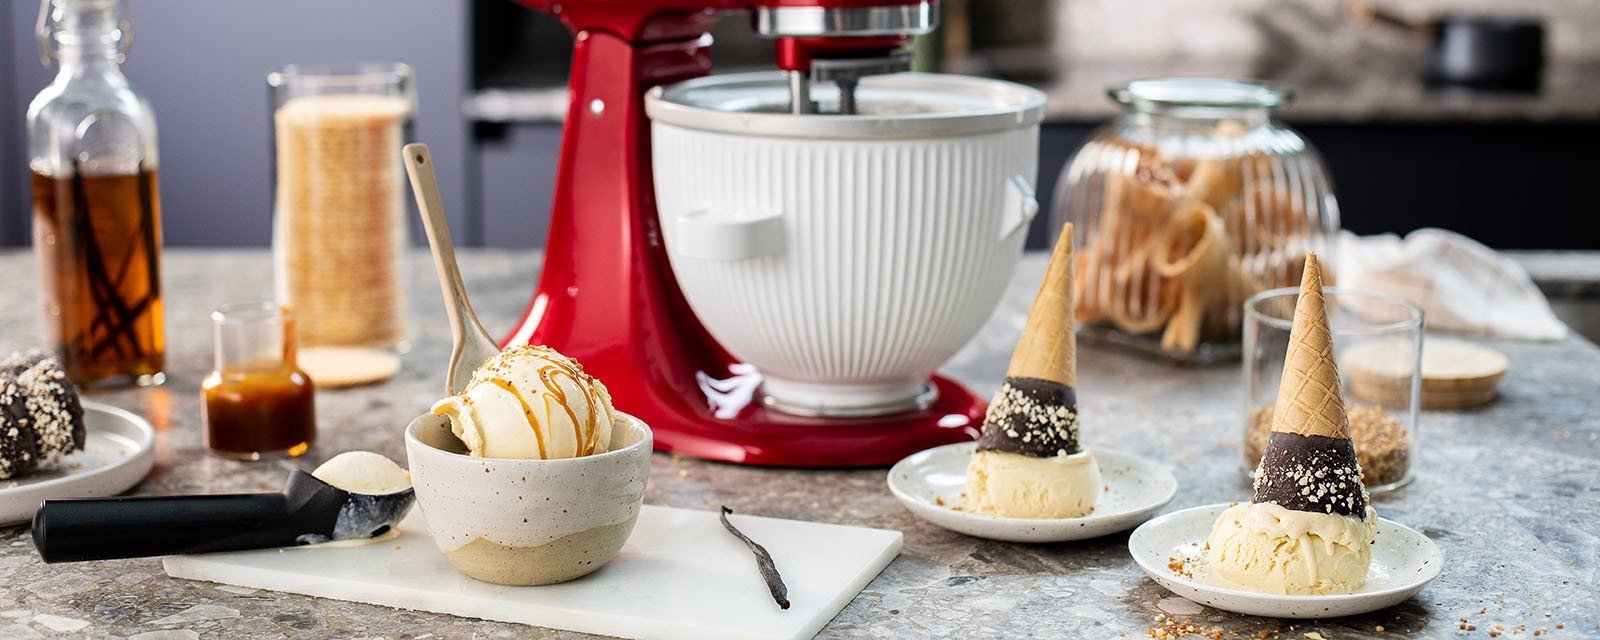
To make ice cream with your KitchenAid, you’ll need the ice cream maker attachment, which includes a freeze bowl, dasher, and drive assembly. Before you can start making ice cream, the freeze bowl must be completely frozen, which typically takes at least 15 hours. So, plan ahead and make sure your freeze bowl is cold and ready to go.

Ingredients for Basic Vanilla Ice Cream
Here’s a simple recipe for classic vanilla ice cream to get you started:
- 2 cups heavy cream
- 1 cup whole milk
- 3/4 cup granulated sugar
- 1 tablespoon pure vanilla extract
- A pinch of salt
Step-by-Step Guide to Making Ice Cream
Step 1: Preparing the Ice Cream Base
- Mix the Ingredients: In a medium mixing bowl, whisk together the milk, sugar, and salt until the sugar has dissolved. Stir in the heavy cream and vanilla extract. For best results, chill this mixture in the refrigerator for at least 2 hours, or overnight.
Step 2: Assemble the Attachment
- Attach the Drive Assembly: Remove the stand mixer’s flat beater and attach the drive assembly, which comes with the ice cream maker attachment.
- Insert the Freeze Bowl: Place the frozen freeze bowl onto the base of the mixer and secure it in place.
- Insert the Dasher: Set the dasher inside the freeze bowl, making sure it sits well.
Step 3: Churning the Ice Cream
- Pour In the Mixture: Turn the stand mixer to “Stir” speed (the lowest setting). Slowly pour your chilled ice cream base into the freeze bowl as the dasher rotates.
- Churn the Ice Cream: Continue churning the ice cream for about 20-30 minutes, or until it reaches a soft-serve consistency.
- Monitor the Process: Keep an eye on the consistency of the ice cream. If the mixer starts to strain, or the mixture becomes too thick to churn, turn off the mixer to prevent any damage.
Step 4: Freezing to Desired Consistency
- Transfer the Ice Cream: Using a spatula, transfer the soft-serve ice cream to an airtight container. Smooth the top with a spoon or spatula.
- Freeze Until Set: Cover the ice cream and place it in the freezer for several hours or until it reaches your desired firmness.
Tips for Perfect Ice Cream
- Pre-Freeze the Bowl: Ensure the freeze bowl is thoroughly frozen. Shake it to check for any liquid sound; if you hear something, freeze it longer.
- Chill the Mixture: A well-chilled base will freeze more efficiently, producing a creamier texture.
- Experiment with Flavors: Once you’ve mastered vanilla, try adding fruit purees, chocolate chips, nuts, or your favorite flavorings.
- Keep the Lid On: If your stand mixer has a pouring shield, use it to minimize messes and keep the cold in.
Cleaning and Maintenance
- Clean Immediately: After you’ve transferred your ice cream to freeze, take apart the ice cream maker attachment and wash it immediately.
- Hand Wash: The freeze bowl should be hand-washed with warm soapy water. The dasher can be cleaned in the dishwasher.
- Dry Completely: Ensure all parts are completely dry before storing them to prevent frost or odors.
Key Takeaways
- The KitchenAid ice cream maker attachment is a fantastic tool for making homemade ice cream.
- Start with a simple vanilla ice cream recipe to get the hang of the process.
- Ensuring your freeze bowl is properly frozen and your mixture is chilled will lead to the best results.
- Churn the ice cream on the lowest setting until it reaches a soft-serve consistency.
- Transfer the ice cream to an airtight container and freeze until it reaches your desired firmness.
Making ice cream at home with your KitchenAid stand mixer is not only fun but also allows you to control the ingredients, making for a delicious and customizable treat. With a little practice, you’ll be churning out gourmet-quality ice cream from the comfort of your own kitchen. So, grab that freeze bowl, gather your ingredients, and whip up some ice cream magic! For more kitchen adventures and tips, keep visiting us here at TheKitchenApplianceDad.com. Enjoy your homemade ice cream!