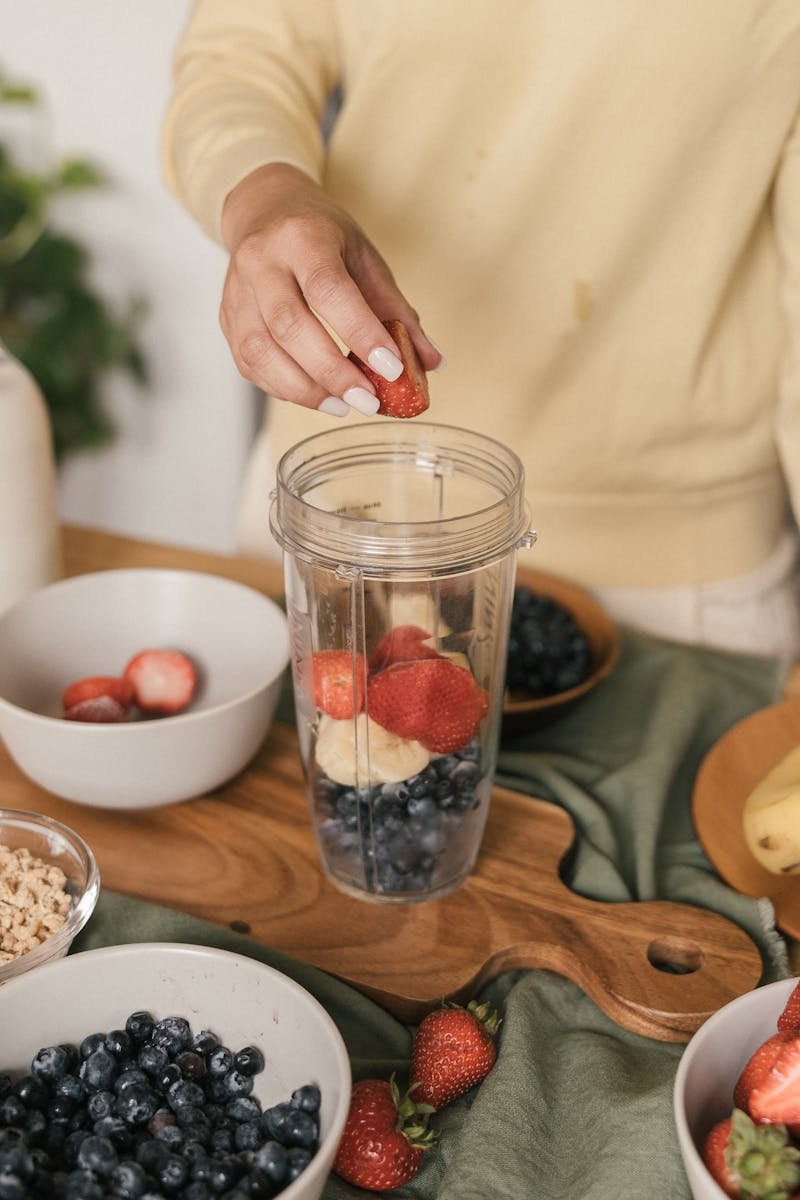
Welcome to another informative article from TheKitchenApplianceDad.com. Today, we’re diving into the world of blenders, specifically focusing on a feature that has become increasingly popular in recent years—the extract function. This versatile feature can elevate your blending experience, allowing you to create nutrient-rich juices along with a plethora of other delicious concoctions.
The extract function on a blender is designed to pulverize and blend ingredients to the finest possible consistency. It’s ideal for breaking down tough, fibrous fruits and vegetables, as well as nuts and seeds. The result is a smooth, often drinkable mixture that retains the nutrients from the whole food.
Before you begin, it’s essential to understand that not all blenders are created equal. Ensure that your blender is equipped with the extract function and is powerful enough to handle the types of ingredients you plan to blend.

Creating juices with the extract function is straightforward. Here’s a simple guide to get you started:
Place your prepared fruits and vegetables into the blender. If your blender has a fill line, be sure not to exceed it to prevent overflow.
Pour in enough liquid to cover the ingredients. This can be water, juice, or any milk of your choice. The liquid helps create a vortex that will draw the ingredients towards the blades for efficient blending.
Secure the lid on your blender and select the extract function. Let the blender run its course—most extract settings are programmed to run for a specific duration and may vary in speed to achieve the perfect consistency.
Once the cycle is complete, check the consistency of your juice. If it’s too thick, you can add more liquid and blend again.
Pour your juice into a glass and enjoy immediately, or store it in an airtight container in the refrigerator. Freshly extracted juice is best consumed within 24 hours for optimal nutrient retention.
The extract function is not limited to juices. Here are some other creative uses:
To make nut butter, simply add roasted nuts to your blender and use the extract function to grind them into a smooth, spreadable paste.
Combine fresh herbs, oils, and seasonings in your blender. The extract function will ensure a silky-smooth texture, perfect for salads and dishes.
Blend cooked vegetables with broth or cream using the extract function for a velvety soup that’s ready in no time.
After using the extract function, it’s essential to clean your blender promptly to prevent residue from hardening:
With the extract function, your blender becomes a gateway to a world of healthy, delicious beverages and more. Whether you’re a seasoned health enthusiast or just starting to explore the benefits of whole foods, this function can become an indispensable part of your kitchen routine.
Welcome to TheKitchenApplianceDad.com, where today we’re delving into the marvelous capabilities of the extract function found on many modern blenders. This specialized feature is a game-changer for those looking to squeeze every last drop of nutrition from their fruits and vegetables. It’s not just for juices—this function can transform a variety of ingredients into smooth, flavorful concoctions.
The extract function is a pre-programmed setting on some high-powered blenders designed to break down and pulverize ingredients more thoroughly than standard blending modes. It is particularly adept at handling tough, fibrous materials, ensuring that you get a smooth texture and, importantly, that the nutrients and enzymes from your produce are made readily available in a digestible form.
Before you start your blending adventure, make sure that your blender is equipped with an extract function and that it’s powerful enough to handle the task at hand. If you’re in the market for a new blender, consider one with a motor strong enough to support this feature.
Now that you’re prepped, let’s create a vibrant, nutrient-packed juice using the extract function.
Combine your chopped fruits and vegetables in the blender’s pitcher. Layering softer ingredients at the bottom and harder, more fibrous ones on top can help the blending process.
Add your chosen liquid to the pitcher. The amount will depend on how thick or thin you prefer your juice.
Secure the lid and select the extract function. This setting usually runs for a predetermined time and may vary in speed throughout the cycle to ensure complete extraction.
Once the cycle finishes, check the consistency of your juice. If it’s too thick, you can blend again with additional liquid.
Drink your freshly extracted juice immediately or store it in an airtight container in the fridge. Consume within 24 hours for maximum freshness and nutritional value.
While juices are a fantastic way to use the extract function, there are myriad other culinary creations at your fingertips.
Turn raw or roasted nuts into creamy butter by blending them on the extract setting until smooth.
Create velvety sauces or purees by combining ingredients like roasted vegetables or fruits and blending until you reach the desired consistency.
Blend cooked vegetables with broth or cream using the extract function to create a warm, comforting soup that maintains the nutritional integrity of your ingredients.
To ensure your blender stays in tip-top shape, clean it immediately after use:
The extract function on your blender is a doorway to a world of healthy, palate-pleasing possibilities. From nutrient-dense juices to smooth nut butters and velvety soups, this feature can revolutionize the way you use your blender and consume your nutrients.

