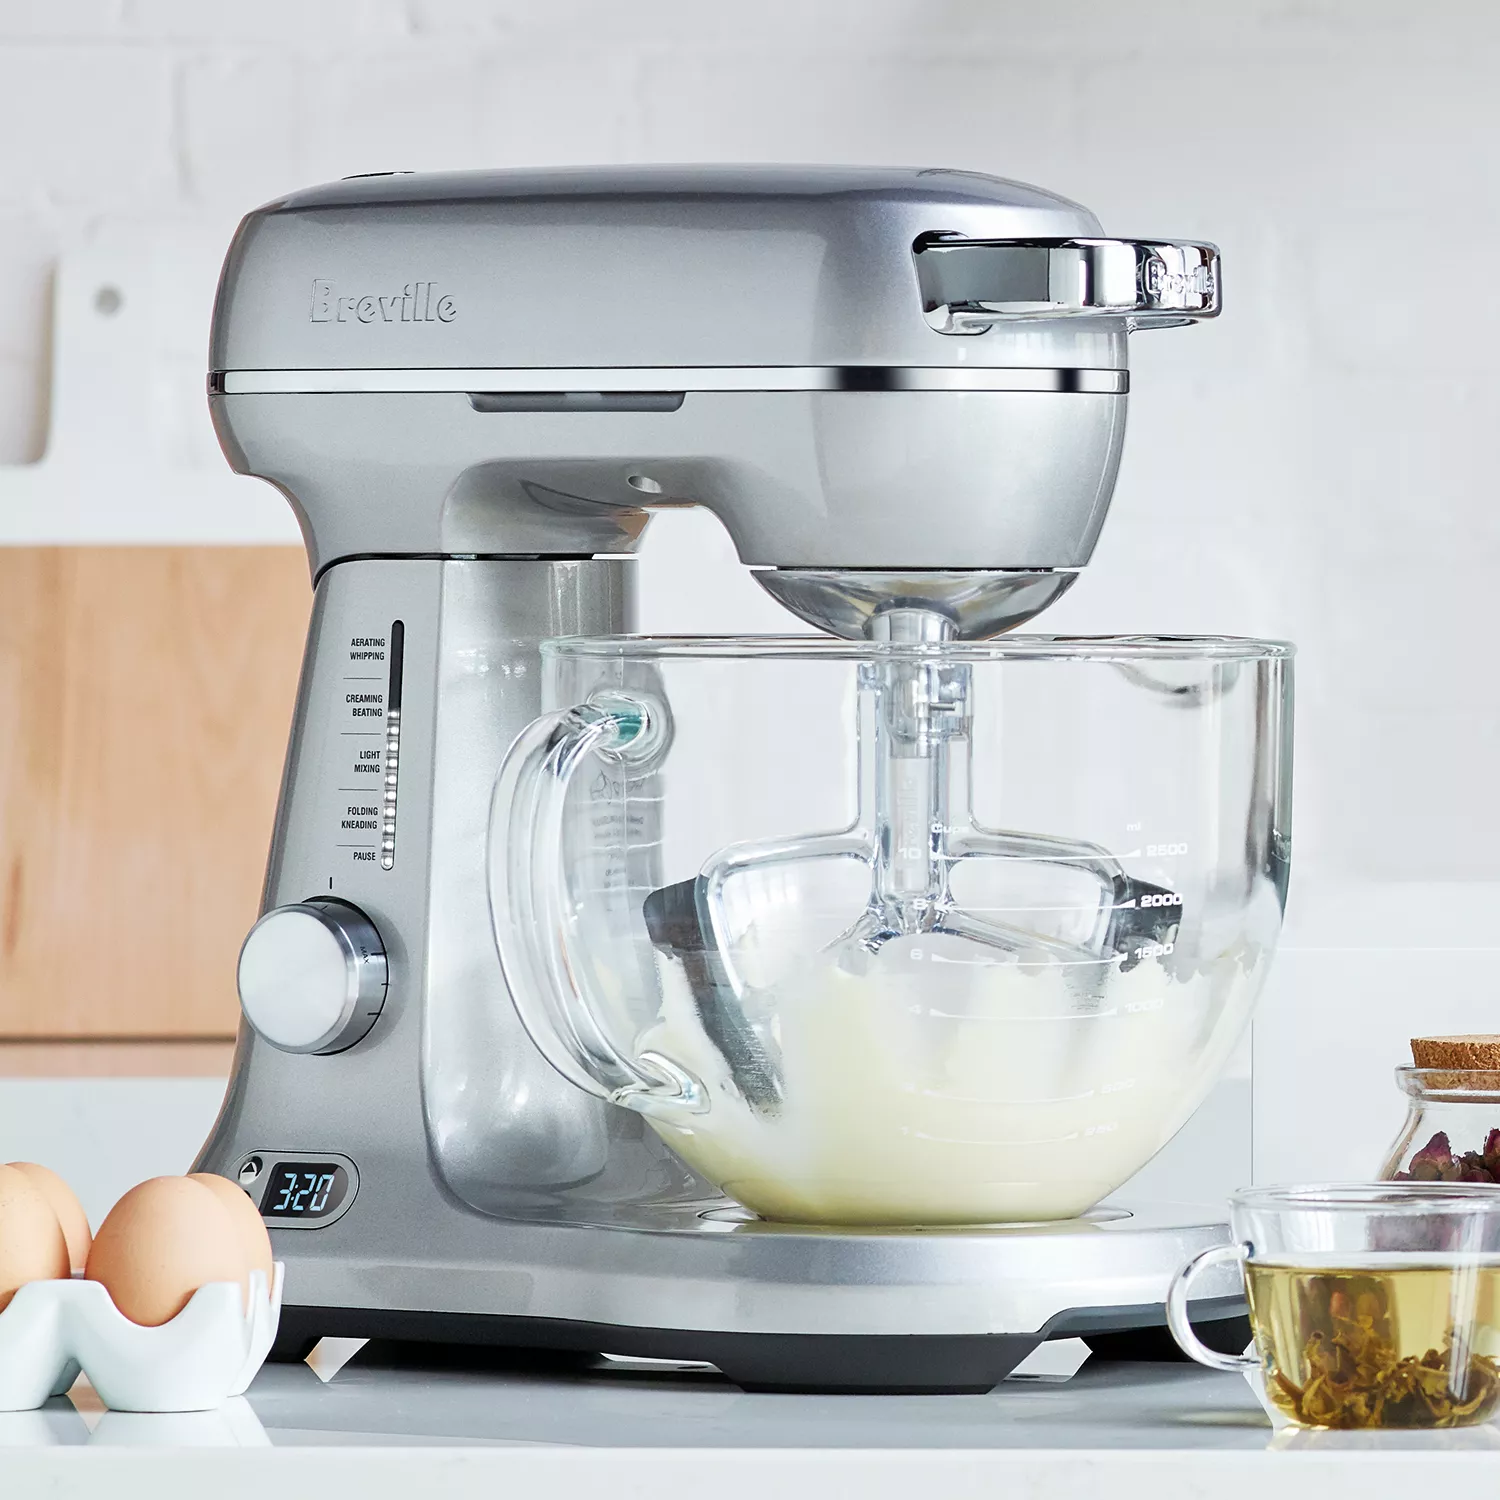
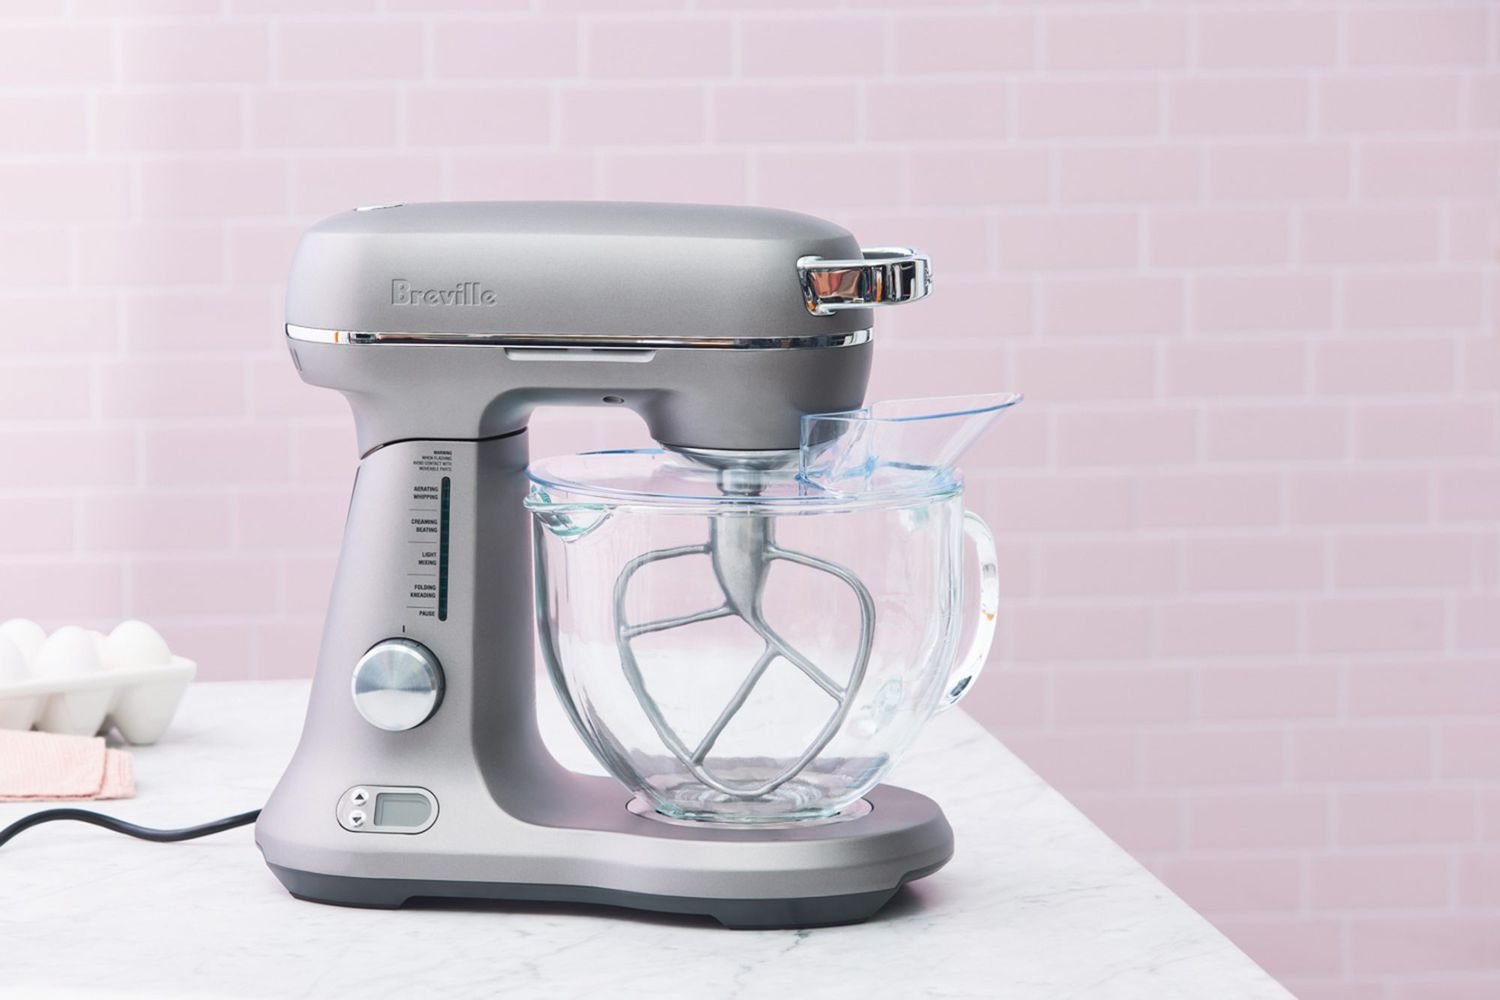
Whipping cream can be a delightful yet tricky culinary endeavor. Achieving that perfect, fluffy consistency is often the crowning glory of desserts. If you’re a dessert aficionado or just love a dollop of fresh whipped cream on your beverages, you may know that the secret to perfect whipped cream often lies in the tools you use. As an expert on kitchen appliances and a seasoned writer for TheKitchenApplianceDad.com, I’m here to guide you through the process of using Breville blenders to whip cream.
Breville, a well-known brand in the kitchen appliance market, offers a range of blenders that are versatile and powerful enough to handle the task of whipping cream. Let’s dive into the simplest and most effective way to use these appliances for achieving whipped cream that can rival any professional kitchen’s output.
Before we begin, it’s important to understand the specifics of your Breville blender. Breville offers a variety of blenders with different capabilities, from the personal blend-and-go models to the high-powered, professional-grade ones. For whipping cream, you’ll need a blender that has adjustable speed settings to ensure you don’t over-whip the cream.

To whip cream, you’ll need the following:
Additionally, you’ll need:
Step 1: Chill the Blender Jar
For best results, place your blender jar in the fridge for at least 15 minutes before you start. This helps in keeping the cream cold and stable as it whips.
Step 2: Add the Cream
Pour the cold heavy whipping cream into the chilled blender jar. If you’re sweetening the cream, add sugar to taste, and a splash of vanilla extract if desired.
Step 3: Start Blending on Low Speed
Secure the lid on your Breville blender and start blending at the lowest speed. This initial slow blending is crucial as it allows the cream to start incorporating air gradually, which is the key to a stable whipped cream.
Step 4: Gradually Increase Speed
After about 30 seconds, gradually increase the blender speed. Keep a close eye on the consistency. You are looking for soft peaks, which means when you lift the blender blades out of the cream, peaks will form but then fall over.
Step 5: Watch for Stiff Peaks
Once you see soft peaks, continue to blend, but be careful not to overdo it. Stop the blender every few seconds to check the consistency. You’re looking for stiff peaks now, where the peaks stand up straight when the blades are lifted. This is the stage where it can quickly turn into butter if over-whipped.
Step 6: Stop at the Right Time
As soon as you have achieved stiff peaks, stop blending. Congratulations, you’ve just whipped cream using your Breville blender!
Step 7: Serve or Store
Use the whipped cream immediately, or store it in the refrigerator for up to a few hours before it begins to lose its structure. If you need to keep it longer, whipped cream can be frozen and then thawed for later use, although the texture may change slightly.
Experiment with Flavors
Once you’re comfortable with making basic whipped cream, try adding different flavors like almond extract, citrus zest, or even liqueurs for an adult twist.
Decorating with Whipped Cream
Your Breville blender whipped cream can be piped onto desserts using a piping bag fitted with a star tip for a professional-looking finish.
Avoiding Over-whipped Cream
The most common issue when whipping cream is over-whipping, which can turn your cream into butter. Always use the pulse function and check frequently for the right consistency.
Cleaning your Breville blender after whipping cream is essential to prevent any cream residue from spoiling or causing unpleasant odors. Rinse the jar and blades with warm, soapy water immediately after use, and then dry them thoroughly.
Using a Breville blenderto whip cream is not only efficient but also ensures that you achieve that perfect texture every time. Remember to start with a chilled jar and cream, use the pulse function to avoid over-whipping, and experiment with flavors to enhance your desserts and beverages.
TheKitchenApplianceDad.com is always here to provide you with the guidance and tips you need to make the most out of your kitchen appliances. Whether you’re a beginner or a seasoned cook, understanding your tools is key to culinary success.
Enjoy your perfectly whipped cream, and remember, with the right technique and a trusty Breville blender, you’re well on your way to becoming a whipped cream wizard!

