Welcome back to TheKitchenApplianceDad.com! Today, we’re going to explore a delicious and essential dessert component—whipped cream. But instead of the traditional hand mixer or stand mixer, I’ll show you how to whip up this creamy delight with a space-saving kitchen hero: the Ninja blender.
Whipping cream with a blender might sound unconventional, but for those with limited kitchen space or a desire for minimal cleanup, it’s a fantastic alternative. Let’s walk through the steps to achieve light, fluffy whipped cream with your Ninja blender.
The Basics of Whipped Cream
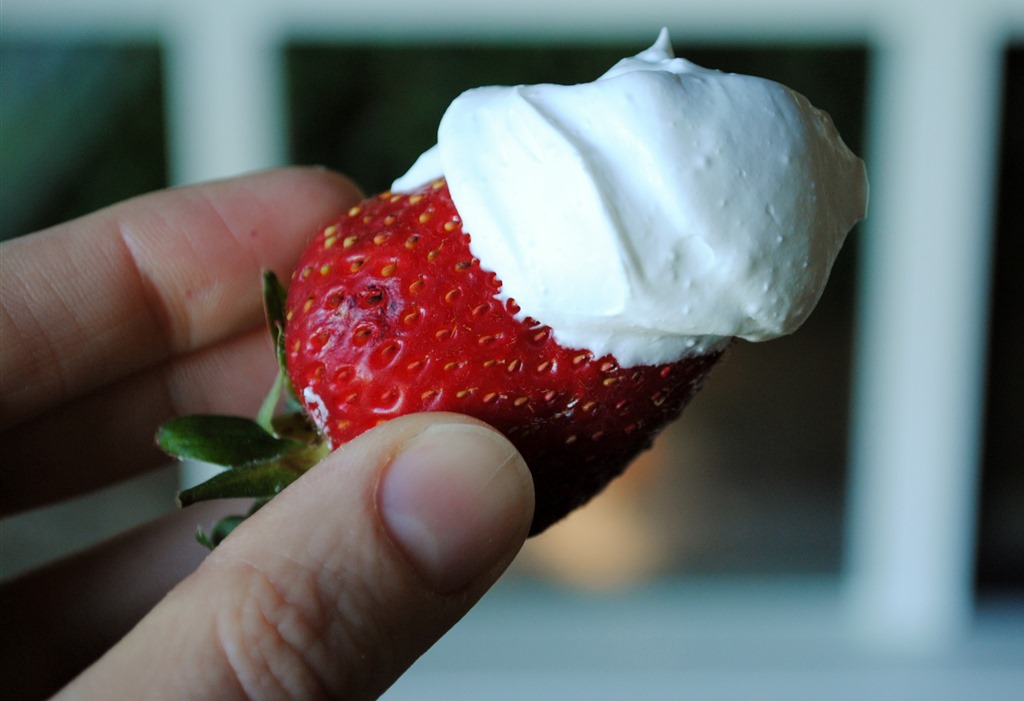
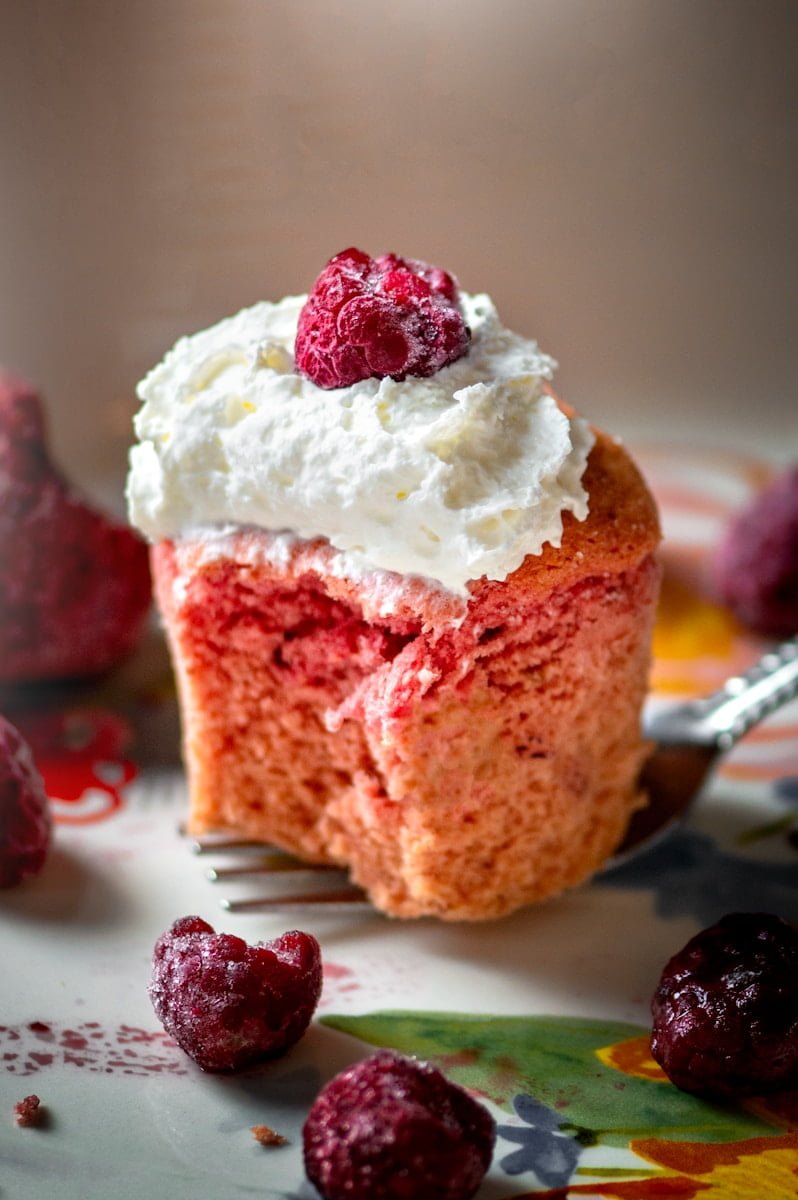
Before we jump into the process, let’s cover the basics. Whipped cream is essentially heavy cream that has been beaten to incorporate air, resulting in a light and airy texture. It’s a versatile topping for everything from pies and cakes to hot cocoa and fresh fruit.

Choosing the Right Ninja Blender
For this task, you’ll want a Ninja blender that’s compact yet powerful enough to handle the job. Look for models with strong blades and a sturdy pitcher. Some great space-saving options include:
- Ninja Master Prep (QB900B): This model comes with a 400-watt power pod and a 48-ounce pitcher, perfect for smaller batches.
- Ninja Nutri Pro Compact Personal Blender (BL456): Though primarily for smoothies, this 900-watt blender can handle whipping cream in small quantities.
- Ninja Professional Plus Blender with Auto-iQ (BN701): With a 1400-watt motor and multiple Auto-iQ programs, it offers power and precision.
Any of these models will do the job efficiently while keeping your countertop uncluttered.
Ingredients and Tools You’ll Need
- Heavy Cream: Make sure it’s cold; this helps it whip up faster and increases volume.
- Sugar: Confectioners’ sugar or granulated sugar can be used to sweeten the cream.
- Vanilla Extract (optional): For a hint of vanilla flavor in your whipped cream.
- Ninja Blender: Your chosen model, clean and ready to go.
- Spatula: To scrape the sides of the blender pitcher if needed.
Step-by-Step Guide to Whipping Cream in a Ninja Blender
- Chill the Blender Pitcher: For best results, place the blender pitcher in the fridge or freezer for at least 15 minutes before whipping the cream.
- Combine Ingredients: Pour the cold heavy cream into the chilled pitcher. Add sugar to taste, and vanilla extract if using. The amount of sugar will depend on your preferred level of sweetness.
- Secure the Lid: Attach the lid to the blender pitcher, ensuring that it’s sealed tightly.
- Blend on Low Speed: Start the blender on a low setting to prevent the cream from splattering. Gradually increase the speed as the cream thickens.
- Check the Consistency: After about 30 seconds to 1 minute, stop the blender and check the consistency of the cream. It should start to form soft peaks.
- Continue Blending: If the cream isn’t quite whipped enough, continue blending in short bursts, checking frequently to avoid over-whipping.
- Stop at the Right Time: Once the cream forms stiff peaks, it’s done. Be careful not to blend for too long, as it can quickly turn into butter.
Tips for Perfect Whipped Cream
- Cold is Key: Keep your cream and blender pitcher as cold as possible; this helps the cream whip up faster and increases stability.
- Don’t Overfill: Work in batches if necessary. Filling the pitcher too full can make it difficult for the cream to whip evenly.
- Sweeten to Taste: Add sugar gradually, tasting as you go to achieve your desired sweetness level.
- Be Watchful: Keep a close eye on the cream’s texture to avoid over-whipping, which can result in a grainy texture or, worse, butter.
Cleaning Your Ninja Blender
After you’ve enjoyed your delicious whipped cream, it’s important to clean your Ninja blender right away to prevent any residue from sticking to the blades or pitcher:
- Quick Rinse: Rinse the pitcher and blades with warm water immediately after use.
- Soapy Wash: Clean the disassembled parts with warm, soapy water or place them in the dishwasher if they are dishwasher-safe.
- Dry Thoroughly: Ensure all components are completely dry before reassembling to prevent any moisture buildup.
Conclusion
Using a Ninja blender to whip cream is not only a space-saving solution but also a quick and easy way to add a gourmet touch to your desserts. Follow these simple steps, and you’ll have perfectly whipped cream in no time, with minimal equipment and cleanup involved.
Key Takeaways
- Use a Powerful Blender: Opt for a Ninja blender model that is compact yet powerful## How To Use A Ninja Blender To Whip Cream – Space Saver
Welcome back to TheKitchenApplianceDad.com! Today, we’re going to explore a delicious and essential dessert component—whipped cream. But instead of the traditional hand mixer or stand mixer, I’ll show you how to whip up this creamy delight with a space-saving kitchen hero: the Ninja blender.
Whipping cream with a blender might sound unconventional, but for those with limited kitchen space or a desire for minimal cleanup, it’s a fantastic alternative. Let’s walk through the steps to achieve light, fluffy whipped cream with your Ninja blender.
The Basics of Whipped Cream
Before we jump into the process, let’s cover the basics. Whipped cream is essentially heavy cream that has been beaten to incorporate air, resulting in a light and airy texture. It’s a versatile topping for everything from pies and cakes to hot cocoa and fresh fruit.
Choosing the Right Ninja Blender
For this task, you’ll want a Ninja blender that’s compact yet powerful enough to handle the job. Look for models with strong blades and a sturdy pitcher. Some great space-saving options include:
- Ninja Master Prep (QB900B): This model comes with a 400-watt power pod and a 48-ounce pitcher, perfect for smaller batches.
- Ninja Nutri Pro Compact Personal Blender (BL456): Though primarily for smoothies, this 900-watt blender can handle whipping cream in small quantities.
- Ninja Professional Plus Blender with Auto-iQ (BN701): With a 1400-watt motor and multiple Auto-iQ programs, it offers power and precision.
Any of these models will do the job efficiently while keeping your countertop uncluttered.
Ingredients and Tools You’ll Need
- Heavy Cream: Make sure it’s cold; this helps it whip up faster and increases volume.
- Sugar: Confectioners’ sugar or granulated sugar can be used to sweeten the cream.
- Vanilla Extract (optional): For a hint of vanilla flavor in your whipped cream.
- Ninja Blender: Your chosen model, clean and ready to go.
- Spatula: To scrape the sides of the blender pitcher if needed.
Step-by-Step Guide to Whipping Cream in a Ninja Blender
- Chill the Blender Pitcher: For best results, place the blender pitcher in the fridge or freezer for at least 15 minutes before whipping the cream.
- Combine Ingredients: Pour the cold heavy cream into the chilled pitcher. Add sugar to taste, and vanilla extract if using. The amount of sugar will depend on your preferred level of sweetness.
- Secure the Lid: Attach the lid to the blender pitcher, ensuring that it’s sealed tightly.
- Blend on Low Speed: Start the blender on a low setting to prevent the cream from splattering. Gradually increase the speed as the cream thickens.
- Check the Consistency: After about 30 seconds to 1 minute, stop the blender and check the consistency of the cream. It should start to form soft peaks.
- Continue Blending: If the cream isn’t quite whipped enough, continue blending in short bursts, checking frequently to avoid over-whipping.
- Stop at the Right Time: Once the cream forms stiff peaks, it’s done. Be careful not to blend for too long, as it can quickly turn into butter.
Tips for Perfect Whipped Cream
- Cold is Key: Keep your cream and blender pitcher as cold as possible; this helps the cream whip up faster and increases stability.
- Don’t Overfill: Work in batches if necessary. Filling the pitcher too full can make it difficult for the cream to whip evenly.
- Sweeten to Taste: Add sugar gradually, tasting as you go to achieve your desired sweetness level.
- Be Watchful: Keep a close eye on the cream’s texture to avoid over-whipping, which can result in a grainy texture or, worse, butter.
Cleaning Your Ninja Blender
After you’ve enjoyed your delicious whipped cream, it’s important to clean your Ninja blender right away to prevent any residue from sticking to the blades or pitcher:
- Quick Rinse: Rinse the pitcher and blades with warm water immediately after use.
- Soapy Wash: Clean the disassembled parts with warm, soapy water or place them in the dishwasher if they are dishwasher-safe.
- Dry Thoroughly: Ensure all components are completely dry before reassembling to prevent any moisture buildup.
Conclusion
Using a Ninja blender to whip cream is not only a space-saving solution but also a quick and easy way to add a gourmet touch to your desserts. Follow these simple steps, and you’ll have perfectly whipped cream in no time, with minimal equipment and cleanup involved.


