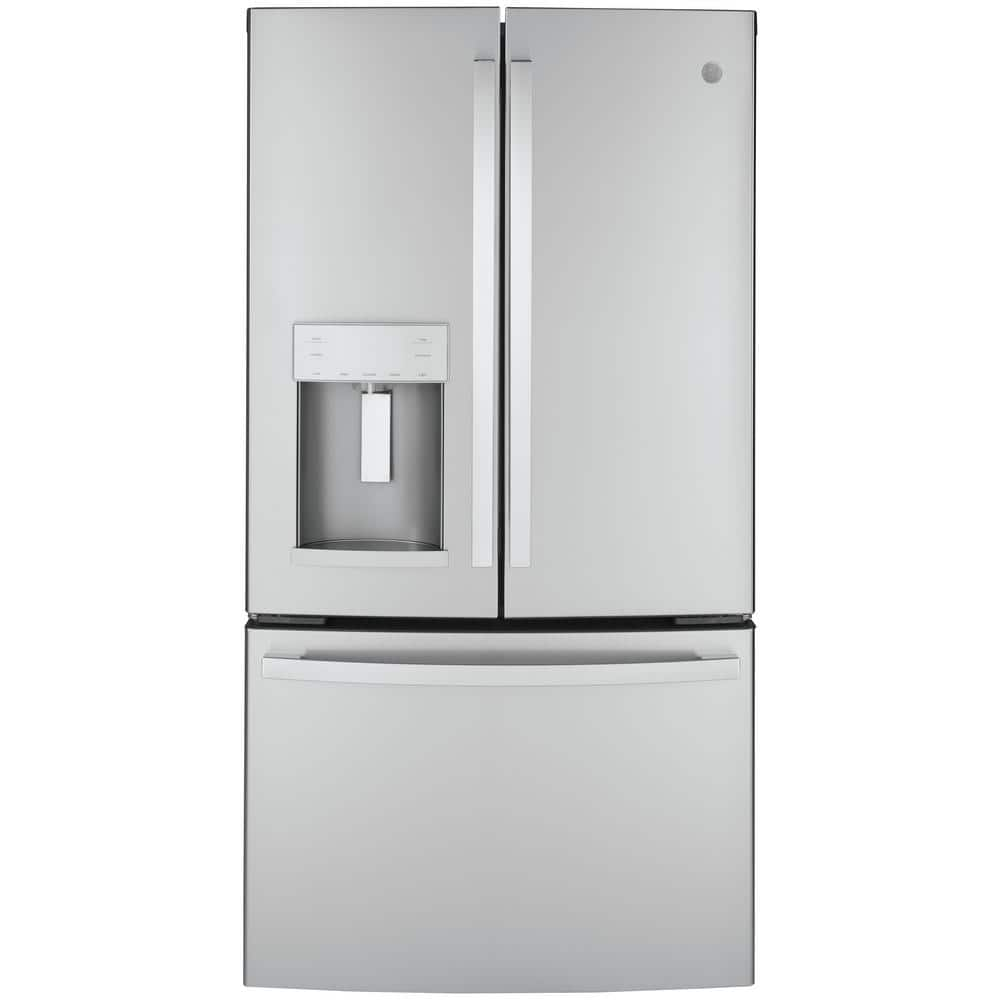
Welcome to TheKitchenApplianceDad.com, where we strive to make your kitchen appliance experience as seamless as possible. Today, we’re diving into a common question many of you have after purchasing a GE refrigerator: How do you turn on the ice maker? Whether you’re setting up your fridge for the first time or you’ve just never used the ice maker before, this guide will walk you through the straightforward process step-by-step.
General Electric (GE) refrigerators are equipped with various models of ice makers, depending on the features of your specific model. Before you attempt to turn on the ice maker, it’s crucial to identify which model you have. This information can typically be found in the user manual that came with your appliance. If you’ve misplaced your manual, you can often find a digital copy online on the GE Appliances website.

Most GE fridge models have a control arm that manages the operation of the ice maker. Before turning on the ice maker, make sure that this arm is in the down position. If it’s pushed up, it signals the ice maker to stop producing ice.
In many newer models, the ice maker is controlled by a switch on the front panel or inside the freezer compartment. This switch is often labeled clearly. Toggle this switch to the ON position.
For optimal ice production, your freezer should be set at 0°F (-18°C). If it’s set higher than this, adjust the temperature settings. It’s essential for the freezer to reach this temperature before starting to make ice, which might take a few hours.
Ensure that the refrigerator is connected to a water line and that the valve is fully open. This is crucial because the ice maker needs a continuous water supply to make ice. If you’re not sure how to check this, refer to the installation guide for your model.
Once everything is set up, it generally takes about 24 hours for the ice maker to start producing ice. If you don’t see any ice by then, make sure to double-check all settings and connections.
Even with proper setup, you might encounter some issues with your GE fridge’s ice maker. Here are a few troubleshooting tips:
To keep your GE refrigerator’s ice maker in top condition, perform regular maintenance:
By following these steps, you should have no trouble getting your GE fridge’s ice maker up and running. Remember, regular maintenance is key to ensuring your ice maker continues to function efficiently and provides you with high-quality ice. Whether you’re hosting a party or just enjoy a cold drink at the end of the day, having a working ice maker can make all the difference. Thanks for following along with TheKitchenApplianceDad.com, and here’s to many refreshing moments ahead!

