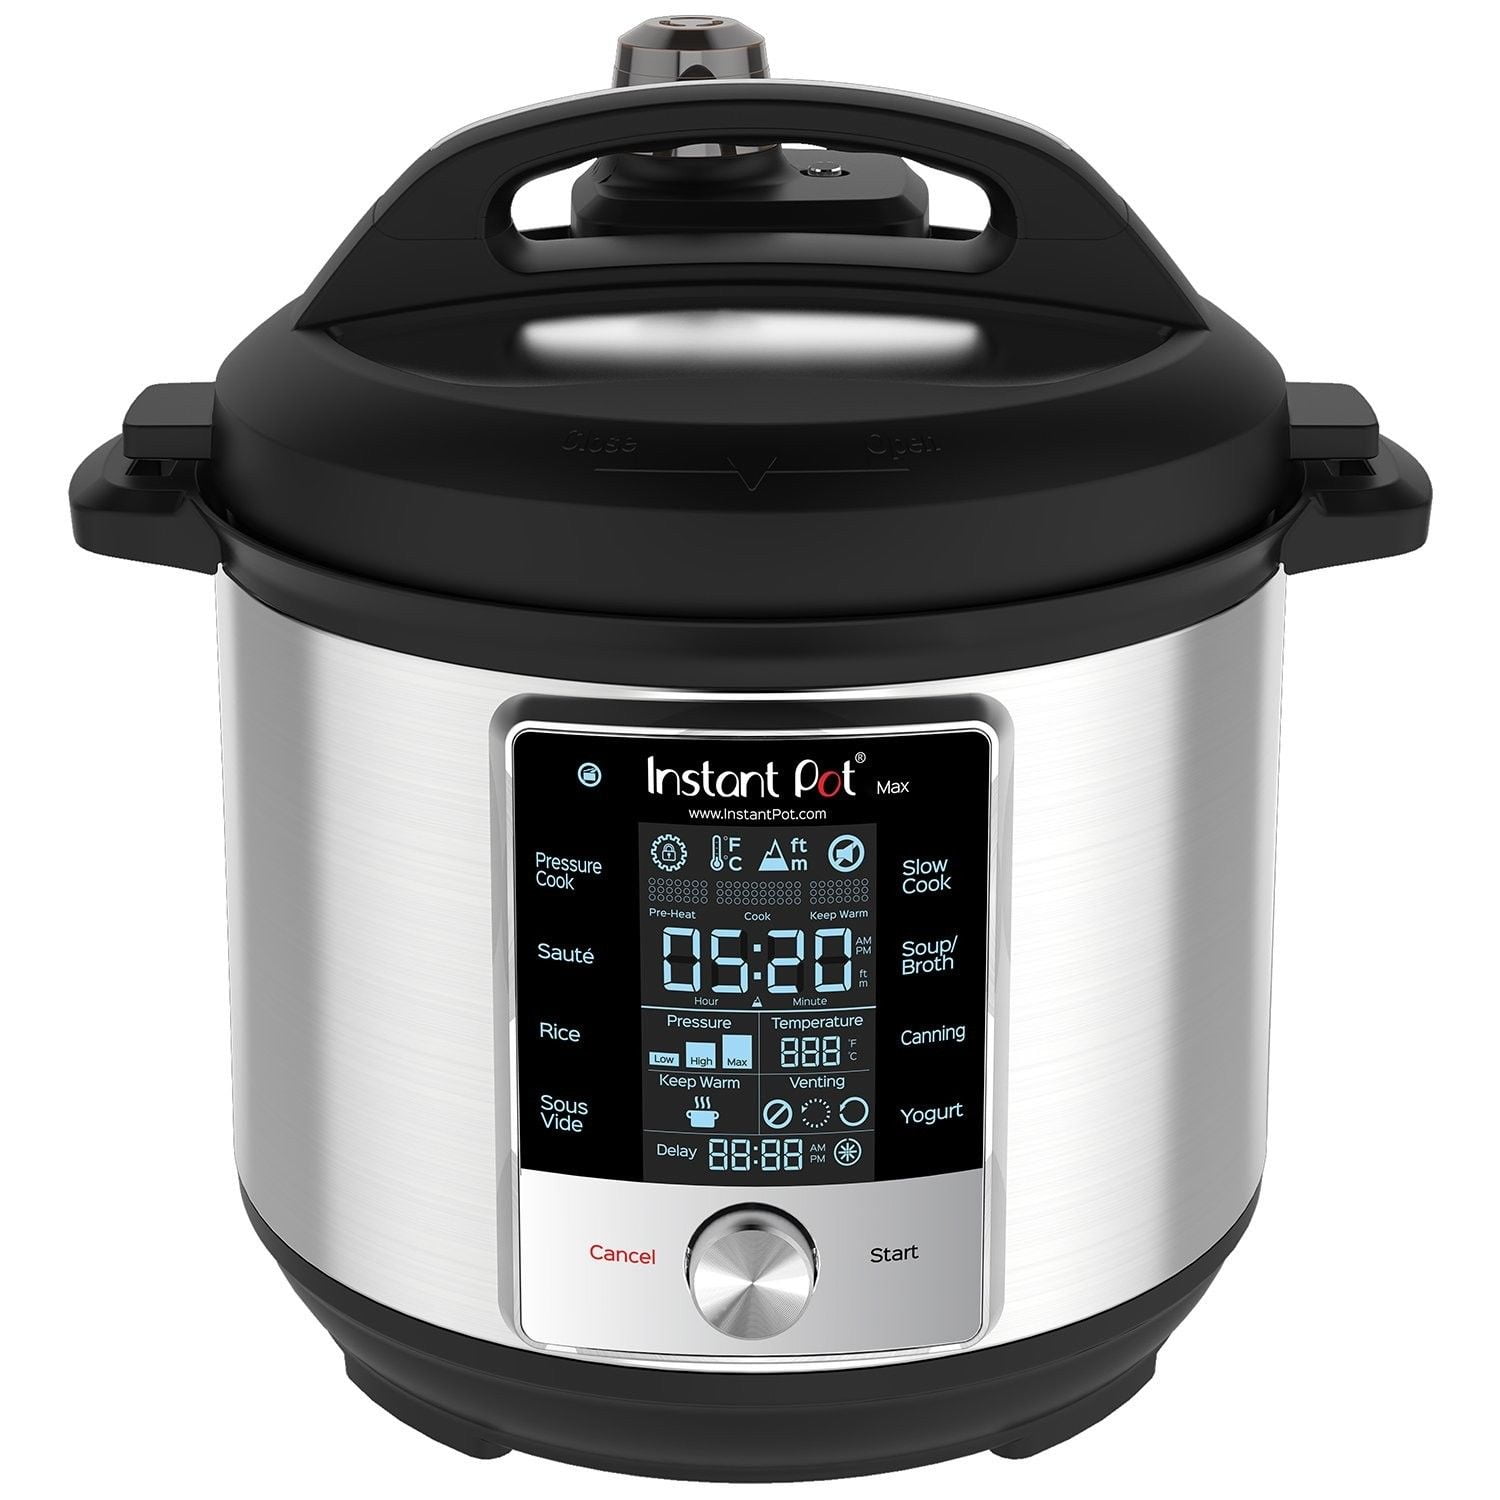
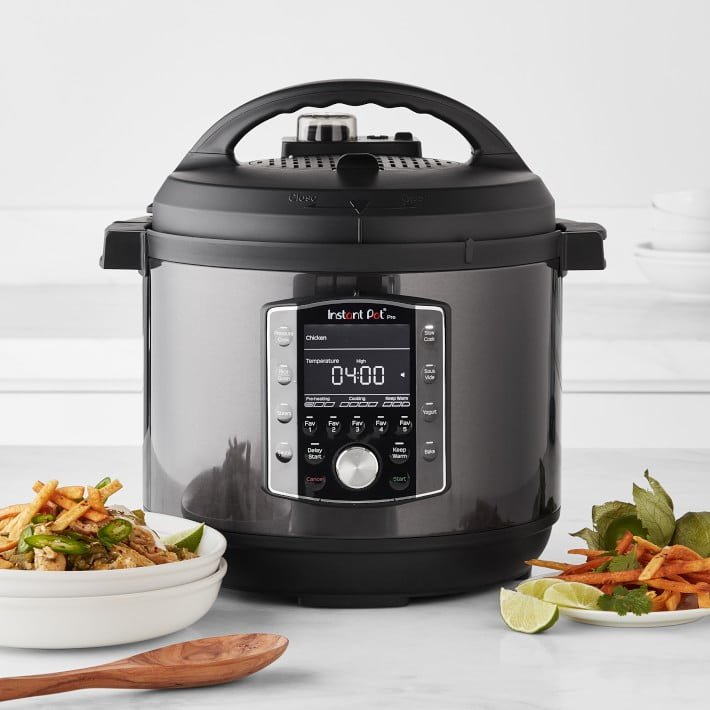
Welcome to TheKitchenApplianceDad.com, where we aim to help you get the most out of your kitchen gadgets and appliances. Today, we’re focusing on a beloved modern kitchen staple: the Instant Pot. This versatile, multi-functional pressure cooker has revolutionized home cooking for many. But like any appliance, it’s critical to ensure it’s working correctly to avoid any kitchen mishaps or disappointments. Here’s a comprehensive guide on how to test if your Instant Pot is properly working.
Understanding Your Instant Pot
Before diving into the testing process, it’s important to understand the components of your Instant Pot. This appliance comes with several safety features and mechanisms, including a sealing ring, a steam release valve, and an anti-block shield, among others. Familiarizing yourself with these parts will make it easier to troubleshoot any issues.
Initial Inspection
Visual Check: Start with a visual inspection of your Instant Pot. Make sure that there are no visible signs of wear and tear, especially on the power cord and the inner pot. Any damage could be a safety hazard or affect the appliance’s performance.
Sealing Ring Inspection: The silicone sealing ring is crucial for the pressure cooking function. Remove the ring and inspect it for any cracks, deformation, or excessive stretching. If it’s compromised, it’s time for a replacement.
Valve and Button Check: Ensure that the steam release valve and all buttons respond correctly and are not stuck. The valve should move freely between the Sealing and Venting positions.

The Water Test: Your First Performance Check
The water test is a simple and effective way to ensure your Instant Pot is building pressure as it should. Here’s how to conduct the water test:
- Add Water: Pour two cups of water into the inner pot of the Instant Pot.
- Seal the Lid: Place the lid on your Instant Pot and turn it to the locked position.
- Check the Sealing Ring: Make sure the sealing ring is properly seated in the lid groove.
- Set to Steam: Select the ‘Steam’ function and set the timer for two minutes.
- Observe: Watch for steam coming out of the valve. Within a few minutes, the float valve should rise, and the steam should stop escaping.
If the Instant Pot doesn’t come to pressure or steam continues to leak, there may be an issue with the sealing ring or the steam release mechanism.
Testing Individual Functions
Your Instant Pot comes with various functions such as ‘Sauté,’ ‘Pressure Cook,’ ‘Slow Cook,’ and ‘Yogurt,’ among others. Testing each function can help ensure that they’re all operating correctly.
Sauté Test:
- Set your Instant Pot to the ‘Sauté’ function and wait for it to indicate that it’s hot.
- Add a small amount of oil and onions to test if it’s heating and sautéing correctly.
Pressure Cook Test:
- Prepare a simple recipe that you’re familiar with, like rice or hard-boiled eggs.
- Follow the recipe instructions and ensure the Instant Pot reaches pressure and cooks the food as expected.
Slow Cook Test:
- Use the Instant Pot as a slow cooker with a suitable recipe, observing if it maintains the correct temperature without overheating or undercooking.
Yogurt Function:
- If your model has a ‘Yogurt’ function, test it by attempting to make a small batch of yogurt, which should incubate at a consistent low temperature.
Sensor and Display Check
Don’t overlook the sensors and display of your Instant Pot. They should show accurate readings and respond to your selections. Any discrepancies in the display or unresponsive controls could indicate an electrical problem or a faulty sensor.
Troubleshooting Common Issues
Even with proper testing, you might encounter some issues. Here’s a quick troubleshooting guide:
Steam Leaks:
- If steam is leaking from the sides of the lid, the sealing ring might not be properly installed or may need replacement.
- Steam escaping from the steam release valve during cooking might suggest that it’s set to ‘Venting’ instead of ‘Sealing.’
Error Codes:
- The Instant Pot might display various error codes such as ‘C6L’ or ‘C6H,’ which indicate issues with the internal sensors. Refer to your manual for specific codes and solutions.
No Pressure:
- If the Instant Pot isn’t coming to pressure, check for any blockages in the steam release valve or anti-block shield.
- Ensure that the lid is locked correctly and that the sealing ring is in place and not damaged.
Maintenance Tips for Longevity
Maintaining your Instant Pot can prevent many issues. Here are some tips to keep it running smoothly:
- Clean Regularly: Keep the Instant Pot clean, including the lid, inner pot, and sealing ring. This prevents food build-up that could affect performance.
- Sealing Ring: Replace as Needed**: The sealing ring can lose elasticity over time. Having a spare and replacing it yearly or when you notice any wear can keep your Instant Pot sealing correctly.
- Check for Updates: Some Instant Pot models are smart and connect to an app. Check for firmware updates that can improve functionality or fix known issues.
Key Takeaways
To summarize, here are the key points to take away from this guide on testing if your Instant Pot is properly working:
- Perform an initial inspection of your Instant Pot, looking for any visible damage or wear, particularly on the power cord, inner pot, and sealing ring.
- Conduct a water test to ensure the appliance can build and maintain pressure adequately. This involves running a brief steam cycle with just water in the pot.
- Test each cooking function (Sauté, Pressure Cook, Slow Cook, Yogurt) to confirm they’re working as expected.
- Check the sensors and display for accuracy and responsiveness.
- Troubleshoot common issues like steam leaks, error codes, and pressure problems by checking the sealing ring, steam valve, and ensuring there are no blockages.
- Maintain your Instant Pot with regular cleaning, especially the sealing ring and lid components, and replace the sealing ring when necessary.
By following these steps, you can rest assured that your Instant Pot is in perfect working condition, ready to tackle all your favorite quick and delicious recipes. Remember, regular maintenance and testing are key to the longevity and consistent performance of your Instant Pot. Happy cooking from all of us here at TheKitchenApplianceDad.com!


