how-to-take-off-refrigerator-doors

How to Take Off Refrigerator Doors

When it comes to moving a large appliance like a refrigerator, sometimes removing the doors is necessary to fit through doorways or tight spaces. Whether you’re relocating to a new home, renovating your kitchen, or cleaning behind the fridge, taking off the refrigerator doors can be straightforward if you follow the proper steps. At TheKitchenApplianceDad.com, we understand that handling such tasks can be daunting. Therefore, we’ve prepared a comprehensive guide to help you remove refrigerator doors safely and efficiently.

Preparation: Tools and Safety

Before you begin the process of removing the doors from your refrigerator, it’s essential to gather the right tools and ensure safety measures are in place.

Tools You Will Need

  • Screwdriver (Phillips or flat-head depending on the screw types)
  • Wrench or socket set
  • Tape (to secure loose parts and doors)
  • Blanket or floor protector (to prevent scratches)

Safety Precautions

  • Unplug the refrigerator: To avoid any electrical hazards, make sure the refrigerator is unplugged.
  • Remove all items: Clear out the contents of the fridge and freezer.
  • Secure the space: Ensure there’s enough room to work around the refrigerator and that the floor is protected against scratches.

Don't Make This Risky Mistake When Closing Your Refrigerator Door

Step-by-Step Guide to Removing Refrigerator Doors

Step 1: Unplug and Defrost

The first step is to ensure that the refrigerator is unplugged from the power source. If there is significant frost build-up in the freezer, you might need to defrost it to avoid water mess.

Step 2: Remove the Top Hinge Cover

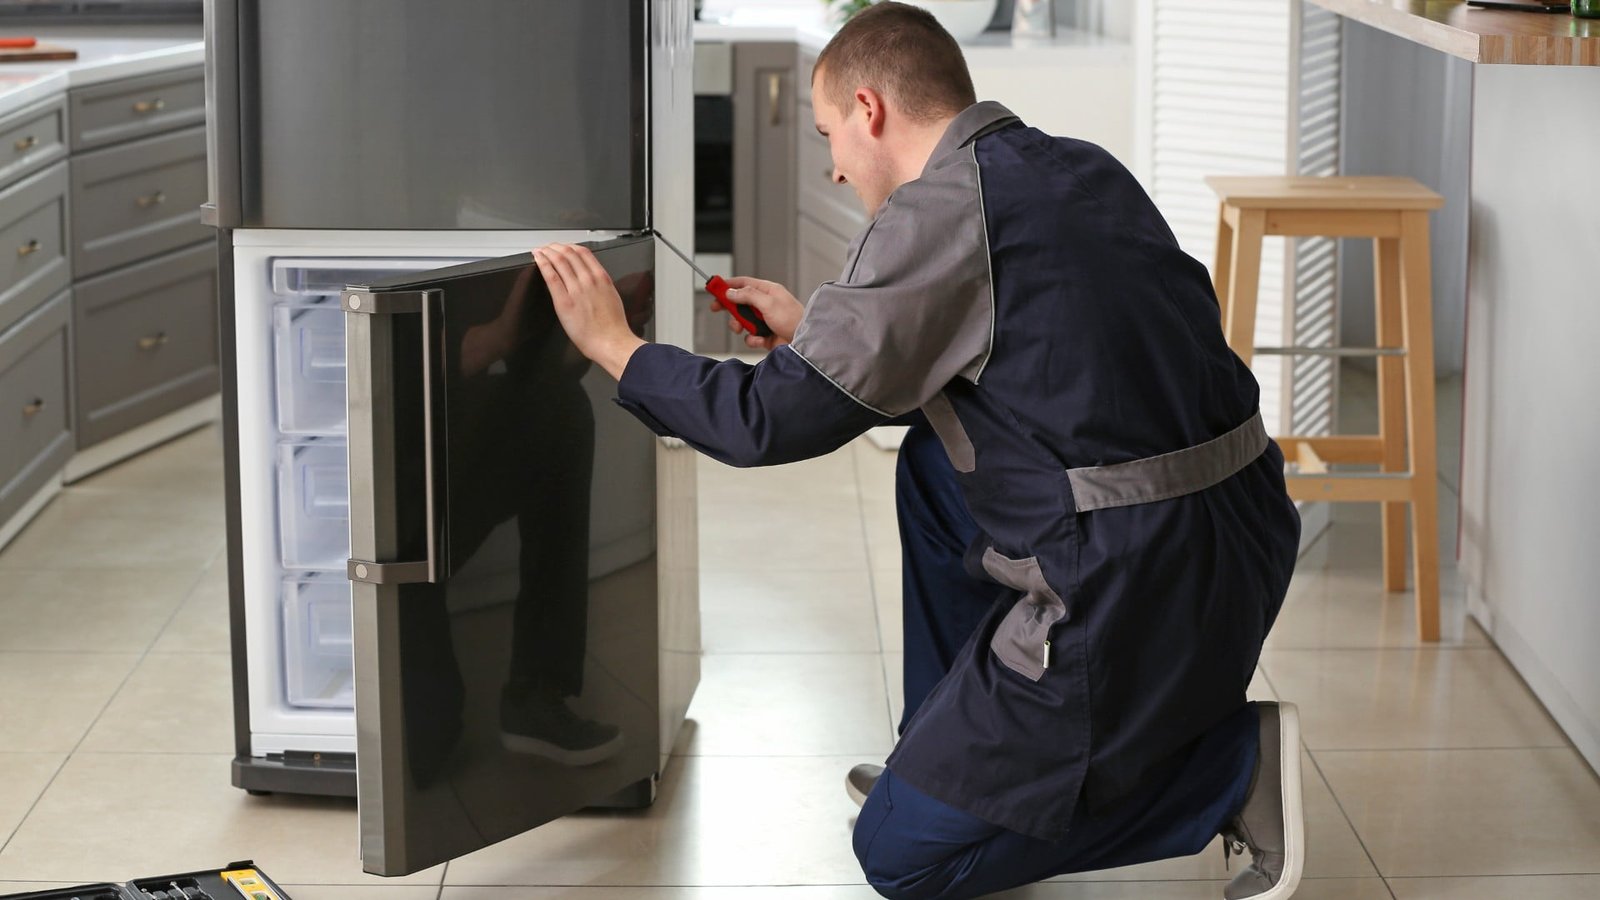
Most refrigerator models have a top hinge cover. Remove this first using a screwdriver to expose the hinge underneath. This cover is typically secured with either screws or clips.

Step 3: Detach the Water Dispenser (if applicable)

If your refrigerator has a water or ice dispenser in the door, you’ll need to disconnect the water line. Often, there is a quick-release coupling behind the kickplate or the upper hinge cover. You can usually disconnect it by pressing on the coupling’s ring.

Step 4: Remove the Top Hinge

Use a wrench or socket set to remove the bolts that hold the top hinge in place. Carefully lift the hinge off and set it aside. Be mindful that once the hinge is off, there’s nothing holding the door in place except its own weight.

Step 5: Remove the Refrigerator Door

Carefully lift the door straight up off the bottom hinge. It might be helpful to have a second person assist with this step to prevent the door from falling. Once removed, set the door aside on a blanket or soft surface to prevent damage.

Step 6: Remove the Bottom Hinge (if removing the freezer door)

If you also need to remove the freezer door, repeat the process for the bottom hinge. Depending on your model, the process might be slightly different, so refer to your manufacturer’s manual for specific instructions.

Step 7: Wrap and Secure

Once the doors are removed, make sure to tape any loose wires or components, and cover the doors with a blanket to prevent scratches during transport or storage.

Reassembly Tips

Reassembling the doors is generally the reverse process of disassembly. However, there are a few key points to keep in mind:

  • Ensure all screws and bolts are tight: Loose hinges can cause the doors to misalign, which can lead to sealing issues and inefficient cooling.
  • Reconnect the water line securely: If applicable, ensure the water dispenser line is reconnected properly to prevent leaks.
  • Check the door alignment and seals: After reassembling, make sure the doors are properly aligned, and the seals are tight to ensure efficient operation.

Potential Challenges and Troubleshooting

  • Door not sitting flush: This could be due to improperly tightened hinges or misalignment. Adjust as necessary.
  • Water dispenser not working: Ensure the water line connection is secure and that there are no kinks in the line.
  • Electrical issues: Double-check to ensure that all electrical connections (like those for lights and ice makers) are secure and correctly connected.

Key Takeaways

  • Preparation is crucial: Gather all necessary tools and ensure safety by unplugging the fridge and protecting the floor.
  • Follow steps methodically: Removing the doors involves several steps, from taking off the hinge covers to lifting the doors off their hinges.
  • Be mindful of water and electrical connections: If your fridge has a water dispenser, handle the water line carefully.
  • Reassembly requires attention to detail: Ensure everything is aligned and tightened properly during reassembly to avoid future issues.

Removing refrigerator doors can be a practical skill that saves time and effort during moves or renovations. By following this guide from TheKitchenApplianceDad.com, you can handle this task with confidence, ensuring your appliance is moved or serviced without any hitches.

Meet

Dale

Hi, I'm Dale! With over ten years in high volume restaurants, my journey has taken me through the ins and outs of using, maintaining, and even repairing virtually every kitchen appliance imaginable.

I'm here to share simple, straightforward advice to help you choose and use your kitchen tools effectively. No fluff, just the essential info you need to cook up a storm.