When it comes to kitchen convenience, microwaves are a staple in homes across the globe. Among the numerous brands available, Hamilton Beach is known for providing reliable and user-friendly kitchen appliances. If you’ve recently purchased a Hamilton Beach microwave or have been using one without the correct time displayed, you’re in luck. Setting the clock on your Hamilton Beach microwave is a simple task that can be accomplished in just a few steps. In this article from TheKitchenApplianceDad.com, we’ll walk you through the process of setting the time so that you can get back to cooking and reheating with ease.
Before diving into the steps, it’s important to note that Hamilton Beach produces a variety of microwave models, and while the clock setting process is similar for most, there may be slight variations. To ensure that you’re following the correct instructions, locate your microwave’s model number. You can usually find this on the back of the appliance or inside the door on a sticker.
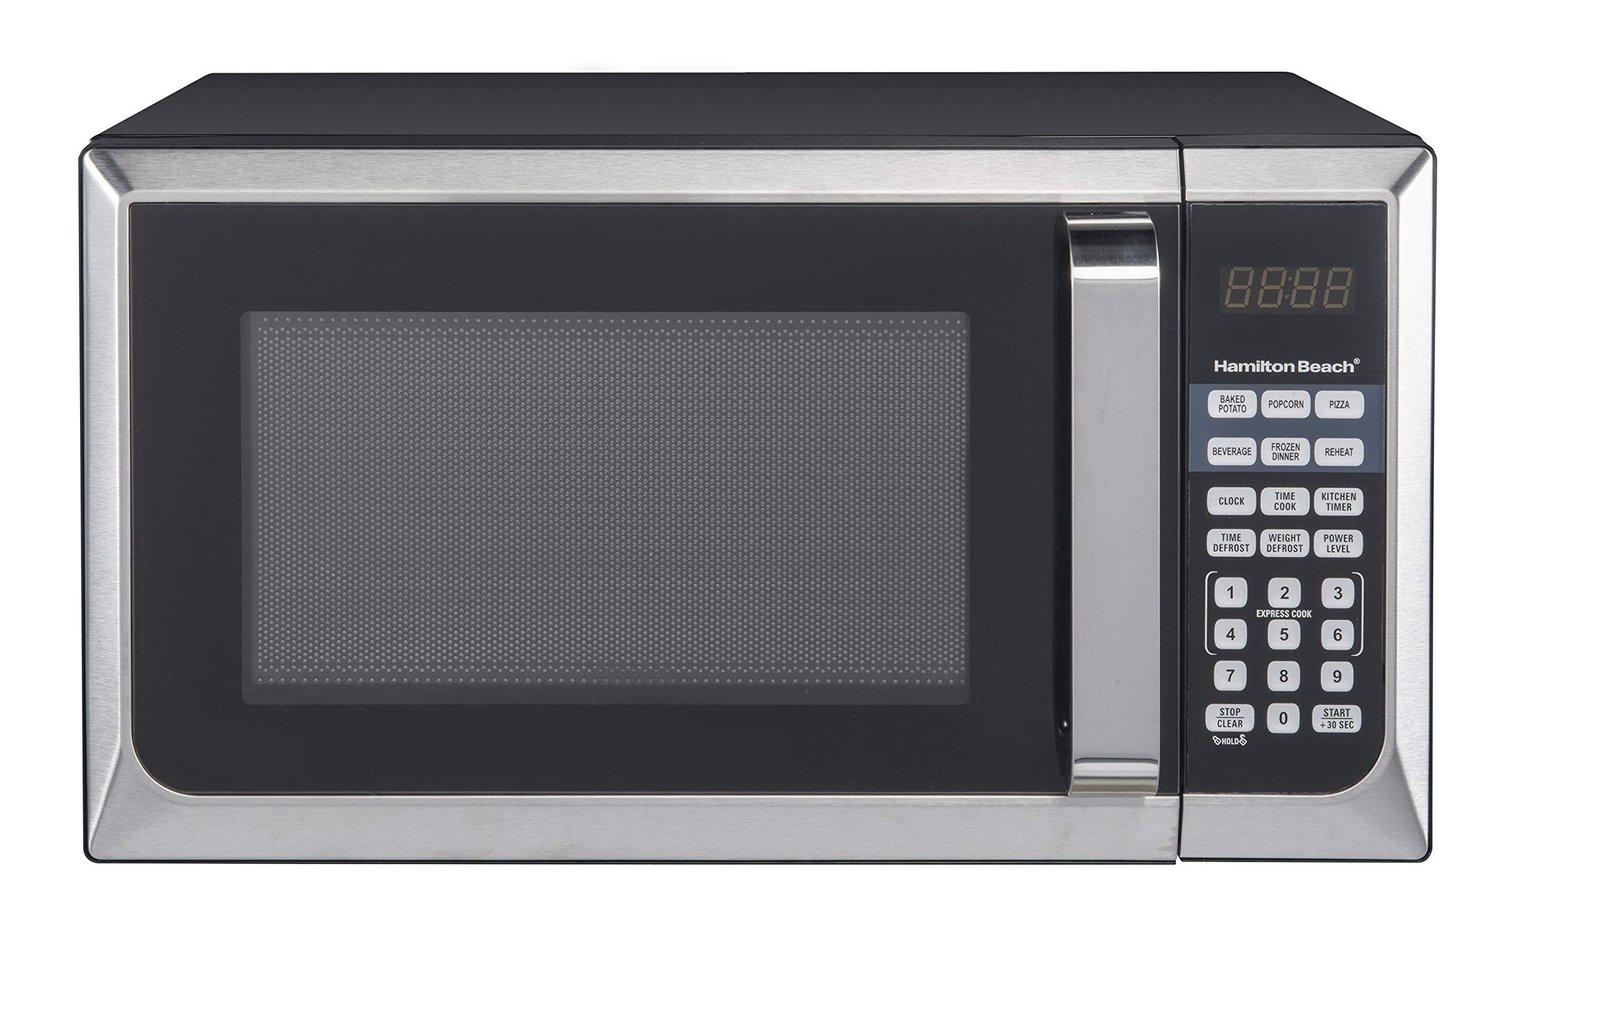
:max_bytes(150000):strip_icc()/Hamilton-Beach-Microwave-HeroSquare-a6780b810b0545fcacf956119a386f28.jpg)
Most Hamilton Beach microwaves have a digital control panel with a clock or time display. Familiarize yourself with the following buttons, as they are commonly used in setting the time:
Ensure that your microwave is plugged into a working outlet. If you’ve just experienced a power outage or have unplugged the appliance, the clock will likely need to be reset.
If your microwave was in use or in the middle of settings, clear any previous entries by pressing the Stop or Cancel button.
Press the Clock or Time button on your microwave’s control panel. Some models may require you to hold down the button for a few seconds.
Using the number pad, enter the current time. For example, if it’s 3:45 PM, you would press the numbers “3”, “4”, and “5” in sequence. If your microwave operates on a 24-hour clock (military time), you’ll need to adjust accordingly—for instance, 3:45 PM would be entered as “15”, “4”, “5”.
If your microwave uses a 12-hour clock, you may need to specify AM or PM. Some models do this by prompting you to press the Clock or Time button once more to toggle between the two options.
Once you’ve entered the correct time, press the Start or Enter button to confirm and set the clock.
After setting the time, the display should show the correct current time. If it doesn’t, repeat the process to ensure all steps were followed correctly.
If you encounter any issues while setting the clock on your Hamilton Beach microwave, here are some troubleshooting tips:
Some Hamilton Beach microwaves come with additional features that can impact the way you set the clock:
If you’re ever in doubt or if your microwave model has specific instructions that differ from the general steps provided, always refer to the user manual. If you’ve misplaced the physical copy, Hamilton Beach provides [online user manuals](https# How To Set the Clock on Your Hamilton Beach Microwave
Microwaves are more than just a quick way to heat up your leftovers. They have become an essential tool in managing our day-to-day kitchen activities, including keeping track of time. And when it comes to microwaves, Hamilton Beach models are known for their reliability and ease of use. However, like with any appliance, there can be moments of confusion, such as when you’re trying to set the clock. At TheKitchenApplianceDad.com, we understand the importance of having your appliances set up correctly, so let’s walk through how to set the clock on your Hamilton Beach Microwave.
Before we delve into the specifics, it’s important to understand that your Hamilton Beach microwave comes with a digital control panel. This panel includes a display screen that shows the time and a series of buttons that control all the microwave’s functions, including the clock setting.
Here’s a simple guide to help you set the clock on your Hamilton Beach microwave. These instructions are general and should apply to most models, but it’s always a good idea to check your specific model’s user manual for any unique features.
Firstly, ensure that your microwave is plugged in and that any previous settings are cleared. You can usually clear the display by hitting the Stop or Cancel button.
Next, locate the Clock or Time button. In most models, you’ll press this once to enter the clock setting mode. Some models might require you to hold the button for a few seconds or to press a sequence of buttons. Refer to your user manual if you’re unsure.
Using the numerical keypad, input the current time. For instance, if it is 3:30 pm, you will press the “3” “3” “0” buttons in sequence. Note that some Hamilton Beach microwaves use a 24-hour clock format, so you’ll need to input the time accordingly (15:30 for 3:30 pm in a 24-hour format).
If your microwave operates on a 12-hour cycle, you may need to select AM or PM. This is usually done by pressing the Clock or Time button again or by a specific AM/PM button. If your microwave uses a 24-hour cycle, you can skip this step.
Once you’ve entered the correct time, solidify your input by pressing the Start or Enter button. This will confirm and set the time on your microwave’s display.
Lastly, check the display to ensure the time has been set correctly. If not, simply repeat the process, making sure to input the correct time.
If you run into any issues while setting the clock, here are a few things to keep in mind:
Some Hamilton Beach microwaves come with special features that might slightly alter the way you set the clock:
As with any appliance, the best source of information for your specific model is the user manual. If you’ve misplaced the physical copy, you can often find digital versions on the Hamilton Beach website or by conducting a quick online search.