
Setting the clock on your Sunbeam microwave might seem like a trivial task, but it’s one of those little details that make your kitchen feel organized and in sync. Whether you’ve just purchased a new Sunbeam microwave or encountered a power outage that reset your current appliance, TheKitchenApplianceDad.com is here to guide you through the process quickly and efficiently.
Before diving into the steps, it’s essential to understand that Sunbeam has produced a range of microwave models over the years, each with its own set of features and controls. However, the process for setting the clock is relatively similar across most models.
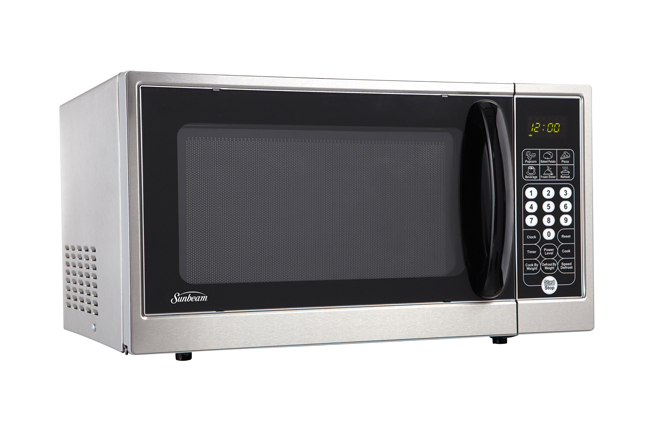
On most Sunbeam microwaves, the clock function is clearly labeled. Look for a button that either says “Clock,” “Time,” or has a clock symbol. This button is your starting point for setting the time.
Press the “Clock” or “Time” button. In some models, you might need to press this button once, while others might require you to hold it down for a few seconds. The display should blink, indicating that the microwave is ready for you to set the time.
Using the number pad, enter the current hour. If it’s 3 PM, for example, you would press “3.” If your Sunbeam microwave uses a 24-hour clock (or military time), you would need to input “15” for 3 PM.
Note: Some models may require you to enter the time as a four-digit number, including the minutes, even if you’re only setting the hour.
After setting the hour, you may need to press the “Clock” button again to confirm and move on to setting the minutes. Enter the current minutes using the number pad.
Once you have entered the correct time, you will need to press the “Clock” button again or a “Start,” “Enter,” or “Confirm” button, depending on your model. This action will lock in the time you have set.
The display should now show the correct time and no longer be blinking. If the time displayed is incorrect or still flashing, you may need to repeat the process, ensuring you are following each step correctly.
Even with straightforward steps, there can be hiccups. Here are some possible issues you might encounter and how to resolve them:
While setting the clock on your Sunbeam microwave may seem like a minor detail, it plays a more significant role in your kitchen experience than you might think. A correctly set clock allows you to accurately time your cooking and use any delay start functions effectively. It also ensures that if you use the kitchen clock to time your tasks, you’re working with the correct time.
Some Sunbeam microwaves come with additional clock features, such as:
If you’re having trouble or your microwave does not conform to the steps outlined, don’t worry. Help is at hand:
To keep your Sunbeam microwave functioning correctly, here are some quick maintenance tips:
Setting the clock on your Sunbeam microwave is a straightforward process that can be completed in just a few steps. Remember that the exact method may vary slightly depending on your specific model, so always refer to your user manual for the most accurate instructions. Regular maintenance and care of your Sunbeam microwave will ensure that setting the clock is the only ‘time’ you’ll need to spend fiddling with your appliance.
At TheKitchenApplianceDad.com, we understand the importance of getting the small details right in your kitchen. Whether it’s setting the clock on your microwave or choosing the best appliances for your home, we’re here to provide you with practical advice and tips to make your kitchen experience as smooth and enjoyable as possible.
Remember, if you ever need guidance on your kitchen appliances, TheKitchenApplianceDad.com is your go-to resource for expert advice and tips. Happy cooking, and may your time always be well spent!

