Welcome to TheKitchenApplianceDad.com, where we dive deep into the nuances of kitchen appliances to make your culinary experience smoother and more enjoyable. Today, we’re focusing on a small but crucial aspect of kitchen management – setting the clock on your GE Café microwave oven. Whether you’ve just purchased a new model or need a refresher for your existing appliance, getting the clock right is essential not only for cooking timing but also for the overall functionality of your microwave.
The GE Café series is renowned for its sophisticated design and advanced technology, tailored to enhance kitchen efficiency and aesthetic. Before we jump into the step-by-step guide on setting the clock, it’s important to identify which model you have, as the process may slightly vary between different models.
Typically, GE Café microwave ovens come with user-friendly interfaces and digital clocks that are straightforward to adjust. However, always refer to your specific model’s user manual for detailed instructions – these can usually be found on the GE Appliances website.

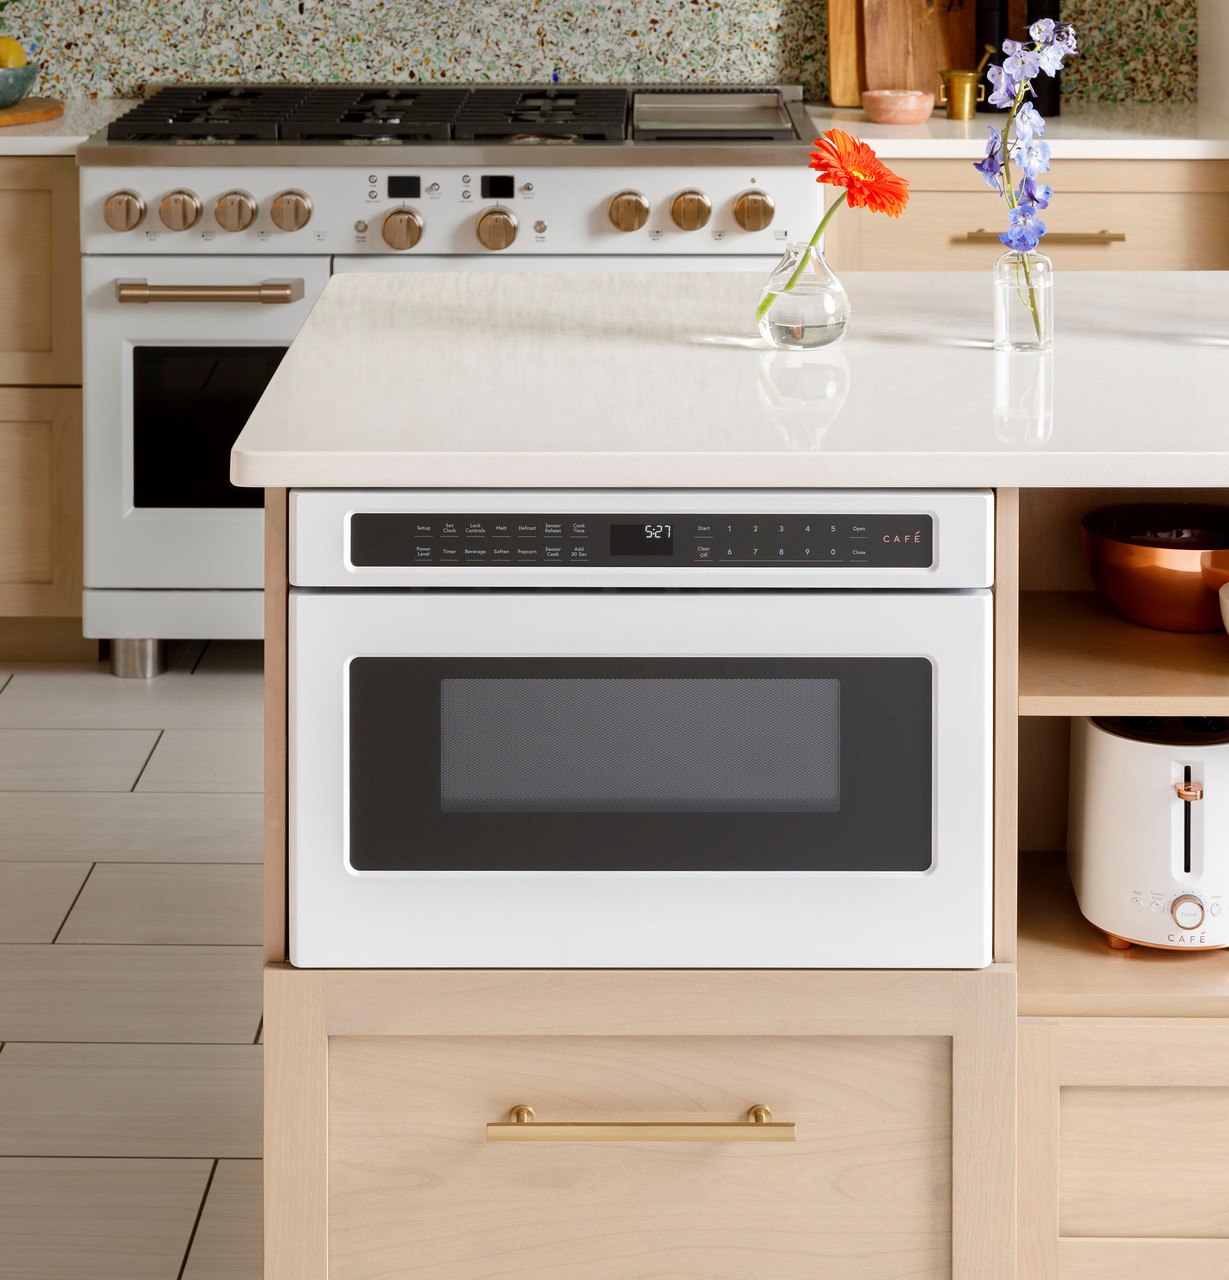
The first step is to locate the ‘Clock’ button on your microwave. In most GE Café models, this is clearly labeled and found on the control panel. If you’re having trouble finding it, it might be integrated into another button, often labeled as ‘Settings’ or ‘Menu’. Press this button to begin setting the time.
After pressing the ‘Clock’ button, use the number pad to enter the current time. It’s important to know whether your microwave’s clock operates in a 12-hour or 24-hour format. Most models use the 12-hour format with AM and PM options.
Once the correct time is entered, you’ll need to finalize the setting. This is typically done by pressing the ‘Start’ or ‘Enter’ button. Some models might require you to press the ‘Clock’ button again. You should hear a beep or see a flash on the display screen, indicating that the time has been set.
If applicable, make sure to adjust the clock for daylight saving time changes. Some GE Café microwave ovens have an automatic adjustment feature, but this isn’t always the case. Refer to your manual to see if this applies to your model and how to activate or deactivate it.
Lastly, after setting the clock, it’s a good practice to wait a minute or two and then check if the time displayed is correct. This ensures that the setting has been applied successfully and is running accurately.
Even with the best appliances, issues can arise. Here are a few troubleshooting tips if you face problems while setting your GE Café microwave oven’s clock:
Setting the clock is just one aspect of maintaining your GE Café microwave oven. Regular cleaning, proper usage, and occasionally checking for updates or recalls can help prolong the life of your appliance. Always ensure that the microwave is installed in a space with adequate ventilation and away from any heat sources to prevent overheating and potential damage.
Here are the essential points to remember when setting the clock on your GE Café microwave oven:
Setting the clock might seem like a small task, but it’s an integral part of managing your kitchen appliances efficiently. At TheKitchenApplianceDad.com, we understand that these little details can make a big difference in your daily kitchen experiences. For more tips, guides, and appliance insights, keep exploring our posts. Happy cooking!
