
Welcome to another practical guide from TheKitchenApplianceDad.com! Today, we’re diving into a seemingly small but significant task: setting the clock on a Hamilton Beach microwave. Whether you’ve just purchased a new microwave or experienced a power outage, having the correct time on your microwave isn’t just about clock-watching—it helps in efficient kitchen management and ensures the timing functions are accurate for all your cooking needs.
Hamilton Beach microwaves are popular for their reliability and affordability, but like any appliance, they come with their own set of functionalities that might require a bit of navigation. Let’s get that microwave clock set up without any further ado!
Before you start: It’s important to know that Hamilton Beach manufactures a variety of microwave models, and while the steps to set the clock are generally similar, there could be slight variations depending on the specific model you own. Typically, you can find the model number on the back of the microwave or inside the microwave door. This number can be helpful if you need to refer to the user manual.
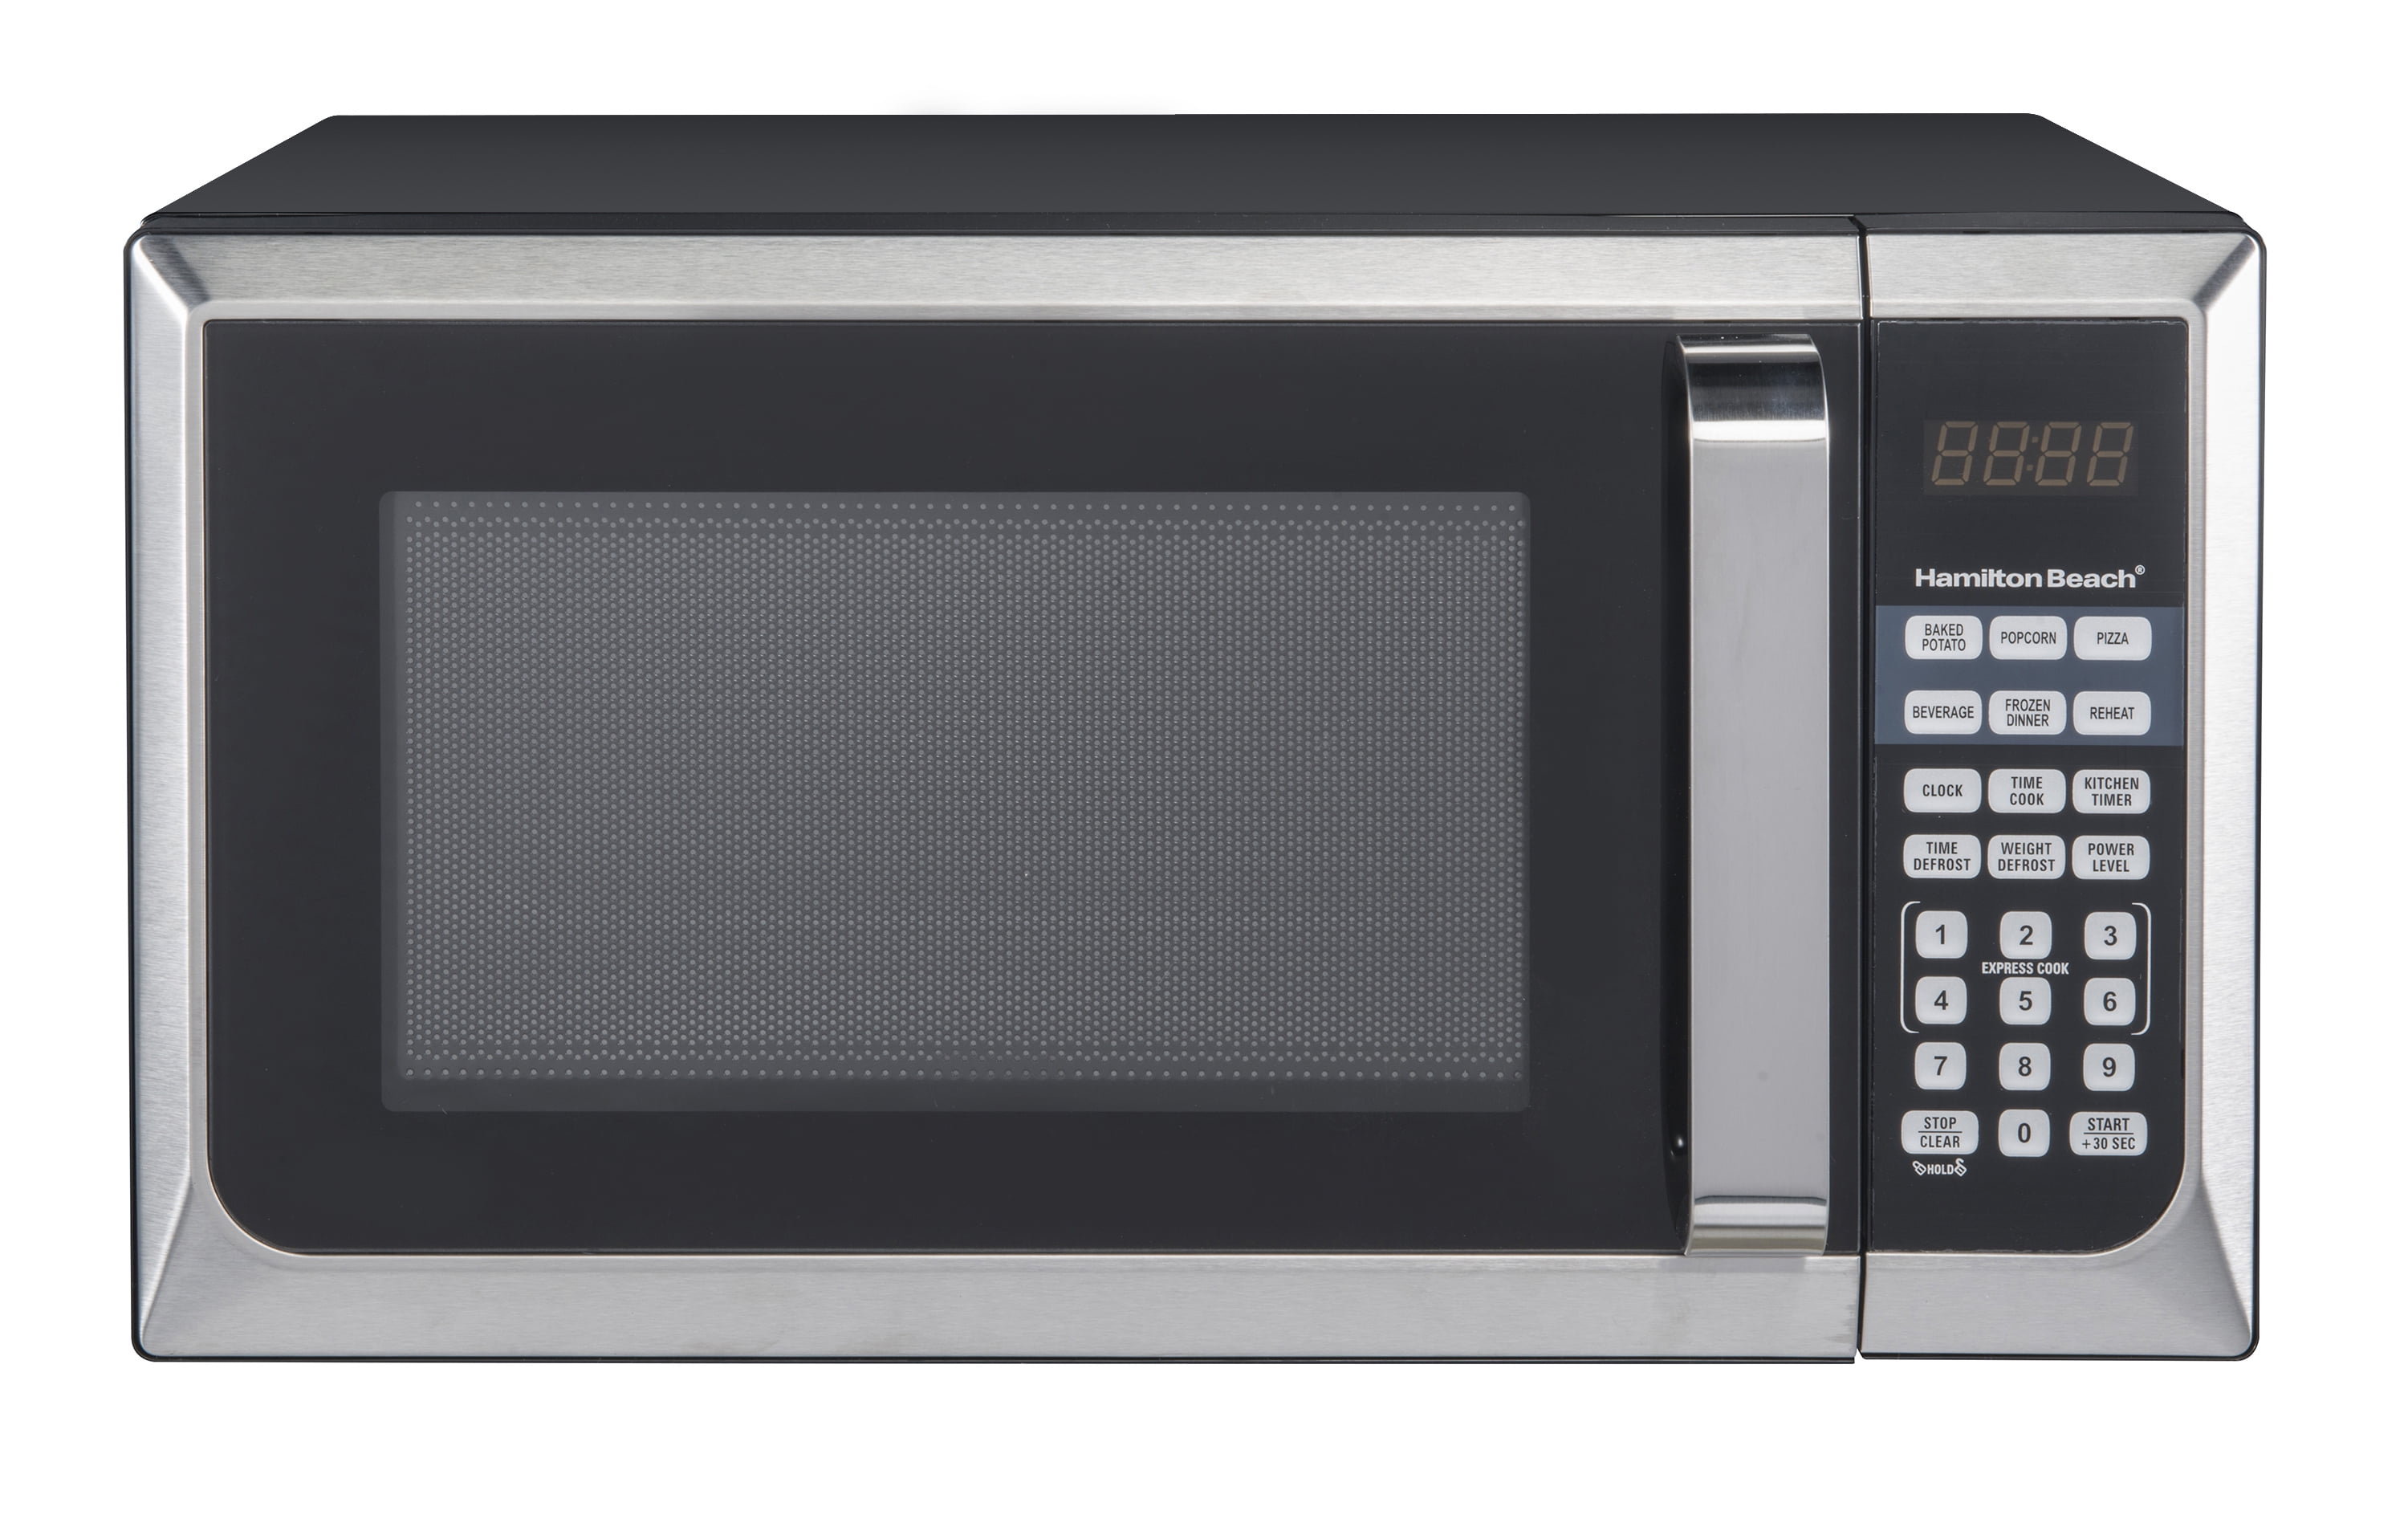
To begin, plug in your microwave (if it isn’t already plugged in) and make sure it’s in standby mode. Standby mode usually means the display is clear or shows zeros. Look for a button that either says ‘Clock’ or shows a small clock icon. This is typically located on the control panel of your microwave.
Press the ‘Clock’ button and the display should blink, indicating that it’s ready for you to set the time. Using the number pad, enter the current time. For most Hamilton Beach models, you need to enter the time in a 12-hour format. For example, for 9:30 AM, you would press 0930.
After entering the time, press the ‘Clock’ button again or, depending on your model, you might need to press the ‘Start’ or ‘Enter’ button to confirm the time setting. If the display stops blinking, it usually means the time has been set.
Some models have an AM or PM indicator. Make sure that this indicator matches the time of day you are setting. If your microwave doesn’t have a 24-hour clock option and you need to set the time for the evening, you should see the PM light up. If it’s not correct, you might need to start over to switch from AM to PM correctly.
1. The clock doesn’t save the time: If you find the time doesn’t save after setting the clock, ensure that you are pressing the correct button (usually ‘Clock’ or ‘Start/Enter’) after inputting the time.
2. The time keeps resetting: If the time keeps resetting every time you plug in your microwave, it could indicate an issue with the internal memory. This is rare but might require professional attention.
3. No clock button: If your microwave model doesn’t have a clock button, refer to the user manual for specific instructions. You can usually find a digital copy of the manual on the Hamilton Beach website or by doing a quick internet search with your model number.
4. Display not working: If the display on your microwave is not working, it could be an issue with the power supply or the display itself. Make sure the microwave is properly plugged in and that the outlet is functioning.
Setting the clock on your Hamilton Beach microwave is a simple task that can enhance your cooking experience by ensuring that all timing functions are perfectly tuned. Remember, if you encounter any issues, refer to your user manual or contact Hamilton Beach customer service for assistance. Happy cooking, and stay tuned to TheKitchenApplianceDad.com for more tips and tricks on managing your kitchen appliances efficiently!

