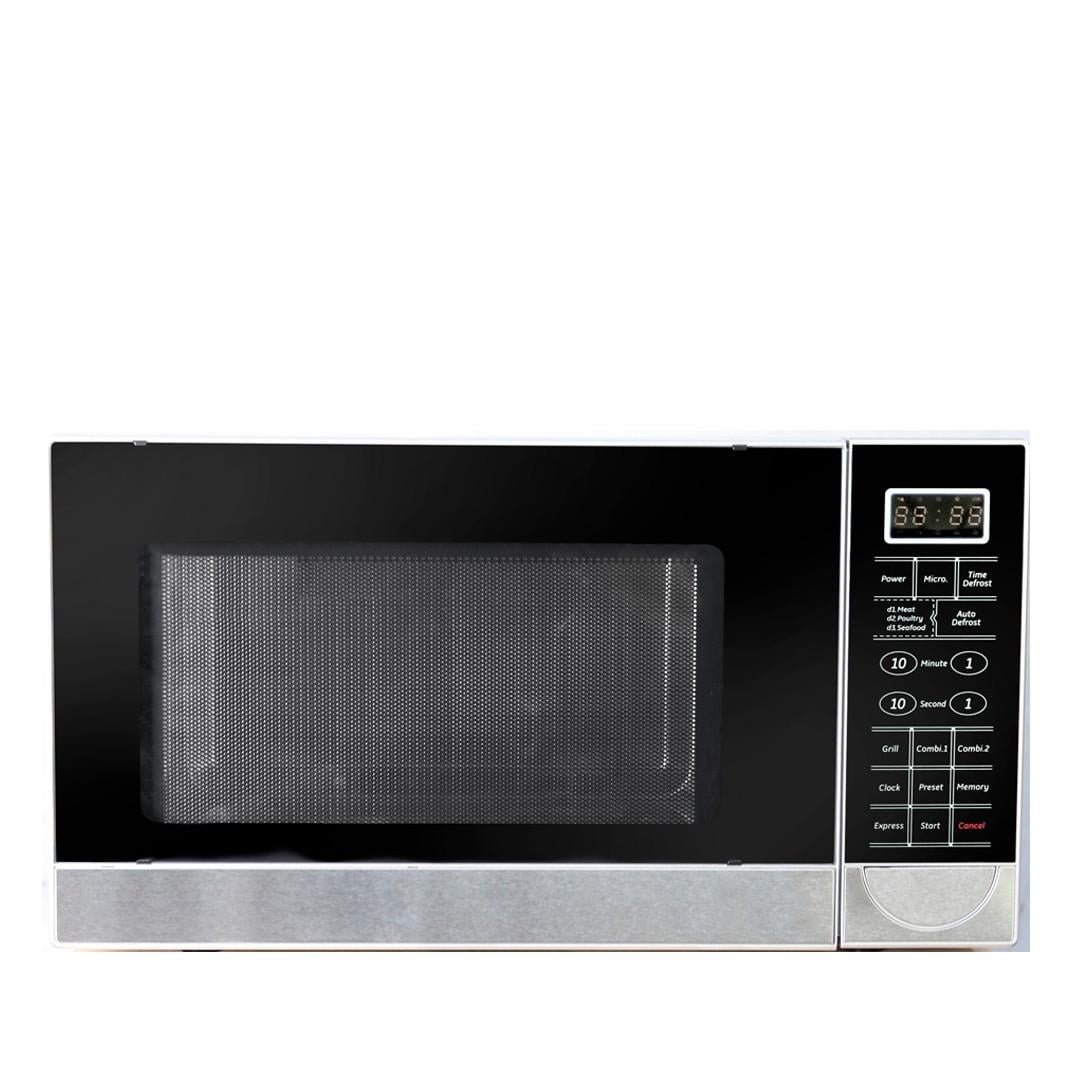
Welcome to TheKitchenApplianceDad.com, where we provide you with practical tips and guides to make your kitchen experience more efficient and enjoyable. Today, we’re focusing on a small but significant task – setting the clock on your GE microwave. Whether you’ve just unplugged your microwave, experienced a power outage, or daylight savings has come around again, having the correct time on your microwave is more important than you might think. Not only does it help you keep track of cooking times, but it also ensures that any preset cooking functions work correctly.
So, let’s dive into the simple steps to get your GE microwave displaying the right time without any fuss.
Understanding Your GE Microwave
Before we begin, it’s essential to note that GE (General Electric) manufactures a wide variety of microwave models, and while the steps to set the clock may be similar, they could vary slightly depending on the specific model you own. Always refer to your user manual for model-specific instructions. If you’ve misplaced your manual, you can typically find a digital copy on the GE Appliances website by entering your model’s number.

Step-by-Step Guide to Setting the Clock
Step 1: Locate the ‘Clock’ Button
On most GE microwaves, there will be a button labeled ‘Clock’ on the control panel. If your microwave is a touchpad model, the ‘Clock’ function might be a part of a multi-purpose button, so look for small text or symbols that indicate this.
Step 2: Setting the Time
Once you’ve located the ‘Clock’ button, here’s how to proceed:
- Press the ‘Clock’ Button: This will often cause the display to blink, indicating that it’s in time-setting mode.
- Enter the Time: Use the number pad to enter the current time. If it’s 3:45, for example, press ‘3’, ‘4’, ‘5’. Some models require you to input time in a four-digit format, so for times before 10:00, you would start with ‘0’. For instance, 8:30 would be ‘0’, ‘8’, ‘3’, ‘0’.
- Select AM or PM: Some GE microwaves have a 12-hour clock, meaning you’ll need to specify AM or PM. This is usually done by either continuing to press the ‘Clock’ button until the correct period of the day is displayed or by using a separate AM/PM button if available.
- Confirm the Time: Press the ‘Clock’ button again or the ‘Start’ button, depending on your model, to confirm the time. The display should stop blinking, and your new time is set.
Step 3: Verifying the Time
Make sure that the time is correctly displayed and isn’t still blinking, which indicates that the time hasn’t been set. If the display goes back to the default (often 0:00), you may need to repeat the process, ensuring that you’re pressing the buttons firmly and confirming the time as required.
Troubleshooting Common Issues
If you’re having trouble, here are a few common issues and how to resolve them:
- The ‘Clock’ Button Doesn’t Seem to Work: Make sure your microwave is plugged in and that the door is firmly closed. Some models won’t allow you to set the clock if the door isn’t properly shut.
- The Time Keeps Resetting: If your microwave loses the time setting after a short while, this could be a sign of a power issue. Check your power supply, and make sure that the microwave is on its own circuit if possible.
- The Display Is Unresponsive: An unresponsive display could mean a fault with the microwave’s electronics. If a reset (unplugging and plugging back in) doesn’t solve the issue, you may need to contact GE for support or consider a repair.
Advanced Features and Considerations
Some of the newer GE microwave models come with advanced features related to the clock:
- Auto Night Light: Some models offer an auto night light feature that can be programmed to turn on and off at certain times, which relies on the clock being set correctly.
- Auto Start: This feature allows you to set your microwave to start automatically at a certain time, perfect for those who like to have their meals ready when they get home.
- Power Saving Mode: The clock display can be turned off on some models to conserve energy. This is often done via the ‘Options’ or ‘Settings’ menu.
Maintaining Your Microwave’s Clock
To avoid frequently resetting your microwave’s clock, consider the following:
- Uninterruptible Power Supply (UPS): If you live in an area with frequent power outages, using a UPS can help keep your appliances running smoothly and maintain theclock settings.
- Surge Protector: A surge protector can prevent your microwave from losing its settings due to power surges.
- Routine Checks: Periodically check to ensure the clock is displaying the correct time, especially after power fluctuations.
Maintaining the clock on your microwave is a small task that can have a big impact on your daily kitchen routines. By following this guide, you should have no trouble setting and maintaining the correct time on your GE microwave.
Key Takeaways
- Locate the ‘Clock’ Button: Identify the clock button or function on your GE microwave’s control panel.
- Set the Time: Input the current time using the number pad, select AM/PM if necessary, and confirm the time setting.
- Troubleshoot as Needed: If you encounter issues, ensure your microwave is plugged in, the door is closed, and the power supply is stable.
- Utilize Advanced Features: Take advantage of any advanced timer or clock-related features your microwave may offer for added convenience.
- Maintain the Clock: Use a UPS or surge protector to help keep the clock settings stable and perform routine checks to ensure accuracy.
By following this fast user guide, you should be able to set the clock on your GE microwave with ease. Remember that if you ever run into any issues or have questions about your appliance, TheKitchenApplianceDad.com is here to help you navigate through all your kitchen appliance needs. Happy cooking!


