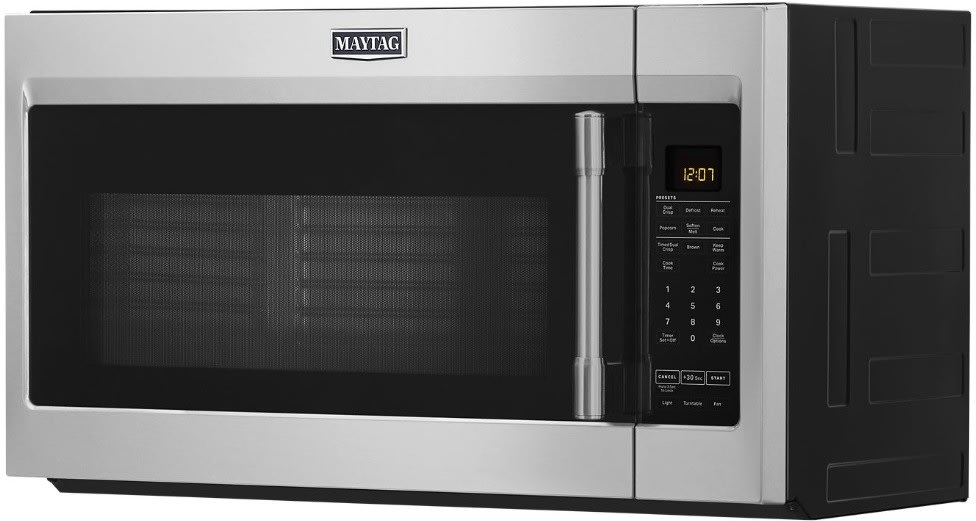
Replacing the light bulb in your Maytag microwave might seem like a daunting task, but with the right guidance, it can be a straightforward DIY project. In this detailed guide from TheKitchenApplianceDad.com, we’ll walk you through the steps to successfully replace the light bulb in your Maytag microwave, ensuring you can continue to have a well-lit appliance for all your cooking needs.
Safety First
Before you begin any appliance repair, safety is paramount. Here are a few safety tips to keep in mind:
- Unplug the microwave: To avoid any electrical hazards, ensure the microwave is unplugged from the power source.
- Allow the microwave to cool: If you’ve recently used the microwave, allow it to cool down completely before starting your repair.
- Wear protective gloves: Some microwave parts can be sharp, and gloves can help protect your hands.

Tools and Materials Needed
- Replacement bulb: Check your Maytag microwave’s user manual for the correct bulb type. Most microwaves use a 40-watt appliance bulb, but it’s essential to confirm this.
- Screwdriver: Typically, a Phillips head screwdriver is what you’ll need.
- Gloves: For hand protection.
Step-by-Step Guide to Replacing the Microwave Light Bulb
Step 1: Locate the Light Bulb Cover
The light bulb in a Maytag microwave is usually protected by a cover. This cover is most often found on the interior wall of the microwave, but it can sometimes be behind the vent grille or the control panel. Refer to your model’s user manual to find the exact location of the light bulb.
Step 2: Remove the Cover
If the cover is inside the microwave:
- Open the microwave door.
- Use a screwdriver to remove the screws holding the cover in place.
- Carefully take off the cover and set it aside.
If the cover is behind the vent grille:
- Remove the screws that hold the vent grille in place.
- Slide the vent grille to the left or right and pull out to remove it.
- You should see the light bulb cover; remove the screws and take off the cover.
Step 3: Replace the Bulb
- Once you have access to the bulb, gently remove it by pulling it straight out. If it’s screwed in, turn it counterclockwise until it comes free.
- Take your new bulb and install it by pushing it straight in or screwing it clockwise until it is secure.
Step 4: Reassemble the Cover
- Replace the light bulb cover and secure it with the screws you removed earlier.
- If you had to remove the vent grille, slide it back into place and secure it with its screws.
Step 5: Test Your Work
- Plug the microwave back into the power source.
- Turn on the microwave and check if the new bulb illuminates. If it doesn’t, ensure the bulb is properly installed and that it’s the correct type for your model.
Tips for Maintenance
Maintaining your microwave can extend its life and ensure it operates efficiently. Here are some tips:
- Clean regularly: Keep the interior and exterior of your microwave clean to prevent the build-up of grease and food particles.
- Handle parts with care: When removing covers or any parts, handle them gently to avoid breakage.
- Check for updates: Occasionally, check if your Maytag microwave has any recalls or updates from the manufacturer.
Conclusion
Replacing the light bulb in your Maytag microwave is a simple process that you can do yourself with just a few tools and some precautions. By following this guide from TheKitchenApplianceDad.com, you can ensure that your microwave continues to function effectively and safely.
Key Takeaways
- Safety is crucial: Always unplug the microwave and use protective gloves.
- Check the manual: Refer to your Maytag microwave’s manual for specifics on bulb type and location.
- Proper tools are essential: Have the correct bulb and a screwdriver ready.
- Be gentle: Handle all parts and the new bulb with care.
- Test your work: Ensure the microwave is functioning correctly with the new bulb before full use.
With these tips and steps, you’ll have your Maytag microwave lighting up your culinary tasks again in no time.