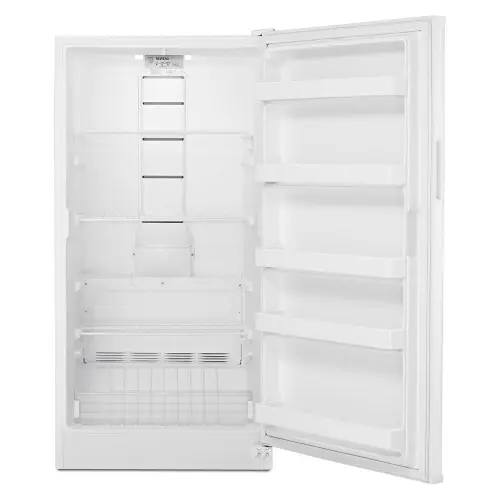
When it comes to kitchen maintenance, sometimes the simplest tasks can seem daunting if you’ve never tackled them before. One such task is removing the panels on a Maytag freezer. Whether you need to perform a thorough cleaning, troubleshoot, or replace a part, understanding how to properly remove the panels without damaging your appliance is crucial. Today, at TheKitchenApplianceDad.com, we’re going to walk you through a step-by-step guide on how to remove the panels on a Maytag freezer safely and efficiently.
Safety First
Before we dive into the steps, let’s talk about safety. Working with appliances requires careful handling to ensure your safety and the integrity of the appliance.
- Unplug the Freezer: Always start by unplugging your freezer from the power source. This is crucial to avoid any electrical hazards.
- Gather Your Tools: Typically, you’ll need a screwdriver (Phillips or flat-head depending on the screw types on your model), a putty knife, and possibly a nut driver.
- Protect Your Floors: If you need to move the freezer, make sure to protect your floors and the appliance itself from scratches or dents.

Step-by-Step Guide to Removing the Panels on a Maytag Freezer
Step 1: Accessing the Panel
Most Maytag freezer models have an interior panel that you need to remove to access the evaporator and other components. Start by opening the freezer door and removing any drawers or shelves. This will give you clear access to the inside panel.
Step 2: Removing the Inner Panel
The inner panel is usually secured with screws or clips. Look for these fasteners around the edge of the panel.
- Using a Screwdriver: Remove all screws carefully. Keep them in a safe place as you will need them to reattach the panel.
- Using a Putty Knife: If the panel is held by clips, gently insert the putty knife between the panel and the wall of the freezer. Carefully pry the panel off. Be gentle to avoid damaging the clips or the panel itself.
Step 3: Detaching the Panel
Once all fasteners are removed, the panel should be loose. Some models might have a fan or sensor attached to the panel.
- Disconnect any Connectors: If there are electrical connectors, disconnect them carefully. There might be a locking tab that needs to be pressed or lifted.
- Remove the Panel: Gently pull the panel out of the freezer. If it doesn’t come out easily, check for any missed screws or clips.
Reattaching the Panel
Reattaching the panel is essentially the reverse process of removing it. Make sure all electrical connectors are securely reconnected before screwing the panel back into place.
- Place the Panel Back: Align it correctly and ensure that it sits flush against the freezer walls.
- Reattach Fasteners: Screw in or clip the panel back securely.
- Replace Shelves and Drawers: Once the panel is secured, replace any shelves or drawers you removed.
Troubleshooting Common Issues
- Panel Not Fitting Properly: If the panel doesn’t fit, ensure that no ice or debris is blocking it. Also, check that all connectors are properly tucked away.
- Broken Clips or Fasteners: If you accidentally broke any clips or lost screws, you might need to visit a hardware store for replacements or check online for specific parts compatible with your Maytag model.
Key Takeaways
- Safety is paramount: Always unplug the freezer before attempting any maintenance.
- Proper tools are essential: Having the right tools at hand like a screwdriver and a putty knife makes the job easier and safer.
- Be gentle and thorough: When prying off the panel, be gentle to avoid damage. Ensure all fasteners are removed before attempting to pull the panel out.
- Keep track of components: Organize your workspace and keep small parts like screws in a container to avoid losing them.
- Reassembly is straightforward: Follow the removal steps in reverse, ensuring everything aligns correctly and is securely fastened.
Conclusion
Removing the panels on a Maytag freezer doesn’t have to be a complex task. With the right tools and a bit of patience, you can easily access the interior parts for cleaning or troubleshooting. Remember, handling your appliances with care not only extends their life but also ensures they operate at their best. For more helpful guides and tips on appliance maintenance, keep visiting us here at TheKitchenApplianceDad.com. Happy fixing!

