Changing the light bulb in your Kenmore freezer might seem like a straightforward task, but it does require a bit of know-how to ensure it’s done safely and effectively. Whether your bulb has burnt out, or you’re simply looking to replace it with a more energy-efficient option, this guide from TheKitchenApplianceDad.com will walk you through the steps to safely and successfully change the bulb in your Kenmore freezer.
Before you begin the process of changing the bulb, it’s important to understand the specific model of your Kenmore freezer. Kenmore has produced a variety of freezer models over the years, each with slightly different bulb replacement procedures. You can usually find the model number on the inside wall of the freezer, near the top. Once you have this number, you can refer to your user manual (or find one online at Sears Parts Direct if you’ve misplaced it) for model-specific instructions.

Safety is paramount when replacing any appliance bulb, especially in an appliance like a freezer that also involves electricity and cold temperatures.
In most Kenmore freezer models, the light bulb is protected by a plastic cover. This cover is usually clear or white and is often located near the top of the unit.
The cover might be secured with screws or simply snapped into place. Use a screwdriver to remove any screws (keep them in a safe place for reassembly). If the cover is snapped on, gently pry it off with the flat end of the screwdriver or your fingers.
Once the cover is off, carefully unscrew the old bulb by turning it counterclockwise. If it’s stuck, gently wiggle it back and forth while turning it to loosen. Be careful not to use too much force to avoid breaking the bulb.
Take your new bulb (make sure it matches the specifications required for your Kenmore model, usually noted in the user manual or on the old bulb) and screw it in clockwise until it is snug. Avoid over-tightening, which can damage the socket.
Once the new bulb is secure, replace the cover. If it had screws, screw them back in without overtightening. If it snapped into place, make sure it clicks securely.
Plug your freezer back in and open the door to ensure the new bulb lights up. If it does not, unplug the freezer and double-check your installation.
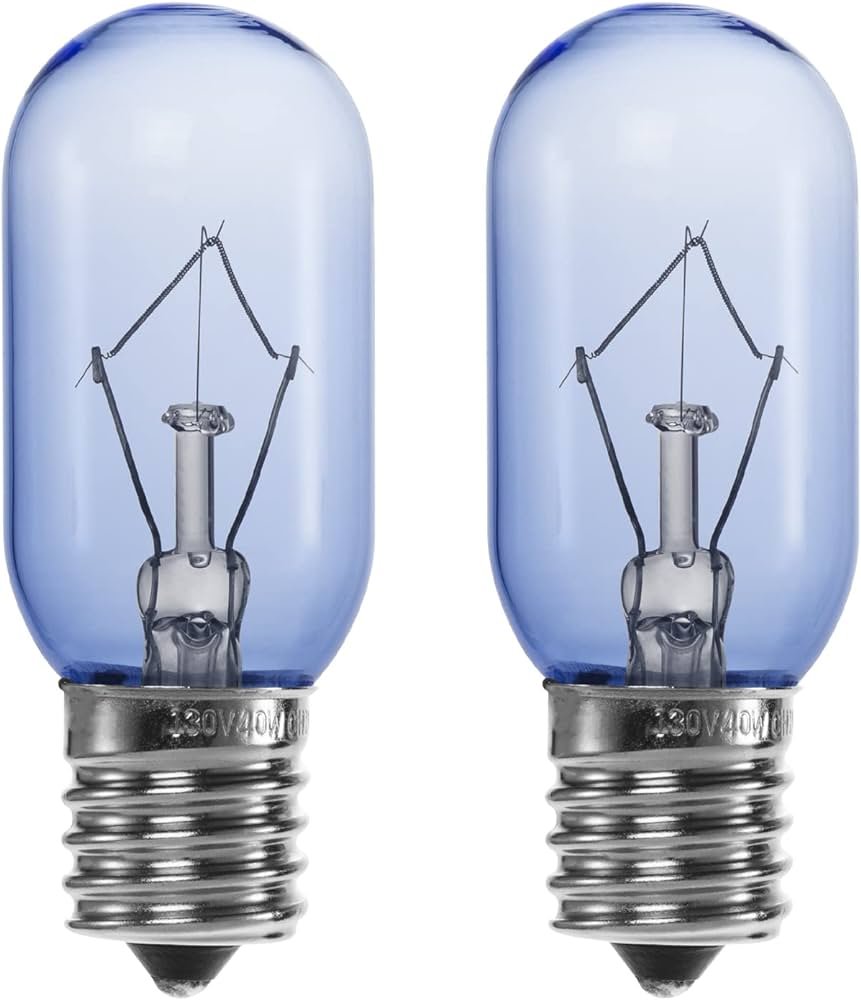
When choosing a replacement bulb for your Kenmore freezer, it’s important to select the correct type. Most freezers use a specific type of bulb designed to withstand low temperatures and moisture. LED bulbs are often a good choice due to their longevity and efficiency. You can usually find replacement bulbs at home improvement stores, or online through retailers like Amazon.
Replacing a light bulb in your Kenmore freezer is a simple DIY task that you can complete in just a few minutes, following these steps. Not only does this maintain the functionality of your freezer, but it also helps in keeping your appliance in good working condition. Remember, if you run into any complications or have any doubts, it’s a good idea to consult with a professional### How To Remove The Light Bulb On Your Kenmore Freezer
Changing the light bulb in your Kenmore freezer might seem like a straightforward task, but it does require a bit of know-how to ensure it’s done safely and effectively. Whether your bulb has burnt out, or you’re simply looking to replace it with a more energy-efficient option, this guide from TheKitchenApplianceDad.com will walk you through the steps to safely and successfully change the bulb in your Kenmore freezer.
Before you begin the process of changing the bulb, it’s important to understand the specific model of your Kenmore freezer. Kenmore has produced a variety of freezer models over the years, each with slightly different bulb replacement procedures. You can usually find the model number on the inside wall of the freezer, near the top. Once you have this number, you can refer to your user manual (or find one online at Sears Parts Direct if you’ve misplaced it) for model-specific instructions.
Safety is paramount when replacing any appliance bulb, especially in an appliance like a freezer that also involves electricity and cold temperatures.
In most Kenmore freezer models, the light bulb is protected by a plastic cover. This cover is usually clear or white and is often located near the top of the unit.
The cover might be secured with screws or simply snapped into place. Use a screwdriver to remove any screws (keep them in a safe place for reassembly). If the cover is snapped on, gently pry it off with the flat end of the screwdriver or your fingers.
Once the cover is off, carefully unscrew the old bulb by turning it counterclockwise. If it’s stuck, gently wiggle it back and forth while turning it to loosen. Be careful not to use too much force to avoid breaking the bulb.
Take your new bulb (make sure it matches the specifications required for your Kenmore model, usually noted in the user manual or on the old bulb) and screw it in clockwise until it is snug. Avoid over-tightening, which can damage the socket.
Once the new bulb is secure, replace the cover. If it had screws, screw them back in without overtightening. If it snapped into place, make sure it clicks securely.
Plug your freezer back in and open the door to ensure the new bulb lights up. If it does not, unplug the freezer and double-check your installation.
When choosing a replacement bulb for your Kenmore freezer, it’s important to select the correct type. Most freezers use a specific type of bulb designed to withstand low temperatures and moisture. LED bulbs are often a good choice due to their longevity and efficiency. You can usually find replacement bulbs at home improvement stores, or online through retailers like Amazon.
Replacing a light bulb in your Kenmore freezer is a simple DIY task that you can complete in just a few minutes, following these steps. Not only does this maintain the functionality of your freezer, but it also helps in keeping your appliance in good working condition. Remember, if you run into any complications or have any doubts, it’s a good idea to consult with a professional