
Welcome to another detailed guide from TheKitchenApplianceDad.com. Today, we’re diving into a common task that might seem daunting at first: removing the ice maker from your KitchenAid freezer. Whether you need to replace a malfunctioning unit, clean it thoroughly, or simply free up more space for storage, understanding how to properly remove the ice maker can save you time and possibly a costly service call.
Before we get into the specifics, let’s quickly discuss why someone might need to remove an ice maker. The reasons can vary from maintenance and cleaning, troubleshooting issues like leaks or jams, to replacing a faulty ice maker. Occasionally, homeowners might remove the ice maker if it’s rarely used, preferring to utilize the space for additional freezer storage.
Safety is paramount when dealing with electrical appliances. Here are a few safety tips to keep in mind before starting:
Ensure you have a clean and spacious area to work. Removing the ice maker might require you to take out several components, so having a clear workspace will help keep things organized.
As mentioned earlier, ensure the freezer is unplugged. It’s also wise to allow your freezer to defrost to minimize the mess if the ice maker has accumulated a lot of ice. This might mean turning off the freezer a few hours before you plan to remove the ice maker.
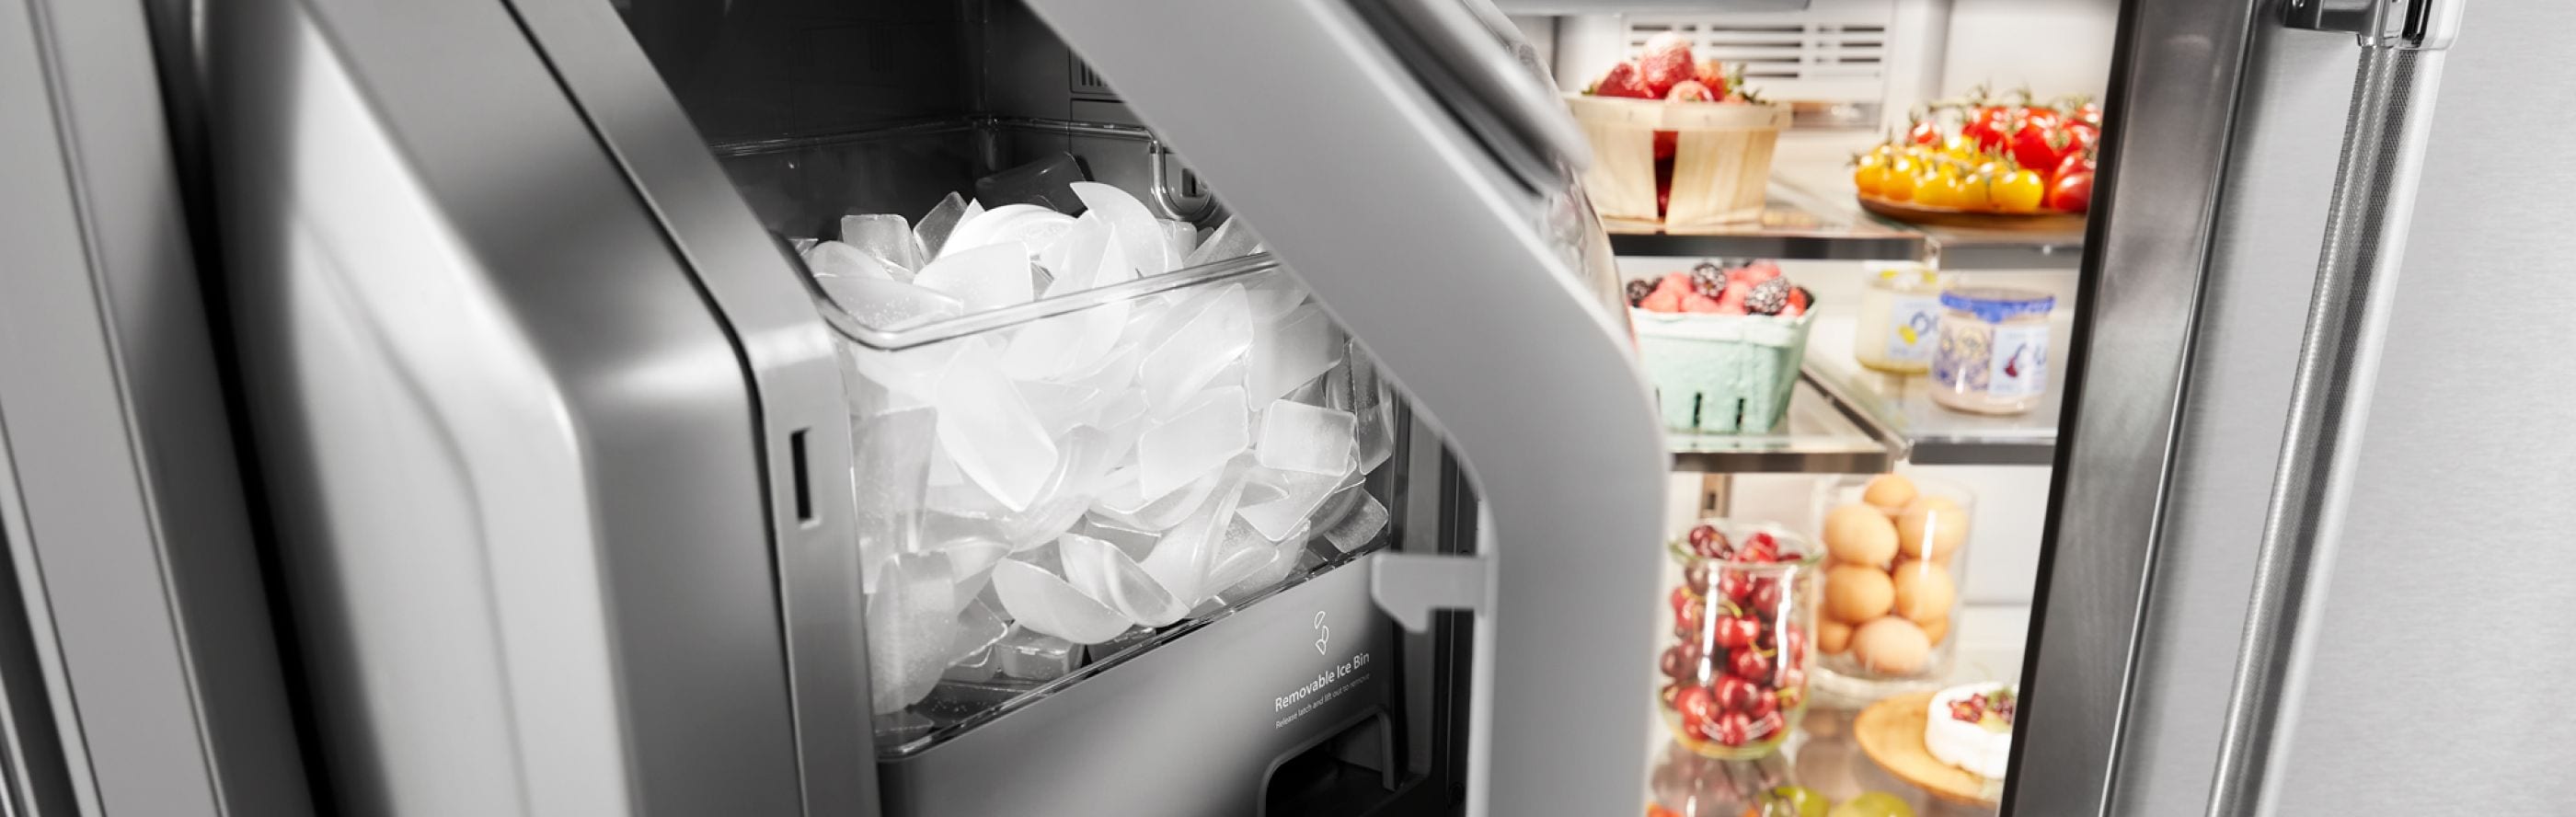
In most KitchenAid freezers, the ice maker is located in the upper part of the freezer compartment. Open the freezer and remove any shelving or obstacles that give you clear access to the ice maker.
If your model has a water line connected to the ice maker, you will need to locate and disconnect it. This is usually secured with compression fittings that can be loosened by hand or with a wrench.
Ice makers are typically attached to the freezer compartment with a few mounting screws. Use a screwdriver or a nut driver to remove these screws. Keep them in a safe place as you will need them to reinstall the ice maker or a replacement unit.
Before you can completely remove the ice maker, you need to disconnect the wiring harness. This usually involves a simple clip that you can release by pressing a tab or squeezing. Handle the wiring harness gently to avoid any damage.
With the screws removed and the wiring disconnected, you should be able to carefully slide out the ice maker. If it feels stuck, gently wiggle it to loosen it without using excessive force.
Once removed, it’s a good opportunity to inspect the ice maker for any signs of wear or damage. Clean the area where the ice maker was installed, as it can accumulate dust and debris.
If you are planning to reinstall the same ice maker after a thorough cleaning or troubleshooting, the process is simply the reverse of removal. Make sure all connections are secure and the mounting screws are tight. If you are replacing it with a new unit, ensure that the model is compatible with your KitchenAid freezer. You can check compatibility on the KitchenAid official website.
Let’s recap the main points covered in this guide:
Removing an ice maker from a KitchenAid freezer isn’t as complex as it might seem. With the right tools and a bit of patience, you can accomplish this task smoothly and efficiently. Whether you’re troubleshooting, cleaning, or making room for more frozen goods, handling this yourself can be quite rewarding. For more helpful tips and appliance advice, keepfollowing TheKitchenApplianceDad.com.

