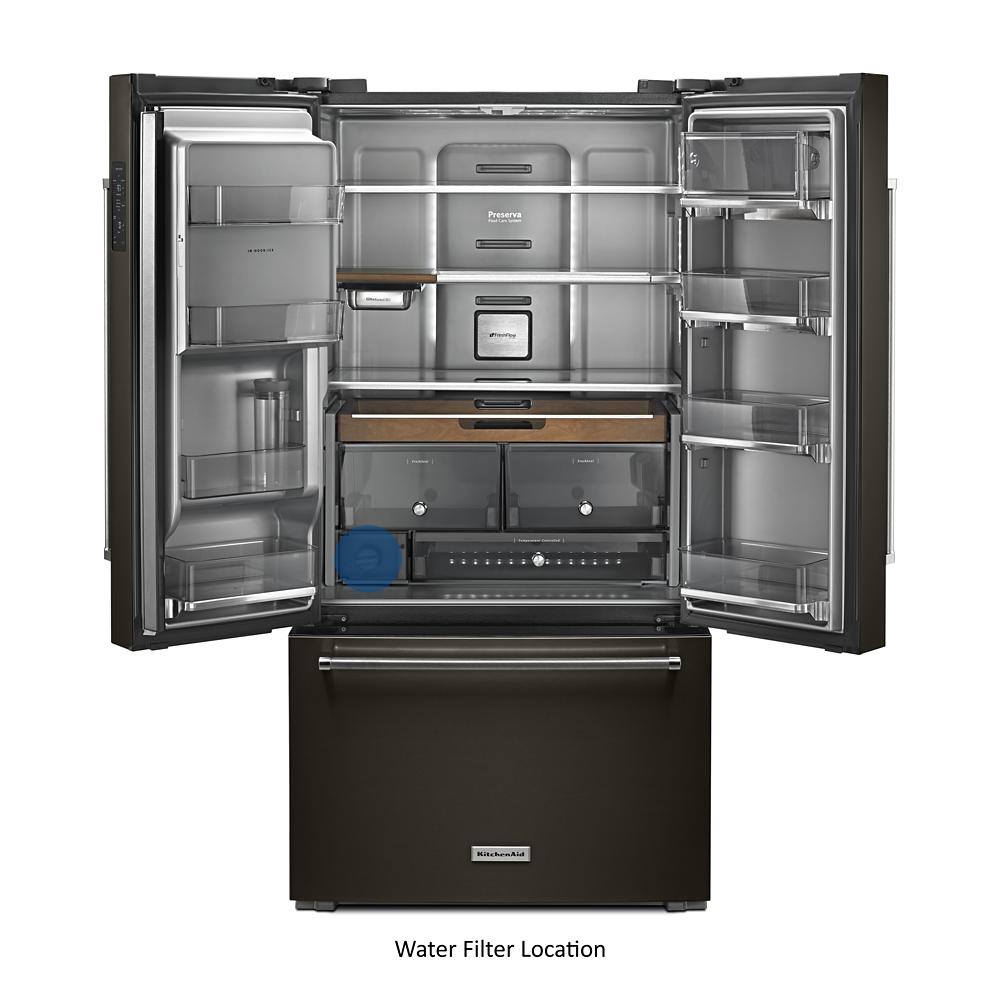
Welcome to another detailed guide from TheKitchenApplianceDad.com! Today, we’re tackling a task that might seem daunting at first but is actually quite straightforward once you know the steps: removing the drawer from your Kitchenaid freezer. Whether you’re looking to clean, defrost, or simply organize your freezer space, knowing how to properly remove the drawer is essential. Let’s dive into the step-by-step process.
Step 1: Preparation and Safety
First and foremost, safety is key. Before you start pulling out any parts of your freezer, make sure to unplug your appliance from the power source. This step prevents any electrical accidents and ensures your safety.
Next, remove any items inside the freezer drawer. This not only makes the drawer lighter and easier to handle but also prevents any contents from spilling or getting damaged during the removal process.

Step 2: Locating the Release Mechanism
Most Kitchenaid freezer models are equipped with a straightforward mechanism to facilitate the removal of the drawer. Generally, the release mechanism consists of levers, clips, or screws that hold the drawer in place.
- For levers, you typically need to lift them or push them in a specific direction.
- For clips, a gentle pull toward you after lifting them usually does the trick.
- For screws, you will require a screwdriver to remove them. Make sure to keep the screws in a safe place once they are removed.
Step 3: Removing the Drawer
Once you’ve located and manipulated the release mechanism, it’s time to actually remove the drawer. Here’s how to do it:
- Pull the drawer out: Extend the freezer drawer out to its fullest. This will expose the tracks or rails on which the drawer slides.
- Lift the drawer: With the drawer fully extended, lift the front part slightly to unhook it from the rails. In some models, you might need to lift while also pulling forward to completely free the drawer.
- Detach completely: After lifting, keep pulling the drawer towards you until it’s completely free from the freezer compartment.
Step 4: Post-Removal Check
With the drawer removed, it’s a good opportunity to:
- Check the rails or tracks: Make sure there are no obstructions or ice build-ups that could hinder the smooth operation of the drawer. Clean them if necessary.
- Inspect the drawer: Look for any signs of wear or damage, such as cracks or loose components. Address these issues before reinserting the drawer.
Step 5: Reinserting the Drawer
Reinserting the drawer is generally the reversal of the removal process:
- Align the drawer with the tracks: Carefully align the back end of the drawer with the rails or tracks in the freezer.
- Slide the drawer onto the rails: Gently push the drawer along the rails until it falls into place.
- Secure the drawer: If your freezer’s drawer was secured with screws, don’t forget to replace them to secure the drawer fully.
Tips for Maintenance
- Regular cleaning: Remove the drawer periodically to clean out any debris or food particles. This not only keeps your appliance hygienic but also ensures its efficient operation.
- Defrosting: If your freezer is not frost-free, regular defrosting is necessary to prevent ice from building up and interfering with the drawer’s operation.
- Lubricate the rails: Occasionally, applying a food-safe lubricant to the rails can help maintain smooth sliding.
Troubleshooting Common Issues
- Drawer not coming out: If the drawer seems stuck, check again for any screws or additional clips you might have missed. Also, ensure that ice build-up isn’t blocking the mechanism.
- Misaligned tracks: If the drawer doesn’t slide in smoothly, make sure the tracks aren’t bent or misaligned. Adjust them if necessary.
For more specific guidance tailored to your particular Kitchenaid model, referring to the user manual is always a good idea. Additionally, if the task seems overwhelming, don’t hesitate to contact professional help.
Key Takeaways
- Safety first: Always unplug the freezer before attempting to remove the drawer.
- Understand the mechanism: Identify whether your model uses levers, clips, or screws to secure the drawer.
- Proper handling: Ensure you lift and pull the drawer gently to avoid damage.
- Maintenance: Regularly clean and defrost the freezer to keep the drawer functioning smoothly.
- Consult the manual: For model-specific instructions, the user manual is an invaluable resource.
Removing the drawer from your Kitchenaid freezer doesn’t have to be a professional-only job. With these steps, you can manage this task efficiently and safely, ensuring your freezer remains in top condition. Remember, a well-maintained freezer leads to better food preservation and overall appliance longevity. Happy organizing from all of us at TheKitchenApplianceDad.com!


