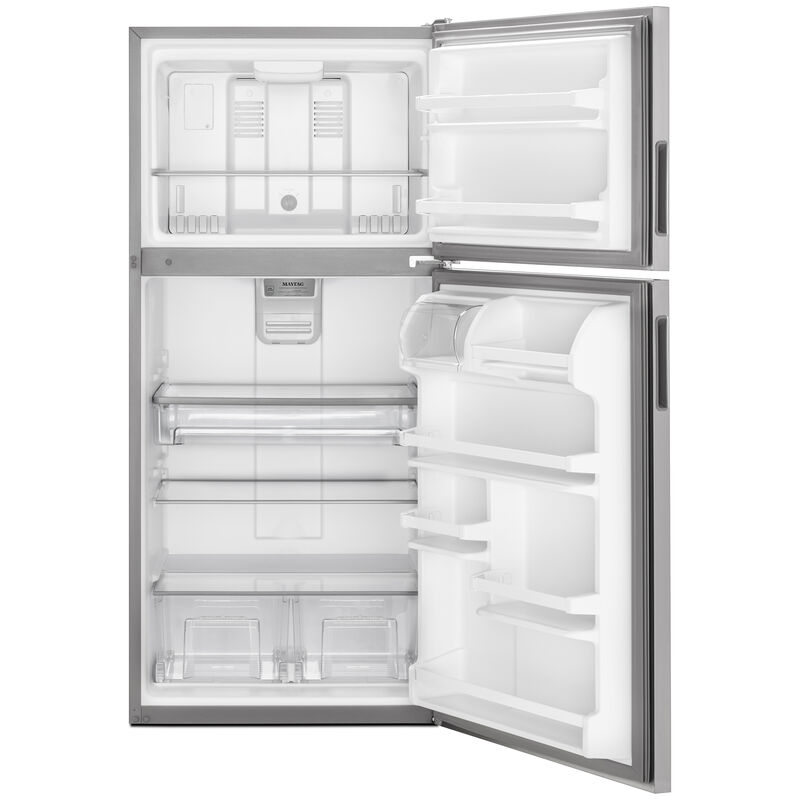
When it comes to maintaining and organizing your Maytag freezer, one task that often seems daunting is removing the drawer. Whether you are looking to deep clean, defrost, or simply reorganize the space, knowing how to properly remove the drawer from your freezer can save you a lot of time and hassle. At TheKitchenApplianceDad.com, we understand the importance of handling your appliances with care. Today, I’ll guide you through the steps to remove the drawer from your Maytag freezer quickly and safely.
Before you begin the process of removing the freezer drawer, it’s crucial to know the specific model of your Maytag freezer. Maytag offers a variety of freezer models, each with slightly different assembly designs. You can typically find the model number on the inside wall of the freezer compartment.
If you need help identifying your model, Maytag’s official website provides a helpful model number locator tool that can guide you.

Most Maytag freezer drawers can be removed without any tools. However, it’s good to have these on hand just in case:
First, ensure that your freezer is empty. Remove all food items, ice trays, and any removable baskets or dividers. This not only makes the drawer lighter and easier to handle but also prevents any accidental damage to your frozen goods.
If you notice significant ice buildup, it’s a good idea to defrost your freezer before attempting to remove the drawer. This will make the removal process smoother and prevent damage.
Safety first! Always unplug your freezer from the electrical outlet before removing the drawer. This precaution prevents any electrical accidents and ensures your safety.
Gently pull the freezer drawer out as far as it can go. Most drawers are designed to stop at a certain point to prevent them from falling out.
This step might vary slightly depending on the model of your Maytag freezer:
With the drawer removed, it’s a good time to check the condition of the sliding tracks. Remove any debris or ice buildup with a towel. If necessary, a mild detergent can be used to clean the tracks. Make sure they are dry before reinstalling the drawer.
To reinstall the drawer, simply reverse the removal process. Carefully align the drawer with the tracks, and gently slide it back into place. If your model required screw removal, make sure to replace and tighten them securely. Once the drawer is fully inserted, give it a gentle tug to ensure it is securely attached.
By following these steps, you can quickly and safely remove the drawer from your Maytag freezer, making it easier to clean, defrost, or reorganize. Remember, taking care of your appliances not only ensures their longevity but also their efficiency. For more tips and advice on handling kitchen appliances, keep visiting us at TheKitchenApplianceDad.com.

