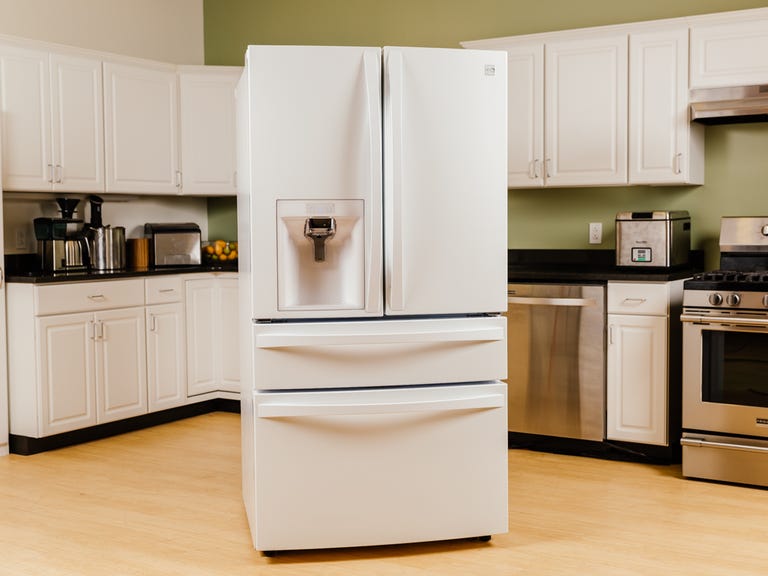
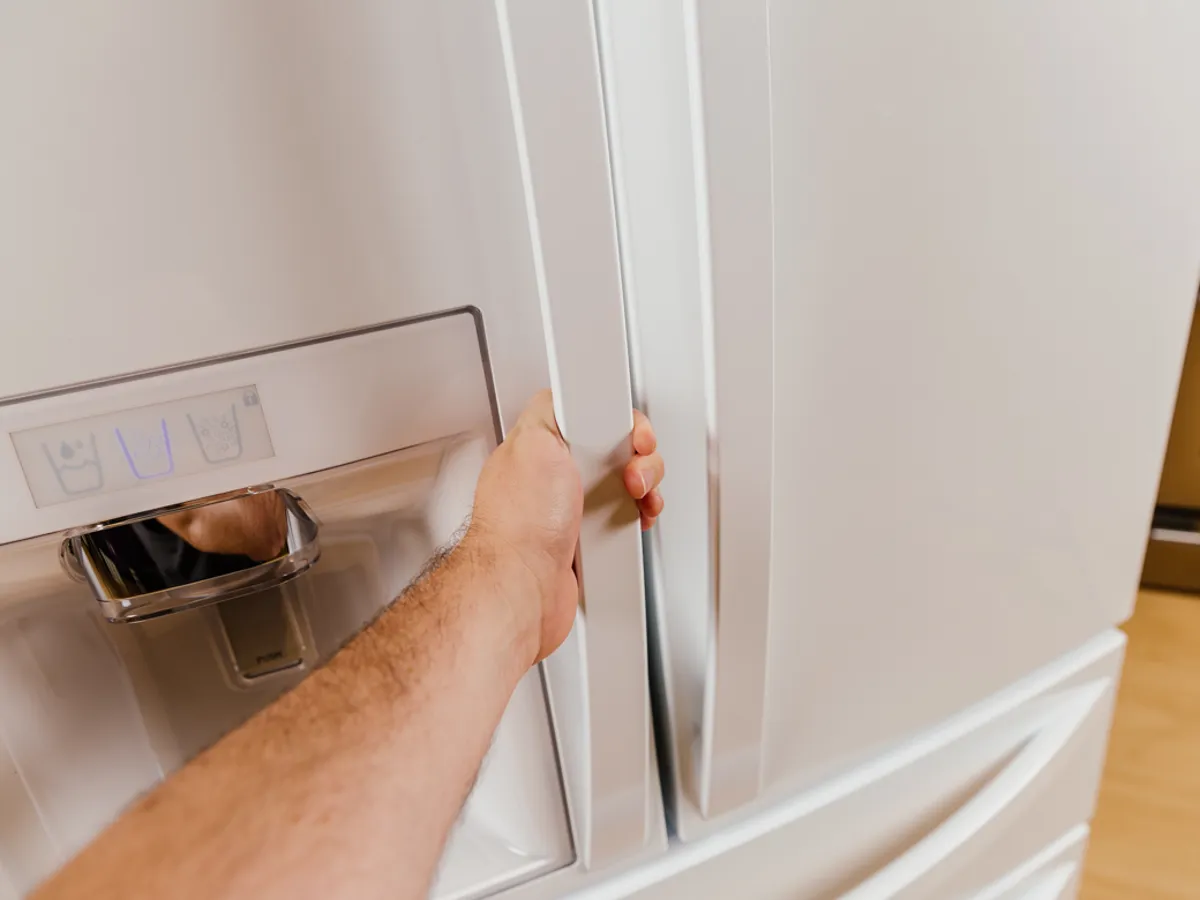
Welcome to another detailed guide from TheKitchenApplianceDad.com, where we aim to make every appliance task straightforward and manageable for everyone. Today, we’re tackling a topic that might seem daunting at first but is quite doable with the right guidance: removing the door from your Kenmore freezer. Whether you need to do this for a thorough cleaning, to make moving easier, or to replace a faulty door, this guide will walk you through each step meticulously.
Removing the freezer door can be necessary for several reasons:

Before you begin, make sure you have the following tools on hand:
Safety is paramount when handling large appliances. Here are a few safety tips:
Clear a large working space around your freezer. It’s important to have enough room to move comfortably and safely. Lay down a soft blanket or towel where you will place the door once it’s removed to prevent any damage.
Safety cannot be overstressed. Ensure the freezer is unplugged from the power outlet to eliminate any risk of electric shock.
Most freezer models, including many from Kenmore, have a plastic cover over the top hinge. This can usually be pried off gently with a flat-head screwdriver. Be careful not to damage the cover as you remove it.
Using the appropriate screwdriver or wrench, remove the screws or bolts that hold the top hinge in place. Make sure to support the door with one hand or have your helper do so as you remove these components.
If your freezer door has an ice maker, water dispenser, or any electrical features, there may be wires connecting the door to the main body of the freezer. These should be carefully disconnected. It’s a good idea to take a photo of the wire connections before disconnecting them or to label them with tape to ensure proper reassembly later.
With the top hinge removed, you should be able to gently lift the door off the bottom hinge. Do this slowly and carefully, with your helper’s assistance, to ensure you don’t damage the door or yourself.
If your project requires removing the bottom hinge, do so by unscrewing it from the body of the freezer once the door is safely set aside.
To reassemble your freezer door, simply follow these instructions in reverse. Make sure all screws and bolts are tightened securely, and that any electrical connections are reconnected properly.
Removing the door from your Kenmore freezer doesn’t have to be a professional-only job. With this guide from TheKitchenApplianceDad.com, you can handle it yourself with confidence. Remember, it’s all about taking the right precautions, using the proper tools, and proceeding with patience. Happy fixing!

