Removing a freezer drawer from a GE appliance may seem daunting at first, but with the right guidance, it can be a straightforward process. Whether you’re aiming to perform a deep clean, defrost the unit, or troubleshoot a potential issue, taking out the freezer drawer is an essential step. In this detailed guide from TheKitchenApplianceDad.com, I’ll walk you through each step of the process to make this task as easy as possible.
Preparing for the Task
Before you begin the process of removing your GE freezer drawer, it’s important to prepare adequately to ensure safety and prevent any damage to your appliance.
Safety First
- Unplug the freezer: To avoid any electrical hazards, make sure the freezer is unplugged from the power outlet.
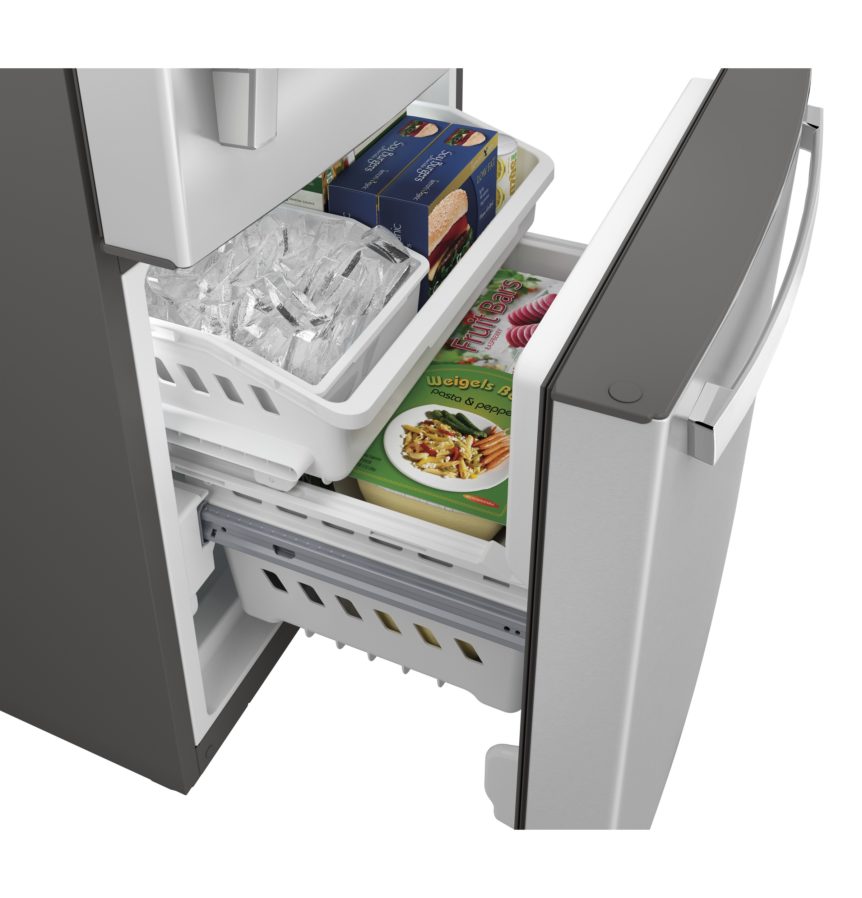
- Empty the drawer: Remove all items from the freezer drawer. This not only makes the drawer lighter and easier to handle but also prevents any items from getting damaged.
Gather Necessary Tools
In most cases, you will not need any tools to remove the drawer. However, it’s good practice to have a Phillips screwdriver and a pair of gloves handy in case you need to remove any screws or protect your hands.

Step-by-Step Guide to Removing the GE Freezer Drawer
The process can slightly vary depending on the specific GE model you have, but these general steps should guide you through most scenarios.
Step 1: Open the Drawer to Its Full Extent
Pull the freezer drawer out as far as it will go. Most drawers are designed to stop at a certain point to prevent them from falling out.
Step 2: Locate the Release Mechanism
Many GE freezer models have a release mechanism that you need to activate to remove the drawer. This is often found on the sides of the drawer.
For Side Release Mechanisms:
- Look for tabs or clips on the rails.
- Use your fingers to press these tabs or lift the clips. You might need to do this simultaneously on both sides.
For Bottom Release Mechanisms:
- Some models require you to lift the drawer slightly and pull a lever or tab located underneath or at the back of the drawer.
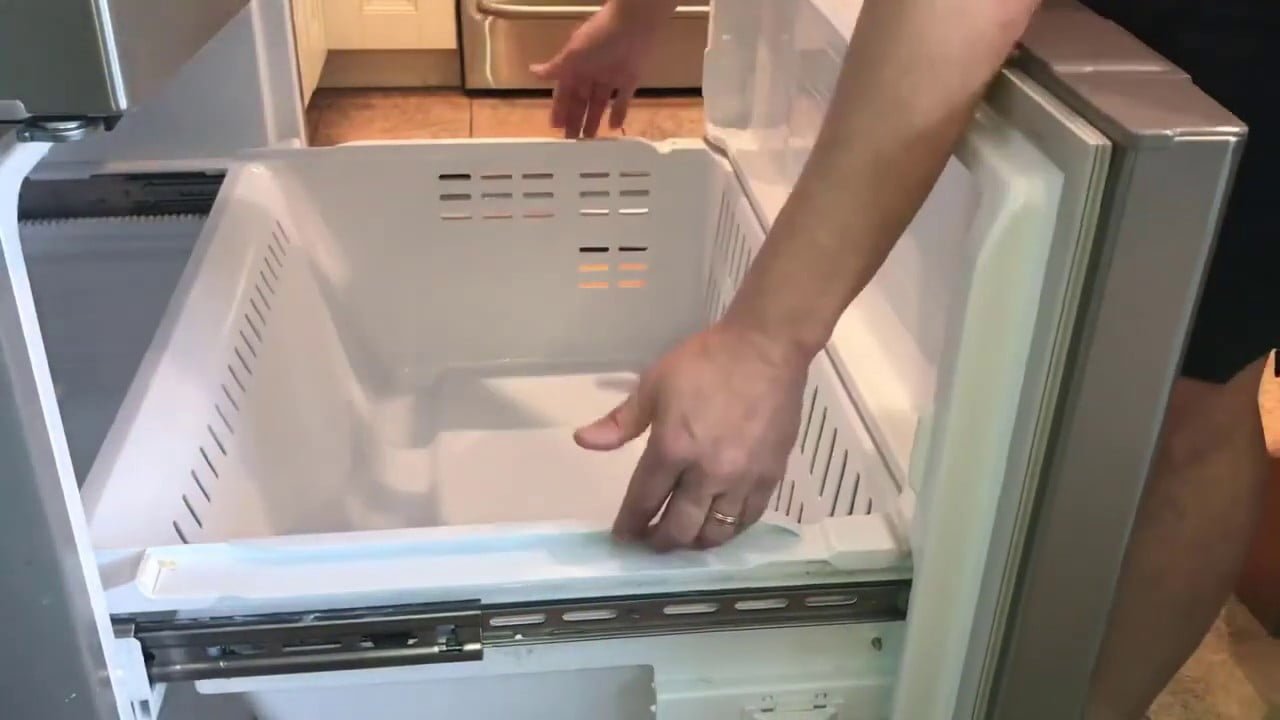
Step 3: Remove the Drawer
Once the release mechanism is activated:
- Gently pull the drawer out towards you.
- Be careful to keep it level to avoid warping the rails.
- If it does not come out easily, check to ensure that the release mechanism has been fully disengaged.
Step 4: Detach Any Additional Components
If your freezer drawer has a separate ice maker or other connected components:
- Disconnect any electrical connectors by gently pulling them apart. Sometimes there’s a small tab on the connector that you’ll need to press.
- If there are screws holding a component in place, use your Phillips screwdriver to remove them.
Reinstalling the GE Freezer Drawer
Once your maintenance or cleaning is complete, you’ll need to reinstall the drawer. This process is generally the reverse of removal:
- Align the drawer with the rails. Make sure it’s perfectly horizontal.
- Gently push the drawer back into the freezer. You should feel it click into place once the rails engage properly.
- Reattach any components that were removed, ensuring all electrical connectors are securely reconnected and screws are tightened.
- Close the drawer to verify that it slides in and out smoothly without any obstruction.
- Plug the freezer back in and restore power.
Tips for Maintaining Your GE Freezer Drawer
- Regular Cleaning: Regularly removing and cleaning your freezer drawer can prevent the buildup of ice and debris, which can impair the efficiency of your freezer.
- Avoid Overloading: Try not to overload the drawer as this can lead to issues with the rails and alignment.
- Check the Seals: Make sure the seals around the drawer are clean and intact to maintain optimal temperature control and efficiency.
Conclusion
Removing a GE freezer drawer might be necessary for a variety of reasons, from deep cleaning to making repairs. By following the steps outlined above, you can ensure that this process is done safely and effectively. Remember, when dealing with appliances, always prioritize safety by ensuring the appliance is unplugged before you start working on it.
Key Takeaways
- Preparation is crucial: Ensure the freezer is unplugged and the drawer is empty.
- Understand the mechanism: Know whether your freezer uses a side or bottom release mechanism.
- Handle with care: Remove and reinstall the drawer carefully to avoid damaging the rails.
- Maintenance helps: Regular cleaning and maintenance extend the life of your freezer.
By keeping these points in mind, you’ll find that removing and managing your GE freezer drawer is a simpler and more efficient process.