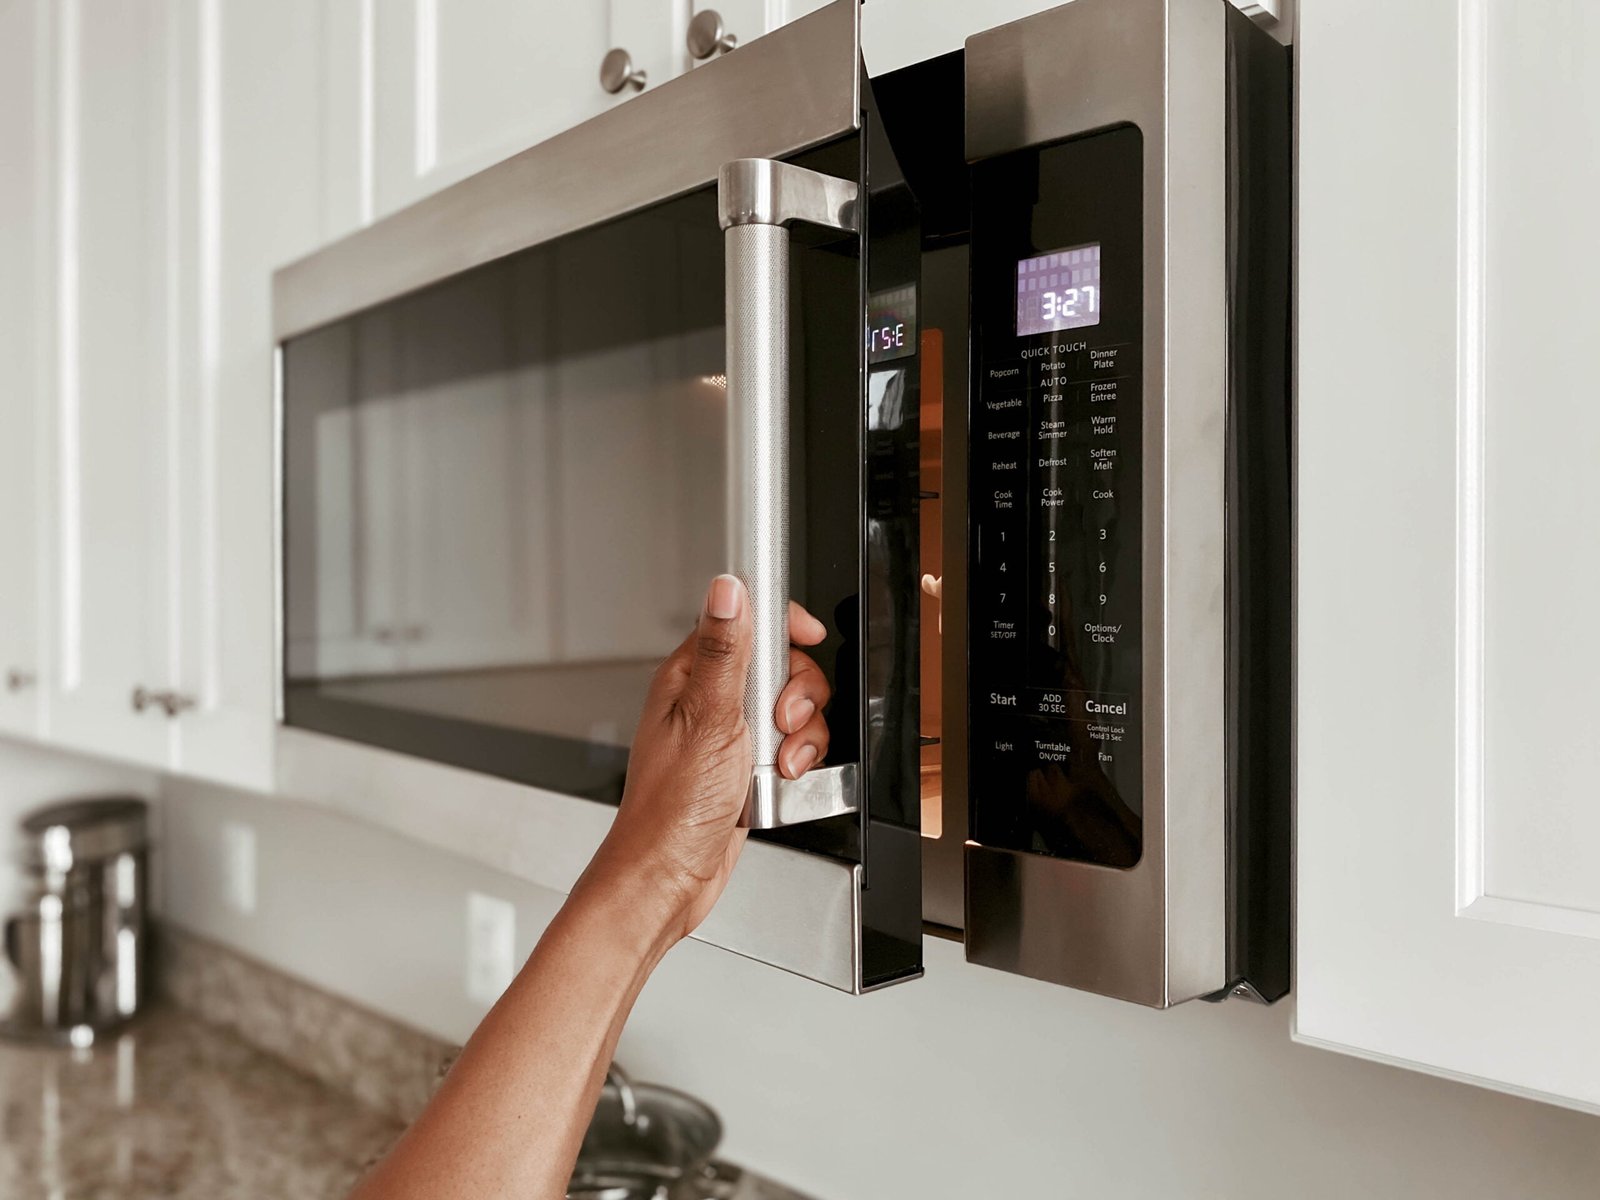
Removing a built-in microwave might seem daunting at first, especially if you’re not particularly handy. However, with the right tools and a bit of guidance, it’s a task that you can handle on your own. Whether you’re updating your kitchen appliances, replacing a malfunctioning unit, or simply needing to clean the space, this comprehensive guide from TheKitchenApplianceDad.com will walk you through each step.
Understanding Your Built-in Microwave
Before you start the removal process, it’s essential to understand the type of built-in microwave you have. Built-in microwaves can be part of a microwave oven combo or a standalone unit integrated into your cabinetry. The removal process may vary slightly depending on the model and installation style.

Tools You Will Need:
- Screwdriver (Phillips or flat-head depending on the screws used in your microwave)
- Gloves to protect your hands
- Putty knife or a similar prying tool
- Helper (recommended, as some microwaves can be quite heavy)
Step 1: Preparing for Removal
Safety First: Ensure that the microwave is unplugged from the power source. If it’s hardwired to your home’s electrical system, you might need to shut off the power at the circuit breaker.
Clear the Area: Remove any items from inside the microwave and clear the surrounding countertop space. This will give you room to work and prevent any damage to your kitchen items.
Step 2: Locating and Loosening the Screws
Built-in microwaves are typically secured with screws either on the front, side, or top of the unit.
- Open the microwave door to check for screws along the microwave’s upper edge. These screws hold the microwave to the cabinetry.
- Remove these screws carefully with your screwdriver. Keep the screws in a safe place as you might need them if you’re going to install another microwave of the same size.
Step 3: Removing the Microwave
This is the part where having a helper comes in handy:
- Grip the microwave firmly. Even with the screws removed, the microwave might still be snug in its slot.
- Gently wiggle the microwave to loosen it. If it doesn’t move, check to see if there are additional securing mechanisms.
- Slide the microwave out of the cabinet. Be careful and go slowly to avoid damaging the surrounding cabinetry or the microwave itself.
Step 4: Disconnecting the Microwave
If your microwave is hardwired:
- Locate the wiring cover plate, usually on the back of the microwave. Remove the cover plate with a screwdriver.
- Disconnect the wires. If you are not familiar with electrical systems, it might be safer to have a professional handle this part.
For plug-in models:
- Ensure the cord is free and not tangled or secured by anything within the cabinet.
Step 5: Final Checks and Cleaning
Once the microwave is removed:
- Check the cavity where the microwave was installed. Remove any debris or dust.
- Inspect for damage in the cavity or the surrounding cabinetry. If you plan on installing a new microwave, minor repairs might be needed to ensure a smooth installation.
Installing a New Built-in Microwave
If you’re planning to install a new microwave in the same spot:
- Measure the space carefully and ensure the new microwave fits.
- Follow the manufacturer’s installation guide carefully. Each model might have different requirements or installation steps.
- Consider professional installation if the setup seems too complex or requires electrical modifications.
Key Takeaways
- Preparation is key: Ensure the microwave is unplugged and the area is clear.
- Have the right tools handy: A screwdriver, gloves, and a helper are essential.
- Be cautious with wiring: If your microwave is hardwired, consider getting professional help for disconnection.
- Check compatibility for replacements: Measure the space and ensure the new microwave fits the existing cabinetry.
- Safety first: Always prioritize safety, especially when dealing with electrical appliances.
Removing a built-in microwave can be straightforward with the right tools and careful planning. Whether you’re upgrading to a more advanced model or simply doing some kitchen renovations, following these steps will help ensure a smooth and safe removal process. Remember, when in doubt, particularly regarding electrical connections, it’s wise to consult or hire a professional. Happy renovating from all of us at TheKitchenApplianceDad.com!


