Welcome to TheKitchenApplianceDad.com, your go-to spot for all things related to kitchen appliances. Today, we’re diving into a practical guide on how to put shelves back in your Whirlpool fridge. A simple yet essential task, reinserting shelves correctly ensures efficient space management and maintains the longevity of both your fridge and its components.
Before we get into the step-by-step process, it’s important to understand that Whirlpool fridges come in various models, each with potentially different shelving designs. You might be working with a French door model, a side-by-side, or a traditional top freezer. Each configuration might influence how the shelves need to be handled.

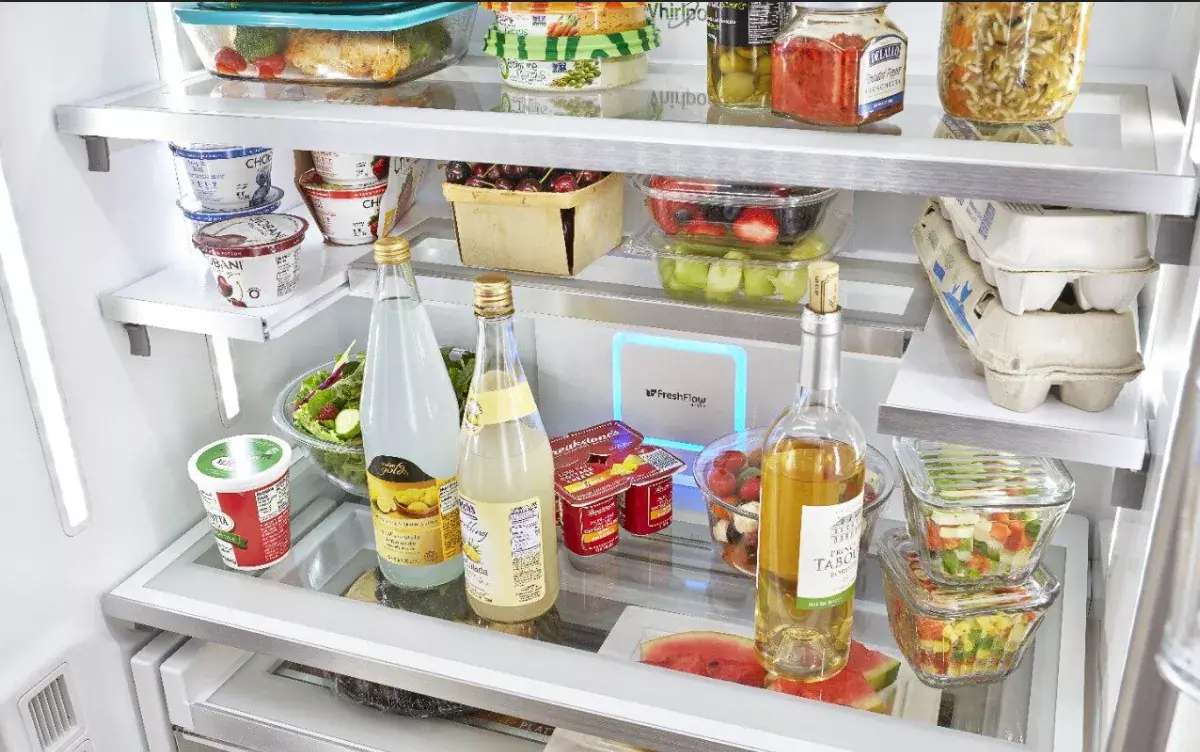
Firstly, if your shelves have been removed for cleaning or because you were reorganizing the interior, make sure that they are clean and dry before you attempt to put them back. This is a good practice to maintain hygiene and to prevent any cold air obstructions once the shelves are in place.
Before placing the shelves back into the fridge, inspect them for any signs of wear or damage. Look for cracks, warping, or broken parts, especially on the shelf brackets and edges. Installing damaged parts might risk further breakage or could be unsafe.
For ease and to minimize the risk of damage or strain on the shelves, start reassembling from the bottom of the fridge and work your way up. This method helps in balancing the weight and makes the process smoother.
Once the bottom shelves are in place, you can proceed to the middle shelves. Repeat the corresponding steps based on their design (sliding, wire, or glass). Make sure to adjust the height according to your storage needs, which might involve slightly different placements than originally configured.
The top shelves often have less weight and might hold lighter items. However, the installation process remains the same. If your Whirlpool fridge includes specialty compartments like a deli drawer or a wine rack, these should also be reinserted after the main shelves. These compartments usually have tracks or specific holders that they need to be slid into.
Don’t forget the door bins and side shelves! These are crucial for extra storage and are generally straightforward to install:
By following these steps and suggestions, you can efficiently organize and maintain your Whirlpool fridge, ensuring it serves you well for many years to come. Remember, a well-organized fridge not only looks great but also runs more efficiently. Happy organizing from all of us at TheKitchenApplianceD### How To Put Shelves Back In Your Whirlpool Fridge
Welcome to TheKitchenApplianceDad.com, where we delve deep into the practical tips and tricks to make your kitchen more functional. Today, we’re going to tackle a common yet sometimes perplexing task—putting shelves back in a Whirlpool fridge. Whether you’ve taken them out for a thorough cleaning or are reconfiguring your fridge’s layout, getting those shelves back in place neatly and securely is key to maximizing your refrigerator’s efficiency.
Whirlpool offers a variety of refrigerator models, each with its own unique shelving system. Whether you have a side-by-side, a bottom freezer, or a French door model, the process can vary slightly. It’s important to refer to your specific model’s user manual for detailed instructions tailored to your fridge. Most manuals can be easily found online at Whirlpool’s official website.
Step 1: Clean Your Shelves
Before you put the shelves back, ensure they are clean. Remove any spills or stains with a mild detergent and warm water. This not only helps in maintaining hygiene but also enhances the efficiency of your fridge.
Step 2: Inspect for Damage
Check each shelf for any cracks, chips, or other damages. Placing a damaged shelf back into your fridge can be a safety hazard and may also damage the interior of your appliance.
Repeat the process used for the lower shelves. If your fridge features adjustable shelves, you might want to configure the heights based on what you plan to store before locking them into place.
Door bins and compartments usually snap right back into place. Align them with the molded supports on the door and gently push until you hear a click, indicating that they are securely fastened.
If your model has unique features like a can caddy, wine holder, or humidity-controlled drawers, these will typically have tracks or guides that they slide into. Make sure these features slide in smoothly and are not forced, which could damage the tracks.
Maintaining your fridge shelves is crucial for the longevity of your appliance. Here are a few tips to keep in mind:
By following these guidelines, you can efficiently and safely manage the space within your Whirlpool refrigerator, keeping it organized and functional. Remember, a well-maintained fridge leads to a happier kitchen and ultimately, a happier home. Stay tuned to TheKitchenApplianceDad.com for more insightful tips and guides on managing your kitchen appliances effectively.