Welcome to another detailed guide from TheKitchenApplianceDad.com. Today, we’re tackling a common, yet sometimes frustrating, task for many homeowners: putting drawers back in a GE refrigerator. Whether you’ve conducted a thorough cleaning, moved to a new home, or somehow ended up with a disassembled fridge interior, this guide will help you get those drawers back in place without any fuss.
Understanding Your GE Refrigerator Model
Before we dive into the steps, it’s crucial to recognize that GE manufactures a variety of refrigerator models, each with its own specific design and drawer assembly. Therefore, the first step is to identify your model. This information can typically be found on a label inside the refrigerator, often on the left or right side wall, or near the top. Knowing your model will help you access the correct manual if necessary, and better understand the specific assembly for your drawers.

General Steps to Reinstall Drawers in a GE Refrigerator
Although the specifics can vary slightly from model to model, there are general steps you can follow to reinstall drawers in most GE refrigerators. Here’s how to do it:
Step 1: Prepare Your Workspace
- Clear the Area: Make sure you have ample space to work without obstruction. Clear out any food items or shelves that might be in your way.
- Gather Necessary Tools: Typically, no tools are required, but it’s good to have a towel or soft mat to place the drawers on while you’re working to avoid scratching them.
Step 2: Inspect the Drawer and Rails
- Check for Damage: Before you attempt to reinstall the drawers, inspect them and their corresponding rails for any signs of damage or wear. This can prevent issues with fitting and sliding once reinstalled.
- Clean the Tracks: Wipe down the tracks or rails with a damp cloth to ensure they are free of debris and dust.
Step 3: Insert the Drawer Rails (if applicable)
- Some GE models require you to first insert the drawer rails or glides before putting the drawer itself back in.
- Align the Rails: Carefully align the rails with the designated slots inside the refrigerator.
- Secure the Rails: Gently push the rails into place until you hear a click or feel them lock into position.
Step 4: Reinstall the Drawer
- Align the Drawer With the Rails: Hold the drawer at an angle that allows you to align it with the rails. This is usually slightly tilted upwards at the front.
- Set the Drawer on the Tracks: Carefully set the back end of the drawer into the track and then lower the front end into place.
- Ensure Smooth Sliding: Gently slide the drawer in and out to ensure it moves smoothly. If it sticks or feels uneven, recheck its alignment and the cleanliness of the tracks.
Step 5: Reinstall Any Upper Drawers or Shelves
- If your model has multiple drawers, repeat the previous steps for each, generally starting from the bottom drawer and working your way up. This sequence helps ensure that upper drawers don’t obstruct your access to lower ones.
- Replace Shelves: If you had to remove shelves to access the drawers, now is the time to put them back in place.
Tips for Specific GE Refrigerator Models
Here are a few additional tips for specific types of GE refrigerators:
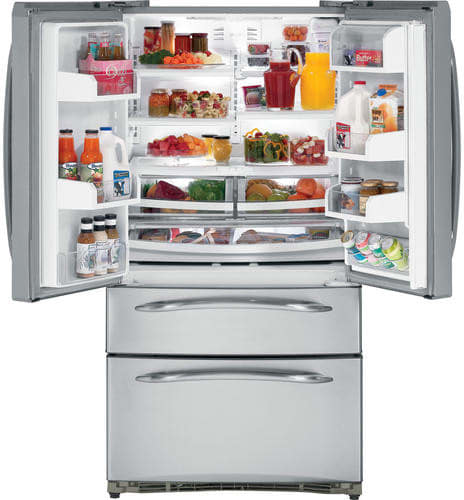
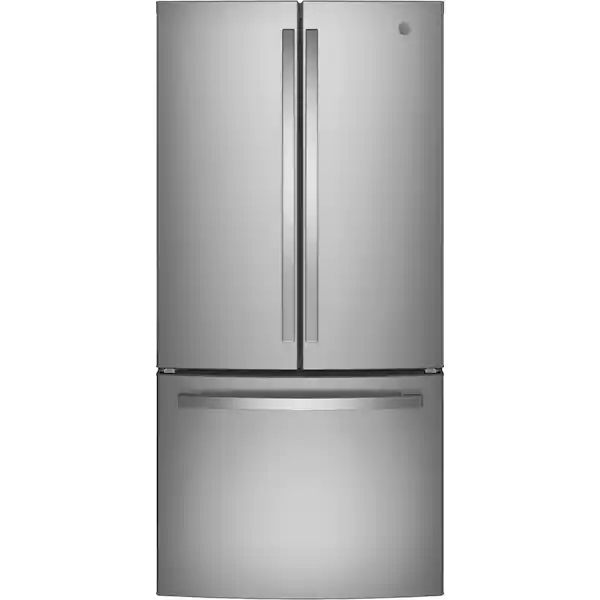
- French Door Models: These often have full-width pantry drawers which require you to line up both sides simultaneously. It can be helpful to slightly lift the drawer as you guide it into the tracks.
- Side-by-Side Models: The freezer section often has wire baskets instead of solid drawers. Ensure that these baskets are correctly aligned with their tracks on both sides before pushing them back.
- Top Freezer Models: Be mindful of the temperature control dial which can sometimes obstruct the drawer or shelf placement.
Key Takeaways
- Identify Your Model: Always start by confirming your specific GE refrigerator model to follow the most accurate guidance.
- Inspect and Clean: Checking the drawers and rails for damage and cleaning them before installation can prevent issues.
- Correct Placement: Ensure that the rails (if separate) are installed before the drawers and that each drawer is aligned correctly with its tracks.
- Test the Drawers: After installation, always do a quick test by sliding the drawers in and out to ensure smooth operation.
Handling the drawers of your GE refrigerator doesn’t have to be a daunting task. With these straightforward steps and a bit of patience, you can have your refrigerator organized and functional again in no time. Remember, if you run into persistent issues or notice any damage to the components, it may be wise to consult the official GE support page or contact a professional technician for assistance. Happy organizing from all of us here at TheKitchenApplianceDad.com!