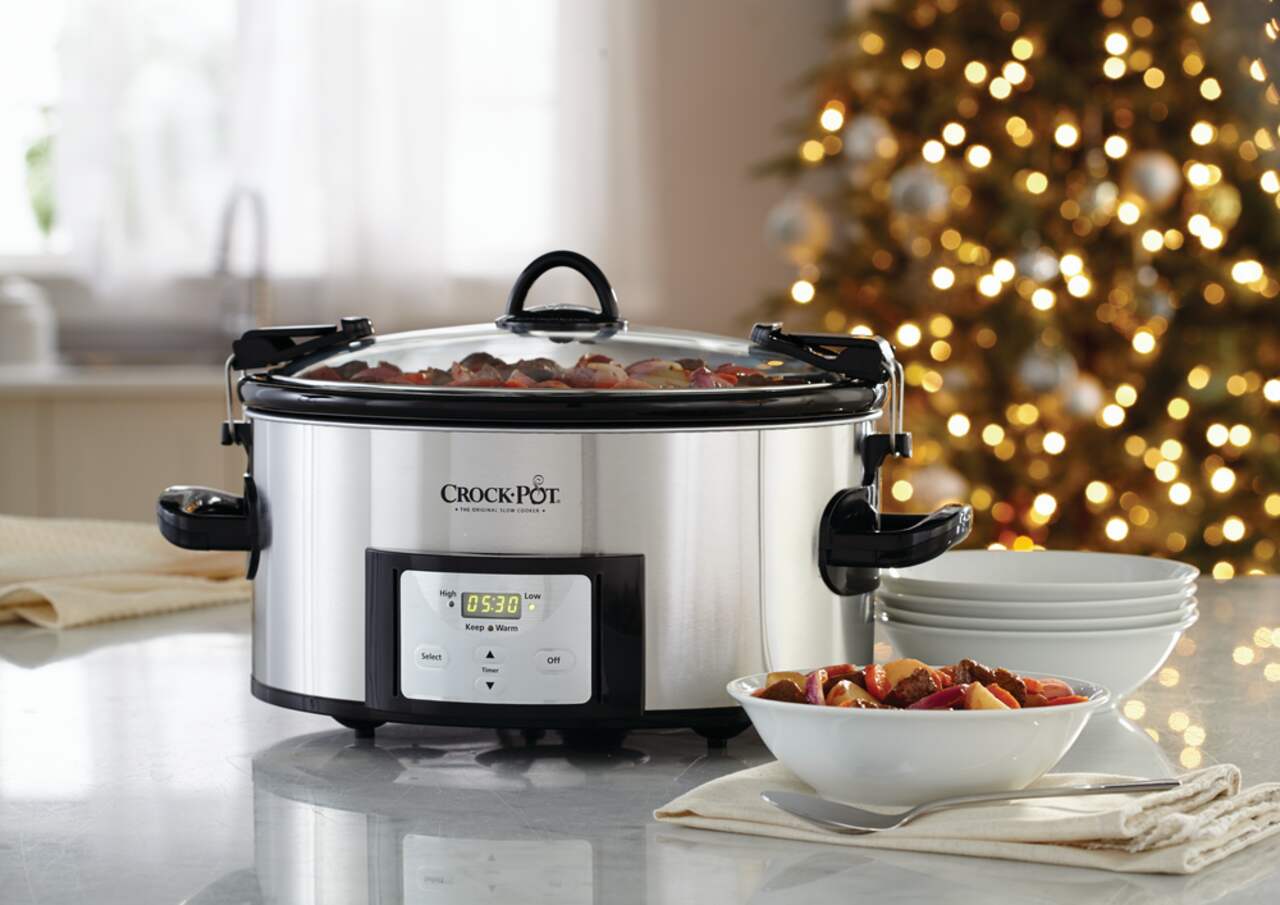
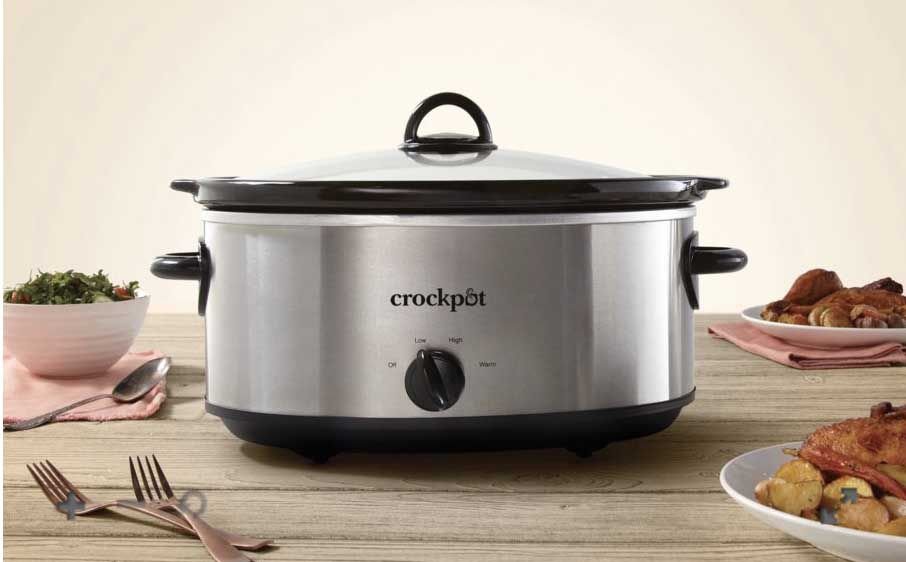
Welcome to TheKitchenApplianceDad.com, where we not only explore the functionalities of kitchen appliances but also provide tips on how to use them more effectively and economically. Today, we’re focusing on a clever way to save money by making your own Crock Pot liners at home.
Crock Pot liners are a convenient solution for easy clean-up after slow cooking. However, the cost of purchasing these disposable items can add up over time. Fortunately, with a bit of ingenuity, you can create your own liners and keep a few extra dollars in your pocket.
Understanding Crock Pot Liners
Before we dive into crafting DIY liners, let’s discuss what Crock Pot liners are and why they’re used:
- Convenience: Liners are designed to keep your Crock Pot clean, minimizing the need for scrubbing after cooking.
- Material: Commercial liners are typically made from heat-resistant nylon or similar materials that can withstand the long cooking times and temperatures of slow cookers.
The Benefits of Homemade Liners
- Cost-effective: Making liners at home can significantly reduce the cost compared to store-bought options.
- Customizable: You can tailor the liners to perfectly fit your specific Crock Pot model.
- Eco-friendly: By choosing reusable materials, you can reduce plastic waste.

How to Make Your Own Crock Pot Liners
Creating your own Crock Pot liners requires materials that are safe for cooking and can withstand the heat generated by your slow cooker. Here’s a step-by-step guide:
Materials Needed:
- Parchment Paper: A heat-resistant option that’s readily available in most kitchens.
- Aluminum Foil: Another heat-tolerant material, though it’s not suitable for all types of food due to reactivity with acidic ingredients.
Instructions:
Parchment Paper Liners:
- Measure Your Crock Pot: Take the dimensions of the insert to ensure your liner will cover the entire surface.
- Cut the Parchment Paper: Roll out a length of parchment paper and cut it to size, allowing for extra to go up the sides of the Crock Pot insert.
- Mold to the Insert: Press the parchment paper into the insert, smoothing out as many creases as possible and ensuring it covers the bottom and sides.
- Secure the Edges: If necessary, you can lightly dampen the top edge of the parchment paper to help it stick to the rim of the insert.
Aluminum Foil Liners:
- Create a Foil Base: Similar to the parchment paper method, cut a length of aluminum foil to cover the bottom and sides of the insert.
- Mold and Secure: Gently press the foil into the insert, smoothing it against the bottom and sides, and fold over the edges to secure.
Tips for Using Homemade Liners:
- Avoid Overheating: Make sure your liner material is rated for the temperatures your Crock Pot reaches.
- Double Layer: For added strength, consider using a double layer of parchment paper or foil.
- No Empty Cooking: Never turn on your Crock Pot with just the liner inside; always add food and liquid as intended.
Safety Considerations
When making DIY Crock Pot liners, safety should always be a priority:
- Heat Resistance: Ensure the materials used are safe for cooking and can handle high temperatures without melting or releasing harmful substances.
- Non-Reactive: If using aluminum foil, be mindful of its reactivity with acidic foods like tomatoes or citrus, which can cause leaching of aluminum into the food.
Key Takeaways
Making your own Crock Pot liners is a smart, money-saving hack:
- Choose the Right Material: Parchment paper or aluminum foil can serve as suitable liner materials.
- Size Appropriately: Cut the liners to fit your Crock Pot insert, leaving extra material to cover the sides.
- Focus on Safety: Only use heat-resistant and food-safe materials for your DIY liners.
Creating your own Crock Pot liners can add convenience to your slow-cooking routine while keeping your wallet a bit fuller. Remember to always prioritize safety and choose appropriate materials. For more budget-friendly kitchen appliance tips and tricks, keep visiting us here at TheKitchenApplianceDad.com. Happy slow cooking!


