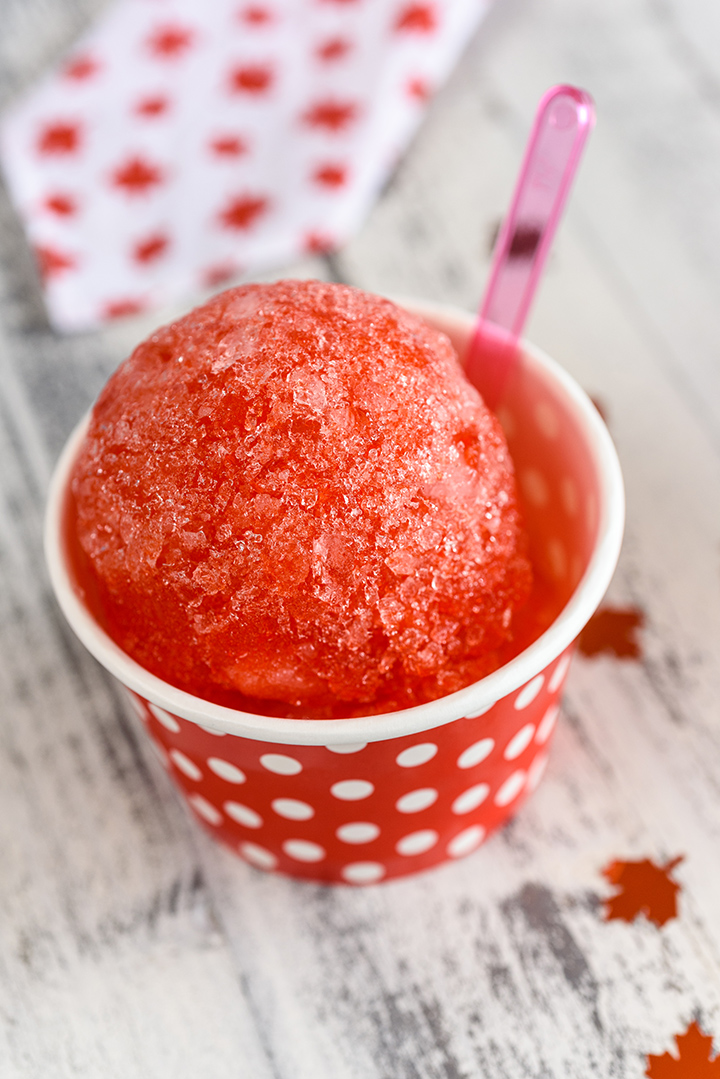
Snow cones are a delightful treat that can cool you down on a hot day or add a fun twist to your gatherings. With just a few simple ingredients and a blender, you can whip up this icy dessert in no time. Here at TheKitchenApplianceDad.com, we’ve put together a quick and easy guide to help you make snow cones at home using your trusty blender.
Choosing the Right Blender
First things first, not all blenders are equipped to crush ice into the fine, fluffy consistency needed for snow cones. You’ll need a blender that has:
A Powerful Motor
- High Wattage: A motor with enough power to crush ice effectively without overheating.
Durable Blades
- Stainless Steel: Blades that are strong enough to handle ice without getting damaged.
Ice-Crushing Capability
- Specific Function: Some blenders have a dedicated ice-crush setting, which is ideal for making snow cones.

Ingredients and Supplies
Ice
- Fresh, Hard Ice: Use ice cubes from your freezer or bagged ice from the store. Fresh, hard ice works best for a fine snow-like texture.
Snow Cone Syrups
- Variety of Flavors: You can purchase ready-made syrups or make your own with sugar, water, and your choice of flavorings.
Cones or Cups
- Paper Cones or Plastic Cups: Serve your snow cones in traditional paper cones or any small cup you have on hand.
Making Snow Cones in a Blender
Step 1: Prepare the Ice
Before you start, make sure your ice is ready to go. Use ice cubes that are roughly the same size for consistent crushing.
Step 2: Blend the Ice
- Filling the Blender: Fill your blender about halfway with ice cubes. Overfilling can lead to uneven crushing.
- Pulsing: Use the pulse feature to crush the ice. Short, quick pulses work best for breaking down the ice into smaller pieces.
- Consistency Check: Stop and shake the blender or stir the ice to ensure all pieces are crushed evenly.
Step 3: Flavor Your Snow Cones
- Syrup Application: Once you have your crushed ice, scoop it into your serving cups and pour syrup over the top for flavor.
- Layering: If you like lots of syrup, layer your ice and syrup to distribute the flavor throughout the snow cone.
Tips for the Perfect Snow Cone
Chill Your Serving Cups
- Pre-Cool: Pop your serving cups in the freezer beforehand to keep your snow cones colder for longer.
Syrup Consistency
- Thicker Syrup: A slightly thicker syrup will cling to the ice better, enhancing the flavor of your snow cone.
Storage
- Storing Crushed Ice: If you have leftover crushed ice, store it in the freezer in an airtight container for later use.
Homemade Syrup Recipe
Want to make your own syrup? Here’s a simple recipe:
Ingredients
- 1 cup sugar
- 1 cup water
- Flavoring (such as fruit juice, extract, or flavored drink mix)
Instructions
- Combine sugar and water in a saucepan.
- Heat over medium heat until the sugar dissolves.
- Add your flavoring and color if desired.
- Allow the syrup to cool before using.
Key Takeaways
- Blender Specs: Use a powerful blender with ice-crushing capabilities.
- Fresh Ice: Fresh, hard ice cubes are best for making snow cones.
- Pulse Feature: Use the pulse function to crush ice to the desired consistency.
- Flavor Creatively: Experiment with different syrups and layering for flavorful snow cones.
- Pre-Cool Cups: Chill your cups to keep the snow cones cold.
- Homemade Syrup: Try making your own syrup for a customizable treat.
Making snow cones at home is a quick and fun activity that can offer a cool reprieve on a hot day or a special touch to your social events. With this guide from TheKitchenApplianceDad.com, you’re all set to enjoy homemade snow cones anytime you like. Remember to use a powerful blender, crush the ice properly, and get creative with your flavors for the best results. Enjoy your delicious, icy creations!


