Making pie crust from scratch may seem intimidating, but with a Vitamix blender, it’s a piece of cake—or, should we say, a piece of pie! The Vitamix’s powerful motor and precision blades can mix and blend the ingredients for your pie crust in a snap, giving you consistently flaky results without the hassle of traditional methods. Here at TheKitchenApplianceDad.com, we’re excited to share our easy guide to making the perfect pie crust with your Vitamix blender.
To start, gather the following ingredients for a basic pie crust:
:max_bytes(150000):strip_icc()/MSL-336991-easy-pie-crust-Hero-horiz-0723-0d0d9420c56349f0ac447cea21c6b494.jpg)
Add the flour, salt, and sugar (if using) to your Vitamix container. Secure the lid and pulse a few times to combine the ingredients. This helps distribute the salt and sugar evenly throughout the flour, which is crucial for a uniform crust.
Distribute the cold butter cubes evenly over the flour mixture in the Vitamix container. The key here is to use cold butter, as it helps create those desirable flaky layers in your crust.
Using the pulse feature, mix the butter into the flour until the mixture resembles coarse crumbs. This should take about 10-15 pulses. Be careful not to overblend, as larger butter pieces will melt during baking and create pockets, leading to a flakier crust.
Start with 4 tablespoons of ice water, sprinkling it over the flour and butter mixture. Pulse a few times to combine. If the mixture seems too dry, add additional ice water, 1 tablespoon at a time, pulsing after each addition. The dough should start to hold together without being wet or sticky. When squeezed, it should form a ball that holds together.
Once the dough has reached the desired consistency, turn off the Vitamix and remove the dough. Use your hands to form it into a ball. If necessary, lightly dust your hands and the dough with a bit of flour to prevent sticking.
Flatten the ball into a disc and wrap it tightly in plastic wrap. Chill the dough in the refrigerator for at least one hour before rolling it out. This chilling time allows the gluten to relax and ensures that the butter stays cold, which is vital for a flaky crust.
After the dough has chilled, lightly flour a clean surface and a rolling pin. Roll out the dough to about 1/8-inch thickness, turning and adding flour as needed to prevent sticking.
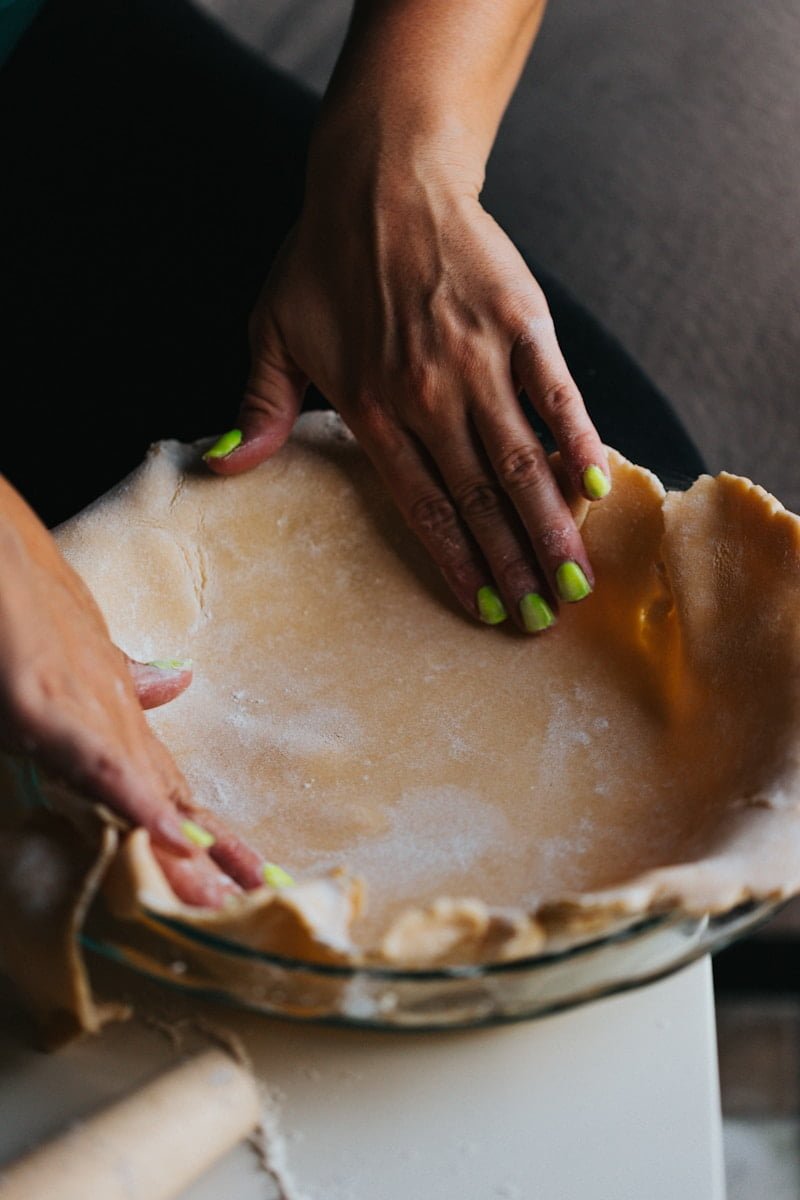
Carefully transfer the rolled-out dough to your pie dish. Gently press it into the dish, trim any excess, and crimp the edges as desired.
Now your Vitamix-made pie crust is ready to be filled with your favorite sweet or savory ingredients and baked according to your pie recipe’s instructions.
By following this easy guide from TheKitchenApplianceDad.com, you’ll see how your Vitamix blender can transform the daunting task of making homemade pie crust into a quick, easy, and enjoyable process. Whether you’re preparing for a holiday, a family gathering, or just because you fancy a slice of pie, your Vitamix is the secret to a delicious and flaky crust that is sure to impress. Happy baking!

