Fresh homemade pasta is a true culinary delight, and with the help of KitchenAid attachments, it’s easier to make than you might think. In this guide from TheKitchenApplianceDad.com, we’ll walk you through the steps of making pasta using your KitchenAid stand mixer and its pasta-making attachments.
Getting Started with Your KitchenAid
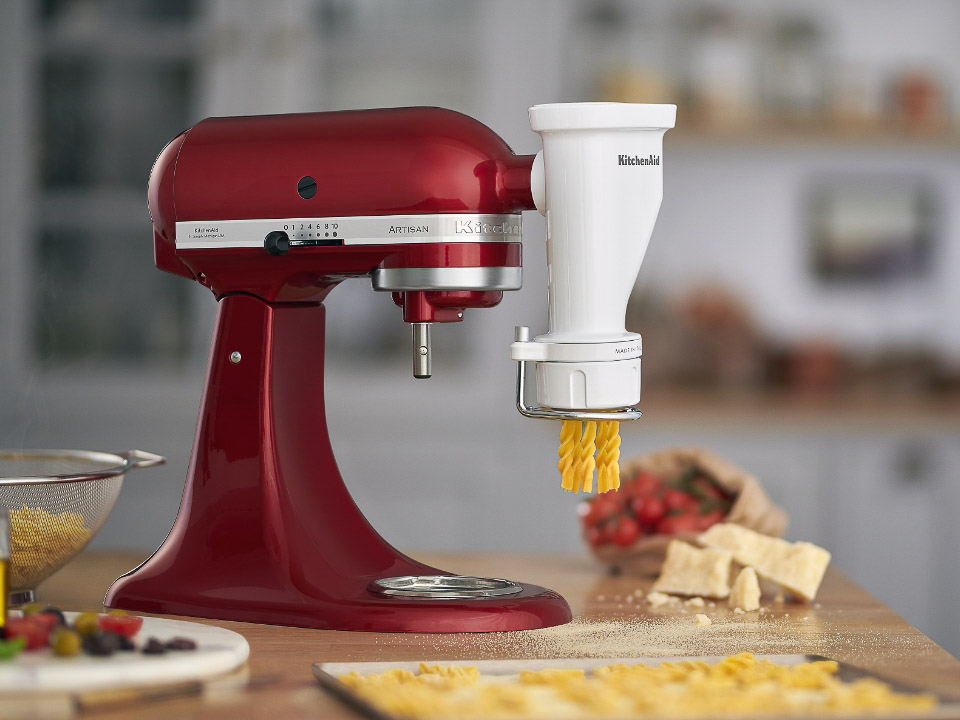
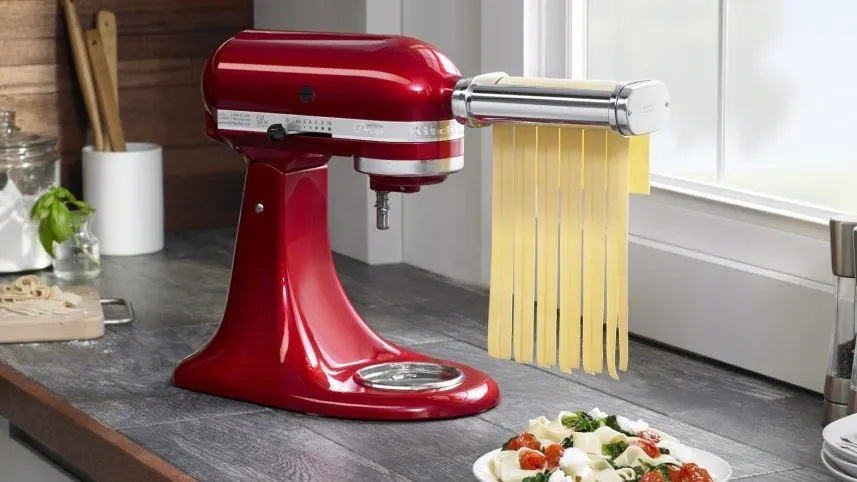
Before you begin, you’ll need a KitchenAid stand mixer and the pasta roller and cutter set. KitchenAid offers a few different pasta attachments, but the most common set includes a pasta roller, fettuccine cutter, and spaghetti cutter.

Ingredients for Homemade Pasta
To create your pasta dough, you’ll need the following basic ingredients:
- 2 cups of all-purpose flour
- 2 large eggs
- 2 tablespoons of water (optional, as needed)
- A pinch of salt
Step-by-Step Guide to Making Pasta
Step 1: Prepare the Pasta Dough
- Combine Your Ingredients: On a clean surface or in a mixing bowl, mix the flour and salt. Create a well in the center and crack the eggs into it. Using a fork or your fingers, gently mix the eggs and incorporate the flour from the sides of the well.
- Knead the Dough: Once the dough starts to come together, knead it with your hands for about 10 minutes until it’s smooth and elastic. If the dough is too dry, add water a teaspoon at a time.
- Rest the Dough: Wrap your dough in plastic wrap and let it rest for at least 30 minutes at room temperature. This allows the gluten to relax, making the dough easier to roll out.
Step 2: Set Up Your KitchenAid
While the dough is resting, attach the pasta roller to your KitchenAid stand mixer’s power hub. Ensure that the mixer is turned off and unplugged when attaching the roller.
Step 3: Roll Out the Pasta
- Divide the Dough: Cut your dough into four equal portions to make it more manageable.
- Flatten the Dough: Take one portion and press it down with your hands to flatten it into a rough rectangle.
- Begin Rolling: Set the pasta roller attachment to the widest setting (usually setting 1). Turn on the mixer to speed 2 or 4, and feed the dough through the roller. As the dough comes out, fold it into thirds and feed it through again. Repeat this process 3-4 times.
- Thin the Dough: Adjust the roller to a narrower setting, and feed the dough through without folding. Continue to pass the dough through, reducing the thickness each time, until you reach your desired thickness (usually setting 4 or 5 for most pasta types).
Step 4: Cut the Pasta
Once you have your sheets of pasta, you can change the attachment to the fettuccine or spaghetti cutter. Feed the sheets through the cutter to make your pasta strands. Dust the pasta lightly with flour to prevent sticking.
Step 5: Cook or Dry the Pasta
With your pasta cut to the desired shape, you can either cook it immediately in boiling salted water for 2-3 minutes or hang it to dry for future use.
Tips for Success
- Dough Consistency: The dough should be tacky but not sticky. Adjust with flour or water as needed.
- Rolling Technique: Roll the dough several times on the widest setting to create a smooth, elastic texture before thinning it out.
- Cutting: Make sure the pasta sheets are not too wet when you feed them through the cutters, or they may clump together.
- Drying: If you plan to dry the pasta, hang it on a pasta drying rack or lay it flat on a clean cloth, turning occasionally until it’s completely dry.
Cleaning and Maintenance
After you finish making your pasta, it’s crucial to clean and maintain your KitchenAid attachments properly. Never wash the pasta roller or cutters with water. Instead, let any dough bits dry completely, then use the cleaning brush provided or a dry cloth to remove the residue.
Key Takeaways
- Making pasta with KitchenAid attachments is a straightforward process that provides delicious results.
- Prepare your dough with basic ingredients and let it rest to ensure easy rolling.
- Use the pasta roller attachment to achieve the desired dough thickness and the cutter attachments for shaping.
- Remember to dust your pasta with flour before cutting to prevent sticking.
- Properly clean and maintain your KitchenAid attachments for longevity.
Homemade pasta is a rewarding dish that brings a touch of gourmet to your home cooking. With your KitchenAid mixer and attachments, you can enjoy fresh pasta any time with minimal effort. So why not gather your ingredients, attach that pasta roller, and start creating something wonderful in your kitchen today? Keep an eye on TheKitchenApplianceDad.com for more tips and guides on making the most of your kitchen appliances. Happy cooking!


