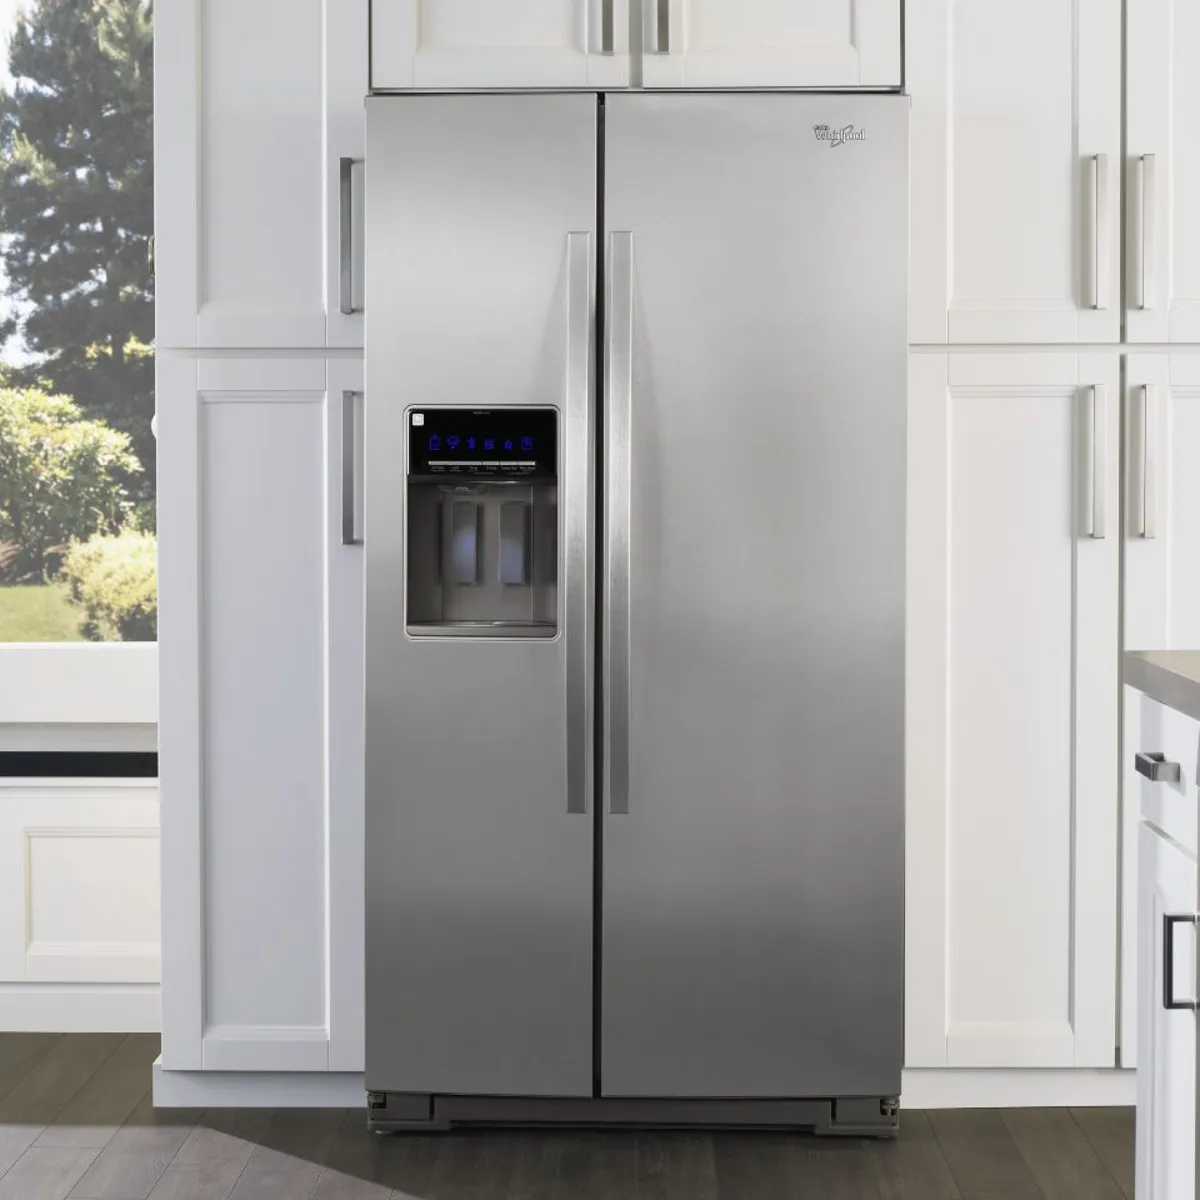
Welcome back to another informative post from TheKitchenApplianceDad.com! Today, we’re diving into a refreshingly cool topic—how to make ice with your Whirlpool fridge. Whether you’ve just upgraded your kitchen with a brand-new Whirlpool refrigerator or you’re trying to troubleshoot your current model, understanding the ins and outs of its ice-making capabilities is essential for ensuring you’re never without ice for your beverages and culinary needs.
Understanding Your Whirlpool Refrigerator’s Ice Maker
Whirlpool refrigerators come with a variety of features, but one of the most loved is undoubtedly the ice maker. Before we get into the specifics of how to make ice, it’s important to identify the type of ice maker installed in your fridge. Whirlpool typically offers two main types:
- Factory-Installed Ice Makers: These are built into the fridge and are automatically connected to the water supply.
- Optional Ice Makers: These can be purchased and installed after you buy your refrigerator, necessitating manual connection to the water line.

Setting Up Your Ice Maker
Step 1: Ensure Proper Installation
If your refrigerator came with an ice maker, it should be ready to go upon installation. For those who’ve added an optional ice maker:
- Check that it is correctly mounted and securely attached to the refrigerator section specified in the user manual.
- Ensure the ice maker’s fill tube and the water supply line are properly connected without any kinks or leaks. For detailed guidance, refer to Whirlpool’s installation instructions.
Step 2: Connect to Water Supply
Your ice maker needs a steady and reliable water supply to function:
- Locate the water supply valve, typically found behind the refrigerator or under the kitchen sink.
- Connect the water supply line to the valve. Use a wrench to ensure the connections are secure and watertight.
Step 3: Power and Initial Setup
- Ensure your refrigerator is plugged in and turned on.
- Lower the ice maker’s wire shutoff arm to its down position, signaling the fridge that it’s ready to make ice.
- It can take a few hours to produce the first batch of ice. Check your model’s user manual for the exact time.
Operating Your Whirlpool Ice Maker
Regular Use
- The ice maker will continue to produce ice until the bin is full. The sensor arm automatically stops production when it reaches capacity.
- Regularly check the ice level and remove ice as necessary to keep production going.
Adjusting Ice Cube Size
- Some Whirlpool models allow you to adjust the size of the ice cubes. This can usually be done through the settings panel on the front of the refrigerator.
- Adjusting the cube size can affect the production rate and quality of the ice.
Maintenance and Troubleshooting
Regular Cleaning
- Regularly clean the ice bin every two months with warm water and a mild detergent. Rinse and dry thoroughly before placing it back in the freezer.
- Inspect and clean the ice maker mechanism and shutoff arm to prevent any ice buildup or malfunction.
Common Issues and Quick Fixes
- Ice Maker Not Producing Ice: Ensure the freezer temperature is set between 0°F and 5°F. Check if the water supply line is connected and turned on.
- Ice Tastes Bad: Replace the water filter or flush the system if the refrigerator was not in use for a long time.
- Ice Clumping: This usually happens if the ice isn’t used frequently. Break up clumps with a plastic utensil and check the bin periodically.
Enhancing Your Ice-Making Experience
- Use a Water Filter: For the best tasting ice, use a water filter to remove impurities and odors from your water supply. Replace filters as recommended, usually every six months. Check Whirlpool’s website for compatible filters.
- Avoid Odor Transfer: Store strong-smelling food items in airtight containers to prevent odors from transferring to the ice.
Key Takeaways
- Model Identification: Know whether your Whirlpool fridge comes with a pre-installed ice maker or if you need an add-on.
- Installation and Setup: Properly install and connect your ice maker to the water supply.
- Maintenance: Regularly clean and maintain your ice maker for optimal performance.
- Troubleshooting: Address common issues like non-production of ice or bad-tasting ice promptly.
- Enhancements: Use a water filter and store food properly to improve the quality of your ice.
Making ice with your Whirlpool fridge is a straightforward process once you understand the basics of setup and maintenance. Follow these guidelines to ensure you always have fresh ice at your disposal, enhancing your home’s beverage and entertaining capabilities. For more tips and appliance advice, keep visiting us here at TheKitchenApplianceDadblog!


