how-to-make-a-slushie-in-a-vitamix-a-quick-guide

How To Make A Slushie in A Vitamix – A Quick Guide

When the heat of summer strikes, there’s nothing quite like the refreshing chill of a homemade slushie. If you own a Vitamix, you’re in luck because this high-powered blender is the perfect tool for creating slushie magic right in your kitchen. At TheKitchenApplianceDad.com, we’re all about making the most of your kitchen gadgets, so let’s dive into how you can whip up a delicious, frosty slushie with your Vitamix – no fancy ice cream machine or slushie maker required!

What You’ll Need

Before we start blending, let’s make sure you have everything you need:
  • Vitamix Blender: Any model will do, but we’re focusing on the popular Vitamix lineup for its superior blending capabilities.
  • Ice: The key ingredient for that slushie texture.
  • Liquid Base: This could be water, fruit juice, soda, or even a combination of your choice.
  • Flavorings: Think fruit, syrups, sweeteners, or anything else you’d like to give your slushie that tasty kick.
  • Measuring Tools: To ensure the right proportions.
  • Spatula: For scraping down the sides if needed.

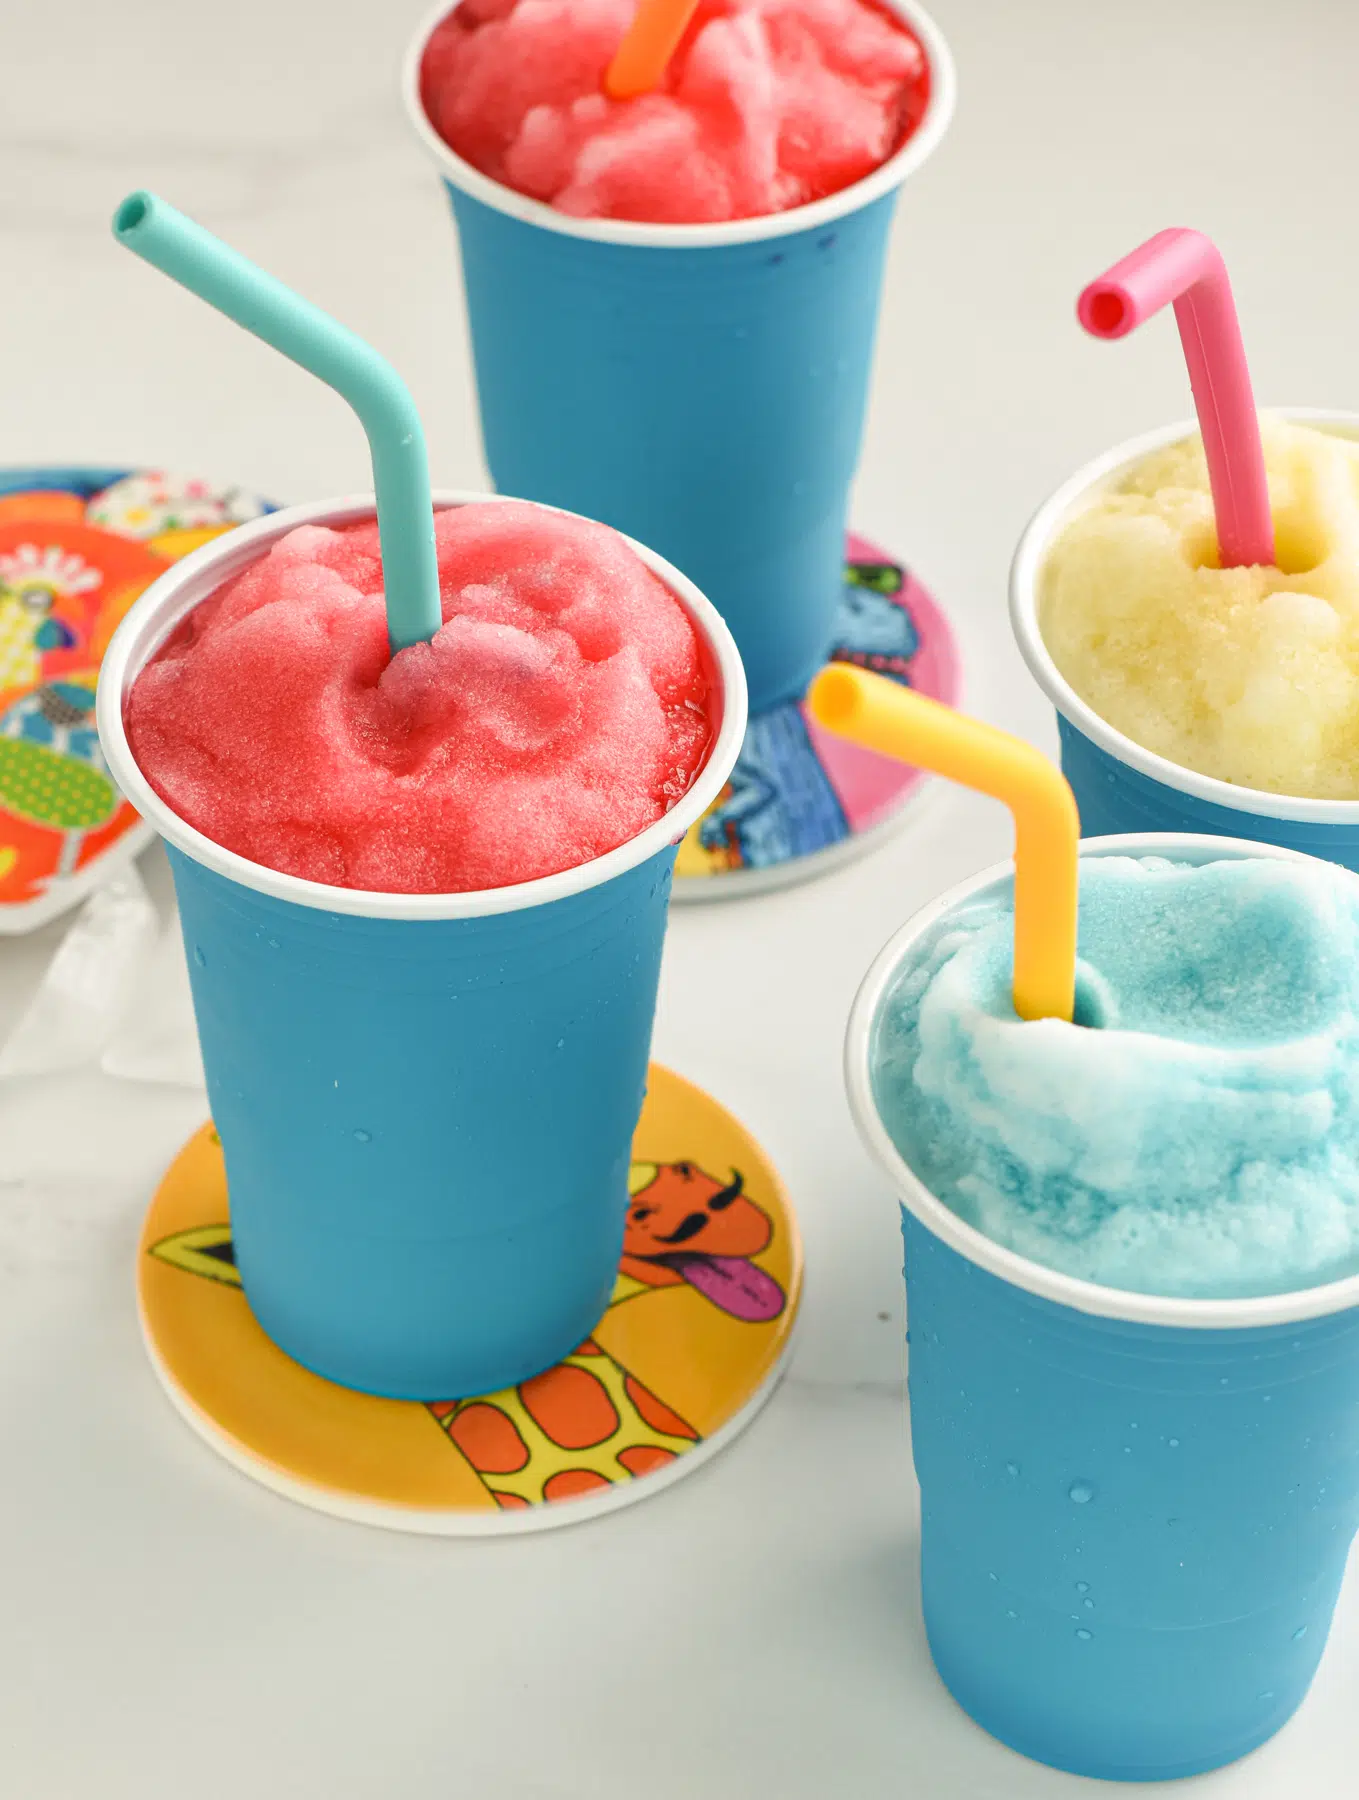
How To Make a Slushie With a Blender - Busy Little Kiddies

The Perfect Slushie Ratio

The secret to a great slushie is all in the ratio of ice to liquid. A good starting point is about 2 cups of ice to 1 cup of liquid. Adjustments can be made depending on how thick or thin you prefer your slushie.

Step-by-Step Slushie Creation

Step 1: Add Your Liquid Base

Pour your chosen liquid base into the Vitamix container. If you’re using fruit juice, consider whether you want a sweeter slushie (use a sweeter juice like apple or grape) or something more tart (such as cranberry or lemon juice).

Step 2: Load Up the Ice

Add the ice on top of the liquid. By adding the liquid first, you reduce the risk of blade damage and ensure a smoother blend.

Step 3: Choose Your Flavorings

Incorporate any additional flavorings, whether it’s fresh fruit, flavored syrups, or sweeteners. If you’re using fruit, make sure it’s cut into smaller pieces to blend easily.

Step 4: Secure the Lid

Make sure the lid is on tight. You don’t want any surprises mid-blend!

Step 5: Start Blending

Begin blending on a low speed and gradually increase to high. This helps break down the ice gradually and prevents the motor from straining.

Step 6: Use the Tamper (If Needed)

If you have a Vitamix that comes with a tamper, use it to help push the ingredients down into the blades without stopping the machine.

Step 7: Blend to Desired Consistency

Watch the mixture closely as you blend. It should only take about 30 to 60 seconds to reach a slushie consistency. If the mixture is too thick, add a little more liquid; if it’s too thin, add more ice and blend again.

Step 8: Serve Immediately

Once you’ve reached the perfect slushie consistency, stop the blender and serve your slushie immediately for the best texture and flavor.

Tips for a Perfect Slushie

  • Use Frozen Fruit: For an extra fruity slushie, use frozen fruit in place of some of the ice. This will add flavor and keep the slushie cold without diluting it.
  • Sweeten Wisely: If you prefer a sweeter slushie but want to avoid refined sugars, consider natural sweeteners like honey, agave, or stevia.
  • Chill Your Liquid: Using a chilled liquid base will help maintain the icy texture of your slushie.
  • Get Creative with Flavors: Don’t be afraid to mix and match flavors. Combine different fruits, juices, and syrups to create a custom blend that’s all your own.

Cleaning Your Vitamix After Making a Slushie

To clean your Vitamix after making a slushie, simply fill the container halfway with warm water and a drop of dish soap, then run the blender on high for 30 to 60 seconds. Pour out the soapy water, rinse well, and let the container air dry.

Fun Slushie Variations

The beauty of making a slushie in a Vitamix is the endless variety of flavor combinations you can create. Here are a few ideas to get you started:

  • Tropical Twist: Combine pineapple juice, coconut water, and frozen mango chunks for a beachy vibe.
  • Berry Blast: Blend together mixed frozen berries, lemonade, and a touch of honey for a berry-licious treat.
  • Mocha Chill: Use coffee, chocolate syrup, and milk for an icy twist on your favorite mocha.
  • Green Machine: Mix spinach or kale with green apple, cucumber, and a bit of ginger for a healthier slushie option.

Add-Ons and Garnishes

To take your slushie to the next level, consider these add-ons and garnishes:

  • Whipped Cream: A dollop on top can make your slushie feel like a decadent dessert.
  • Fresh Fruit: Garnish with a slice of fruit that compliments the flavors in your slushie.
  • Herbs: Mint or basil can add a refreshing twist and a pop of color.
  • Edible Flowers: For a sophisticated touch, float a few edible flowers on top of your slushie.

FAQs

Q: Can I make an alcoholic slushie in a Vitamix?
A: Absolutely! Just be mindful of how much alcohol you add, as too much can prevent the slushie from freezing properly. A splash or two should be enough.

Q: Is it okay to put hot liquids in a Vitamix?
A: Vitamix blenders are designed to handle hot liquids, but for slushies, it’s best to stick with cold or room temperature liquids to achieve the right icy texture.

Q: How can I make my slushie last longer?
A: If you’re not serving your slushie immediately, you can store it in the freezer for a short period. However, the texture is best when enjoyed right away.

Key Takeaways

  • Perfect Ratio: Remember the 2:1 ratio of ice to liquid for the ideal slushie consistency.
  • Blending Tips: Start on low speed, increase to high, and use the tamper if needed.
  • Customization: Get creative with flavorings, and don’t be afraid to try different fruits, juices, and syrups.
  • Serve Immediately: For the best texture and flavor, enjoy your slushie as soon as it’s blended.
  • Cleaning: Run your Vitamix with warm soapy water to clean it quickly and easily.

There you have it – a delicious, frosty slushie made in the comfort of your home with the help of your trusty Vitamix. Next time the temperature rises, you’ll know exactly what to do. Stay cool and keep blending, readers of TheKitchenApplianceDad.com!
Meet

Dale

Hi, I'm Dale! With over ten years in high volume restaurants, my journey has taken me through the ins and outs of using, maintaining, and even repairing virtually every kitchen appliance imaginable.

I'm here to share simple, straightforward advice to help you choose and use your kitchen tools effectively. No fluff, just the essential info you need to cook up a storm.