KitchenAid mixers have become synonymous with home baking and cooking, making them a staple in many kitchens around the world. As an expert in kitchen appliances and a seasoned writer for TheKitchenApplianceDad.com, I understand that the functionality and design of these mixers are both their charm and their challenge. One common question that arises for new KitchenAid owners is how to properly lift the mixer head. Whether you’re a first-time user or just need a refresher, this guide will walk you through the process step-by-step.
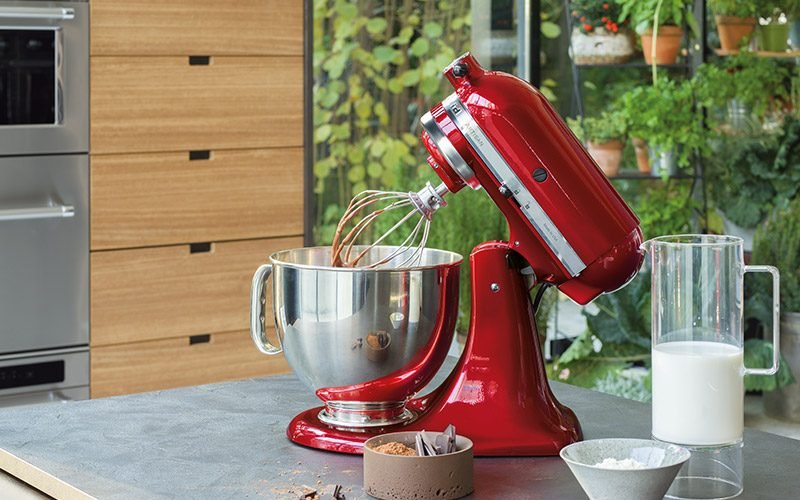
Before we dive into the specifics of lifting the mixer head, it’s important to understand the two main types of KitchenAid stand mixers: the tilt-head model and the bowl-lift model. The tilt-head model allows the head of the mixer to tilt back for easy access to the bowl, while the bowl-lift model has a lever that raises and lowers the bowl itself.
For the purposes of this guide, we’ll be focusing on the tilt-head model, as lifting the mixer head is a unique feature of this type.
Step 1: Ensure Your Mixer is Off and Unplugged
Safety first! Always make sure your mixer is turned off and unplugged from the electrical outlet before attempting to lift the head. This prevents any accidental starts that could lead to injury or make a mess in your kitchen.
Step 2: Lower the Mixing Bowl
If your mixing bowl is in the raised position, be sure to lower it. You can do this by either turning the bowl counterclockwise to unlock it from the base or lowering the handle on a bowl-lift model.
Step 3: Locate the Locking Mechanism
On the tilt-head KitchenAid mixer, you’ll find a locking mechanism on the side of the mixer head. This is usually a small lever or knob, depending on the model, that secures the head in place when the mixer is in use.
Step 4: Unlock the Mixer Head
To lift the head, you’ll need to unlock this mechanism. Gently push the lever to the unlocking position. On most models, this involves either pushing it to the side or pulling it out slightly.
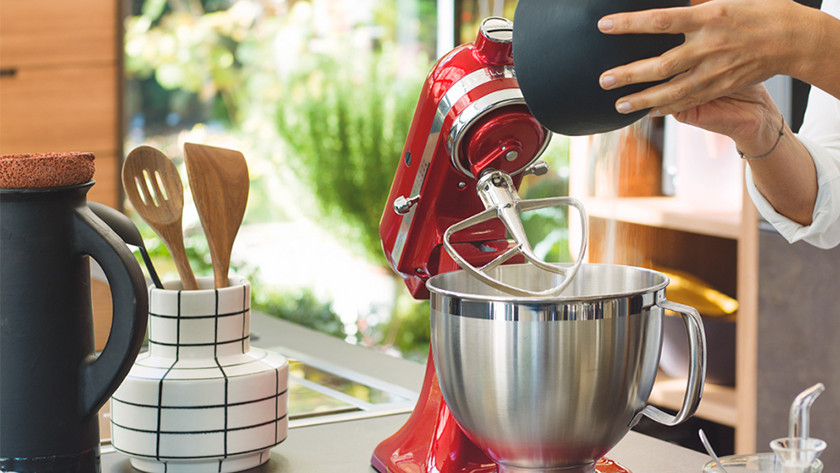
Step 5: Lift the Mixer Head
With the locking mechanism disengaged, you can now lift the mixer head. Place one hand on the front of the mixer to steady it and use your other hand to lift the head from the base. It should tilt back smoothly without much resistance.
Step 6: Access the Bowl or Attachments
With the mixer head lifted, you can now easily access the bowl to add ingredients or remove it for cleaning. This is also the perfect time to attach or change the mixing attachments like the dough hook, flat beater, or wire whip.
Step 7: Lower the Mixer Head
Once you’ve completed your task, lower the mixer head back down until it clicks into place. Be sure to secure the locking mechanism by pushing the lever back to the locked position.
Step 8: Re-engage the Mixing Bowl
If you removed or adjusted the mixing bowl, make sure to lock it back into place. For tilt-head models, place the bowl on the base and turn it clockwise until it clicks.
Mixer Head Won’t Lift or is Stiff:
If the mixer head is difficult to lift or won’t budge, ensure that the locking mechanism is fully disengaged. If it still won’t move, the hinge may need lubrication. Refer to your user manual on how to lubricate the hinge or contact KitchenAid support for assistance.
Mixer Head Wobbles or Doesn’t Lock Securely:
A wobbly mixer head can indicate that the hinge is loose or the locking mechanism isn’t fully engaging. You can tighten the hinge yourself by locating the screw that holds it in place and gently tightening it with a screwdriver. If the locking mechanism isn’t engaging, make sure it’s clean and free of any debris that could be obstructing it.
Regular maintenance of your KitchenAid mixer will ensure that lifting the mixer head remains a smooth process. Here are a few tips to keep your mixer in top shape:
Lifting the mixer head is just the beginning of what you can do with your KitchenAid. Explore the wide range of attachments available for your model to expand your culinary repertoire. From pasta rollers to food grinders, your KitchenAid can do much more than mix dough.
Remember, always consult your user manual for model-specific instructions, as there can be slight variations between different KitchenAid models. You can find a digital copy of your user manual on the official KitchenAid website at KitchenAid Manuals.
To wrap up, here are the key points to remember when lifting the head of your KitchenAid tilt-head mixer:
By following these simple steps, you’ll ensure that your KitchenAid mixer remains a dependable and versatile tool in your kitchen. Whether you’re whipping up a batch of cookies or tackling a complex bread dough, knowing how to properly lift the mixer head is an essential skill for any home chef. And remember, TheKitchenApplianceDad.com is always here to provide you with tips, tricks, and guides for all your kitchen appliance needs.